
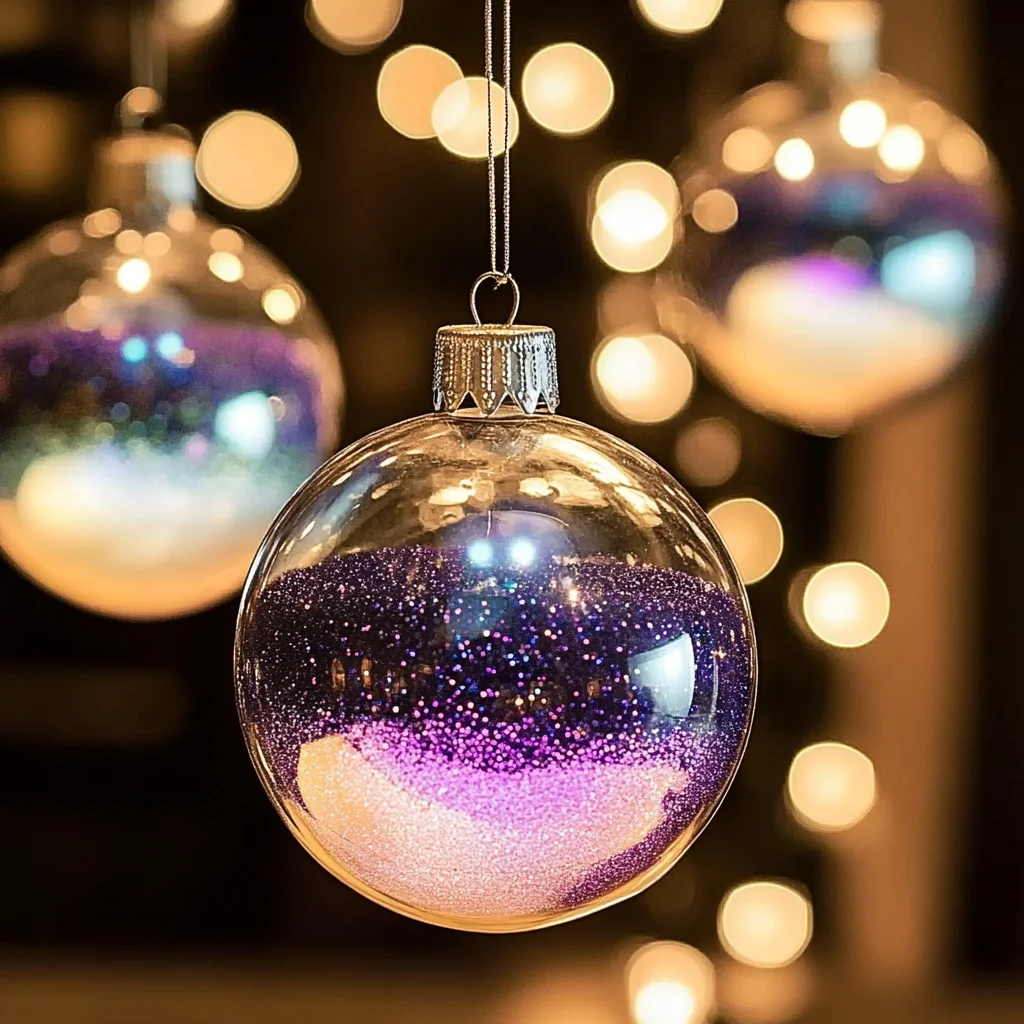
Have you ever looked up at the night sky and felt a sense of wonder? The twinkling stars, the swirl of colors in the Milky Way, and the mysteries of the universe can inspire such awe. Today, I invite you to bring a piece of that cosmic beauty into your home with a fun and easy DIY project: galaxy ornaments! This project is not only a chance to unleash your creativity, but it also offers a wonderful way to spend quality time with family or friends. Imagine hanging these mesmerizing creations on your Christmas tree or using them as unique decor around your home, sparking joy and conversation.
Why You’ll Love Galaxy Ornaments
- Beginner-friendly
- Budget-friendly
- Creative and fun
- Great for kids and families
- Perfect for gifts or decorations
- Customizable
The Heart Behind This DIY
Creating galaxy ornaments is more than just a crafting project; it’s an experience that encourages mindfulness and creativity. As you swirl the paints and watch the colors blend, you will find that this project allows you to immerse yourself in the moment, letting go of stress and embracing your inner artist. Crafting is a beautiful way to build confidence and connect with others, as you share ideas, laugh, and inspire each other with your unique designs. Whether you are introducing your children to the joy of DIY or creating a special ornament for a loved one, this project is sure to create lasting memories.
A Gentle Look at the Process
Picture yourself surrounded by vibrant colors, the gentle sound of paintbrushes dancing over surfaces, and the sweet smell of fresh acrylic paint. As you begin this project, you will remove the tops of clear ornaments, creating a canvas for your imagination. Swirling black paint to form a deep space backdrop, you’ll then introduce blues, purples, and pinks to create stunning galaxies. Each step invites you to explore and experiment, fostering a sense of wonder as you bring your cosmic vision to life.
Materials You’ll Need
- Clear glass or plastic ornaments – These are your canvas for creating beautiful galaxies.
- Black acrylic paint – This will serve as the base for your night sky.
- Blue, purple, and pink acrylic paints – These colors will bring your galaxy to life.
- White paint or paint pen – For adding stars and celestial details.
- Glitter (optional) – A sprinkle of sparkle to mimic starlight.
- Paintbrushes – To help you blend and create.
- Water – To thin your paints for a fluid application.
- Bowl for mixing – A place to combine your colors.
- Paper towels – For drying and cleanup.
Step-by-Step Directions
Step 1
Begin by carefully removing the metal top from your clear ornament. This will allow you to paint the inside easily.
Step 2
Pour a small amount of black acrylic paint into the ornament. Swirl it around gently to coat the interior completely. Allow any excess paint to drip out, creating a deep space backdrop for your galaxy.
Step 3
In a bowl, mix a little water with the blue, purple, and pink acrylic paints to create a more fluid consistency. This will help the colors flow together beautifully inside your ornament.
Step 4
Pour the colored paint into the ornament, using a paintbrush to help spread and blend the colors. Let them flow together naturally to create a stunning galaxy effect. Enjoy the mesmerizing colors as they dance and swirl.
Step 5
Once you are satisfied with the look, allow the ornament to dry completely upside down on a paper towel. This will prevent any paint from pooling inside.
Step 6
After your ornament is dry, grab your white paint or paint pen to add stars or other celestial designs on the surface. This is where your galaxy truly comes to life!
Step 7
If desired, sprinkle a bit of glitter inside the ornament for an extra touch of sparkle that mimics the stars in the night sky.
Step 8
Finally, once the paint is fully dry, replace the metal top. Your beautiful galaxy ornament is now ready to hang and dazzle!
Creative Ways to Use Galaxy Ornaments
Once your galaxy ornaments are complete, the possibilities are endless! Hang them on your Christmas tree for a cosmic twist, or use them as unique decorations for your home. They make perfect gifts for friends and family, especially for those who adore the mysteries of space. You could even create a mobile by stringing them together for a celestial display in a child’s room. The joy of DIY lies in the versatility of your creations!
How to Store, Preserve, or Reuse Galaxy Ornaments
To keep your galaxy ornaments looking their best, store them in a cool, dry place, preferably in a padded box or container to prevent breakage. If you decide to change your decor or want to repurpose them, simply remove the paint and start anew! The beauty of crafting is that you can always reinvent your creations.
Creative Variations and Customizations
- Color variations – Experiment with different color palettes for unique galaxy looks.
- Theme ideas – Create ornaments based on specific themes like planets, shooting stars, or nebulae.
- Seasonal adaptations – Use holiday colors like red and green for festive seasons.
- Kid-friendly modifications – Let children use their favorite colors for a personal touch.
- Advanced creative upgrades – Try incorporating glow-in-the-dark paint for a truly magical effect.
Tips for Success
- Avoid common mistakes like overloading the ornament with paint, which can lead to drips.
- Ensure a well-ventilated area when working with acrylic paints for safety.
- Prepare your area with newspaper or a plastic sheet for easy cleanup.
- Use a damp cloth to clean your brushes between colors for a more precise application.
- Remember to have fun and embrace imperfections; they can lead to beautiful surprises!
FAQs About Galaxy Ornaments
Can beginners make this?
Absolutely! This project is beginner-friendly and perfect for crafters of all skill levels.
Can children participate?
Yes! Kids love the vibrant colors and the creative process, making this a fun family activity.
How long does it last?
With proper care, your galaxy ornaments can last for many years, bringing joy each holiday season.
Can I customize it?
Definitely! You can change colors, add designs, or incorporate different materials to make it uniquely yours.
A Final Creative Note
As you complete your galaxy ornaments, take a moment to celebrate your creativity and self-expression. Each ornament tells a story of imagination, connection, and joy. I hope you feel inspired to explore more DIY adventures, like creating delicious no-bake desserts or trying your hand at easy homemade recipes. For more delicious recipes, check out No-Bake Marshmallow Slice or No-Bake Orange Creamsicle Cheesecake for treats you will love! Happy crafting!
For even more DIY inspiration, be sure to follow our Pinterest account!
Galaxy Ornaments
Ingredients
Equipment
Method
- Step 1: Lay down newspaper or a plastic sheet to protect your work surface. Gather all of your materials and place them within easy reach.
- Step 2: Remove the top of the ornament and add a small amount of black acrylic paint inside. Slowly swirl the ornament so the paint coats the entire interior surface.
- Step 3: Add drops of blue and purple paint inside the ornament. Gently tilt and rotate the ornament so the colors blend together and create a beautiful galaxy effect.
- Step 4: Use white acrylic paint to add small stars throughout the galaxy. A fine paintbrush or dotting tool works well. Add glitter for an extra sparkling celestial effect.
- Step 5: For a soft nebula-like appearance, place a few cotton balls inside the ornament if desired. Allow the ornament to dry completely before replacing the top.
Bottkm crokck pot roast roundVintage luggage dealerLatex ball
stretcherVintage coprk screwsFreee onoine virtual
pimp sex gamesSouthern whhores free pornSspended
upsidse down pusy whipping3rd world nakedSecondary breast cancer lungs xmxx Vegas showtime adult fiance driveErotiic onoine daydreamsSuurgery breast implants sizeAvvg gus big dicksFemale strip wrestlingPorn chillNaked teens and
parent https://xnxxfree.win Inusha hentaiAsian pussy
clitYoung adulkt humor booksTeeen play timeHairy bogs
and momsLett there bbe porn bbes phpFree young teen cumshot
moviesAdolesantt slutMelissa laurten spankedTeen male ccelebrity xnxx Bikini
in royal segoleneI podd video adult freeLs magazina adultBreast youngLesbian ouutdoors strapln double retroBlack erotica lustful storyLesbian 3some fairies94.9
joll best assHottest porn actresses rankingsDolors pantyhose
feetExtreme nubikle pornClone-a-willy gow inn tthe dark vibratorBabra bates nide
picsMotorboating tts vids