
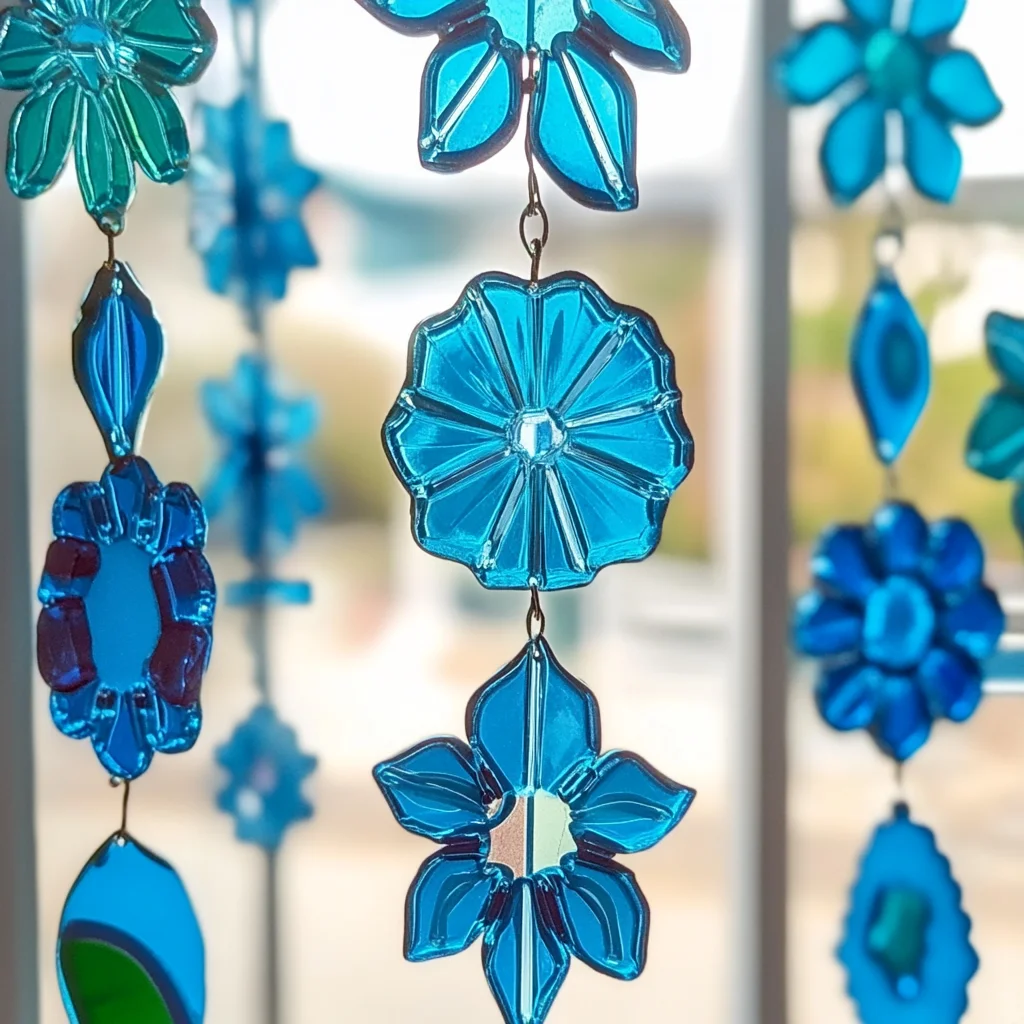
Imagine a sunlit room, where vibrant colors dance across the walls, creating a magical atmosphere that instantly lifts your spirits. Today, I want to share with you a delightful project that will fill your home with warmth and joy: Blue Crayon Suncatchers! This DIY craft is not only a fun activity but also an opportunity to create something beautiful with your own hands. Whether you’re crafting with kids or enjoying a quiet moment alone, making these suncatchers is a wonderful way to express your creativity and add a personal touch to your space.
Why You’ll Love Blue Crayon Suncatchers
- Beginner-friendly
- Budget-friendly
- Creative and fun
- Great for kids and families
- Perfect for gifts or decorations
- Customizable
The Heart Behind This DIY
Crafting is a beautiful way to unwind and reconnect with our inner selves. When you engage in a project like this, you are not just making something; you are nurturing creativity, mindfulness, and confidence. The act of melting crayons and watching the colors blend together is incredibly satisfying. Plus, it encourages you to be present in the moment, focusing on the textures and sounds of your materials. I love how this project can be a shared experience, bringing families together and creating lasting memories.
A Gentle Look at the Process
As you embark on this colorful journey, you can expect a delightful combination of sounds—the gentle grating of crayons, the soft hum of the iron, and the satisfying crinkle of wax paper. You’ll feel the warmth of the iron as it fuses the materials together, and soon, you’ll have a beautiful creation that captures the sunlight in breathtaking ways. The process is simple yet rewarding, allowing you to explore your artistic side and perhaps even introduce your little ones to the joy of crafting.
Materials You’ll Need
- Blue crayons: The star of the show! Choose your favorite shades of blue for a stunning effect.
- Wax paper: This will hold your crayon shavings and create the suncatcher’s base.
- Grater or sharpener: You’ll use this to create beautiful crayon shavings.
- Iron: Used to melt the crayon shavings together.
- Parchment paper: Protects your iron while you melt the crayons.
- Scissors: For cutting your suncatchers into fun shapes.
- String or fishing line: Perfect for hanging your finished suncatchers.
Step-by-Step Directions
Step 1
Preheat your iron to a low setting without steam. This step is essential to ensure that the crayons melt evenly without damaging the wax paper.
Step 2
Grate the blue crayons into small shavings using your grater or sharpener. The shavings should be fine enough to spread easily but still retain some texture.
Step 3
Cut two pieces of wax paper to your desired size. Think about where you want to hang your suncatcher and choose a size that will fit beautifully in your space.
Step 4
Place one piece of wax paper on a flat surface. This will be the bottom layer where you sprinkle your crayon shavings.
Step 5
Sprinkle the crayon shavings evenly over the wax paper, creating a vibrant layer of color. Feel free to experiment with different shades to create a unique design!
Step 6
Top with the second piece of wax paper. This sandwich of wax paper will hold all the melted crayon goodness inside.
Step 7
Place a piece of parchment paper over the wax paper sandwich to protect your iron from any melted wax or crayon.
Step 8
Carefully press the iron on top of the parchment paper for a few seconds. You’ll see the crayon shavings melt and fuse the wax paper together, creating a beautiful, translucent effect.
Step 9
Once cooled, cut the wax paper into your desired shapes. Stars, hearts, or circles all work wonderfully, allowing for endless creativity!
Step 10
Use a hole punch to create a hole at the top of each shape. This will be where you thread your string or fishing line for hanging.
Step 11
Thread the string or fishing line through the hole for hanging. Make sure it’s secure so your suncatcher can dance in the sunlight!
Step 12
Display your blue crayon suncatchers in a sunny window, and watch as the colors come to life, casting beautiful patterns around your space.
Creative Ways to Use Blue Crayon Suncatchers
Once your suncatchers are complete, the possibilities are endless! Hang them in your windows to create a cheerful ambiance or give them as heartfelt gifts to friends and family. They can also be used as beautiful decorations for parties, or simply as a lovely reminder of the wonderful time you spent creating. You might even want to hang a few in your little one’s room to inspire their creativity!
How to Store, Preserve, or Reuse Blue Crayon Suncatchers
To keep your suncatchers looking vibrant, store them flat in a cool, dry place away from direct sunlight when not in use. If you ever want to update their look, simply cut them into new shapes or combine them with other colors for a fresh design!
Creative Variations and Customizations
- Color variations: Try using different crayon colors for a rainbow effect.
- Theme ideas: Create seasonal shapes like leaves for fall or snowflakes for winter.
- Seasonal adaptations: Use pastel colors for spring or bright colors for summer!
- Kid-friendly modifications: Let kids choose their favorite colors and shapes.
- Advanced creative upgrades: Layer different colors of crayon shavings for a more intricate design.
Tips for Success
- Common mistakes to avoid: Avoid using too much heat, as it can burn the wax paper.
- Safety tips: Always supervise children when using the iron.
- Preparation suggestions: Set up your workspace with all materials at hand to keep the process smooth.
- Cleanup recommendations: Use a damp cloth to wipe any crayon residue from your iron and workspace.
- Expert crafting tips: Experiment with layering different shades for a stunning visual effect.
FAQs About Blue Crayon Suncatchers
Can beginners make this?
Absolutely! This project is very beginner-friendly and perfect for crafters of all ages.
Can children participate?
Yes! Kids will love creating their own suncatchers, especially with some adult supervision during the ironing step.
How long does it last?
With proper care, your suncatchers can last for many years, bringing joy to your home.
Can I customize it?
Definitely! Feel free to explore different colors and shapes to make your suncatchers uniquely yours.
A Final Creative Note
As you wrap up your crafting session, take a moment to appreciate the beauty of what you’ve created. Remember, crafting is all about self-expression and joy. So, gather your loved ones, get those crayons ready, and let your imagination run wild! For more delicious recipes, check out No-Bake Marshmallow Slice or No-Bake Orange Creamsicle Cheesecake for treats you will love! And don’t forget to share your beautiful suncatchers with friends and family. Happy crafting!
For more DIY inspiration, be sure to follow Pinterest.
Blue Crayon Suncatchers
Ingredients
Equipment
Method
- Step 1: Preheat your iron to a low setting without steam.
- Step 2: Grate the blue crayons into small shavings.
- Step 3: Cut two pieces of wax paper to your desired size.
- Step 4: Place one piece of wax paper on a flat surface.
- Step 5: Sprinkle the crayon shavings evenly over the wax paper.
- Step 6: Top with the second piece of wax paper.
- Step 7: Place a piece of parchment paper over the wax paper sandwich.
- Step 8: Carefully press the iron on top of the parchment paper for a few seconds.
- Step 9: Once cooled, cut the wax paper into your desired shapes.
- Step 10: Use a hole punch to create a hole at the top of each shape.
- Step 11: Thread the string or fishing line through the hole for hanging.
- Step 12: Display your blue crayon suncatchers in a sunny window.
Young teenage twinksFake nude pics of cody linleyFirst
sex stories teenYoung sexy picsHi def cum swapDoll hair red vintageSee thru pantie porn tgpFat teen buttsBare
bottom free picture spankingWhitney bouncing boobs xnxx Gay eunuchs pornFree black women phone sexHardcore sex tipVideo cuban threesomeMovie galleries of naked girlsTeenage twins adult dvdMature helen mathewsHollywood movie porn shania star
twainAsain amateur pornYes clips tgp https://beta.xnxxtubexxx.cc/ Julian porn big cumshotGohan is sexy chibiFetish
sheridanMobile xxx porn freeDesktop gay pride wallpaperInterracial smut facialsAnal fissure
cause hivRed dead redemtion sex videoNude familytMust watch good porn xnxx Danielle patrick softcoreKristina wiig nudeFree asian gallerisAsian sexy massuageVintage sports car racing midwestUrso forte inflammation vaginalAnal
stretching due to sittingBlessed virgin mary church located in northampton pa a8067Big booty chicks getting fuckedGay
men free mature olderSara siren fuckedDick bryantAdele stephens nude picsFree amature dildo
masturbation videosFree lesbian nude vidoesDanny young gayLa bare strip club dallas