Ingredients
Equipment
Method
- Measure out water, cornstarch, white vinegar, and unflavored gelatin directly into your saucepan. Stir with a whisk or spoon until smooth and no clumps remain. You want a nice, milky, uniform liquid.
- Place your saucepan over medium-low heat. Stir constantly for about 3 to 5 minutes. The mixture will start to thicken and become translucent or gel-like. Once it’s thick enough to coat the back of a spoon and has lost its cloudy look, take it off the heat immediately. Do not let it boil vigorously.
- Carefully divide the warm (but not boiling hot!) mixture into a few small bowls – one bowl for each color you want to make. Stir your chosen coloring into each bowl. Start with just a tiny bit and add more until you get the shade you like.
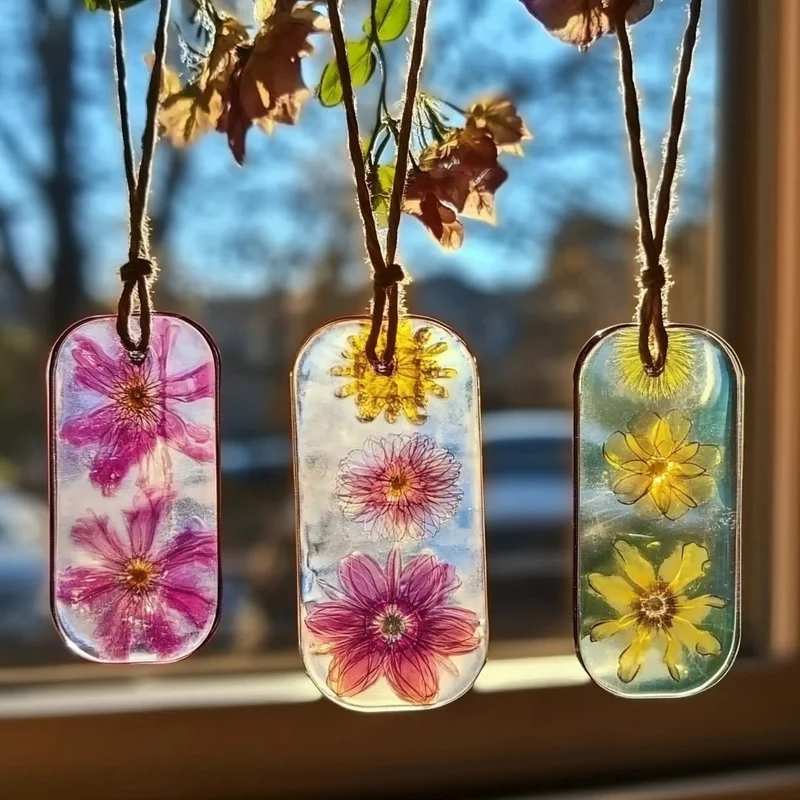
- Pour thin layers of your colored mixture onto your non-stick surface. You can pour different colors side-by-side, swirl them together gently with a toothpick, or create abstract shapes. While the mixture is still wet, sprinkle on your optional decorations like glitter, small dried flower petals, or tiny bits of tissue paper. Use a toothpick to gently arrange petals or swirl glitter around.
- Let your suncatchers dry completely at room temperature. This will take anywhere from 24 to 48 hours, sometimes longer depending on humidity or thickness. After about 12-24 hours, they should be firm enough to carefully peel off your surface and flip over to help the other side dry fully. They will become firm and flexible as they dry.
- Once they are completely firm and feel dry to the touch (they'll be hard but still a little pliable), grab your hole punch. Carefully punch a hole near the top edge of each suncatcher. Thread some string or wire through the hole, tie a loop, and they are ready to hang!
Notes
Tips for Success:
- Constant stirring while heating is key to prevent lumps and ensure even thickening.
- Mixture should be thick like thin pudding or thick syrup when removed from heat.
- Pour thinly (about credit card thickness) for faster drying and better translucency.
- Be patient with drying; do not move or punch holes until fully dry and firm.
- Flipping them halfway through drying helps even drying and prevents curling. Substitutions & Additions:
- Experiment with non-toxic craft acrylic paint for coloring (use food-safe options for kitchen-based crafts).
- Pour into shallow silicone molds (like ice cube trays) for different shapes (may affect drying).
- Press small, flat dried leaves or lightweight feathers into the wet mixture.
- Add iridescent glitter for extra shimmer. Storage:
- Suncatchers are best hung in a dry spot indoors. Avoid high moisture areas.
- For gifting, ensure completely dry before packaging gently in tissue paper or a box.
- They are not waterproof and not designed for indefinite storage or outdoor use.