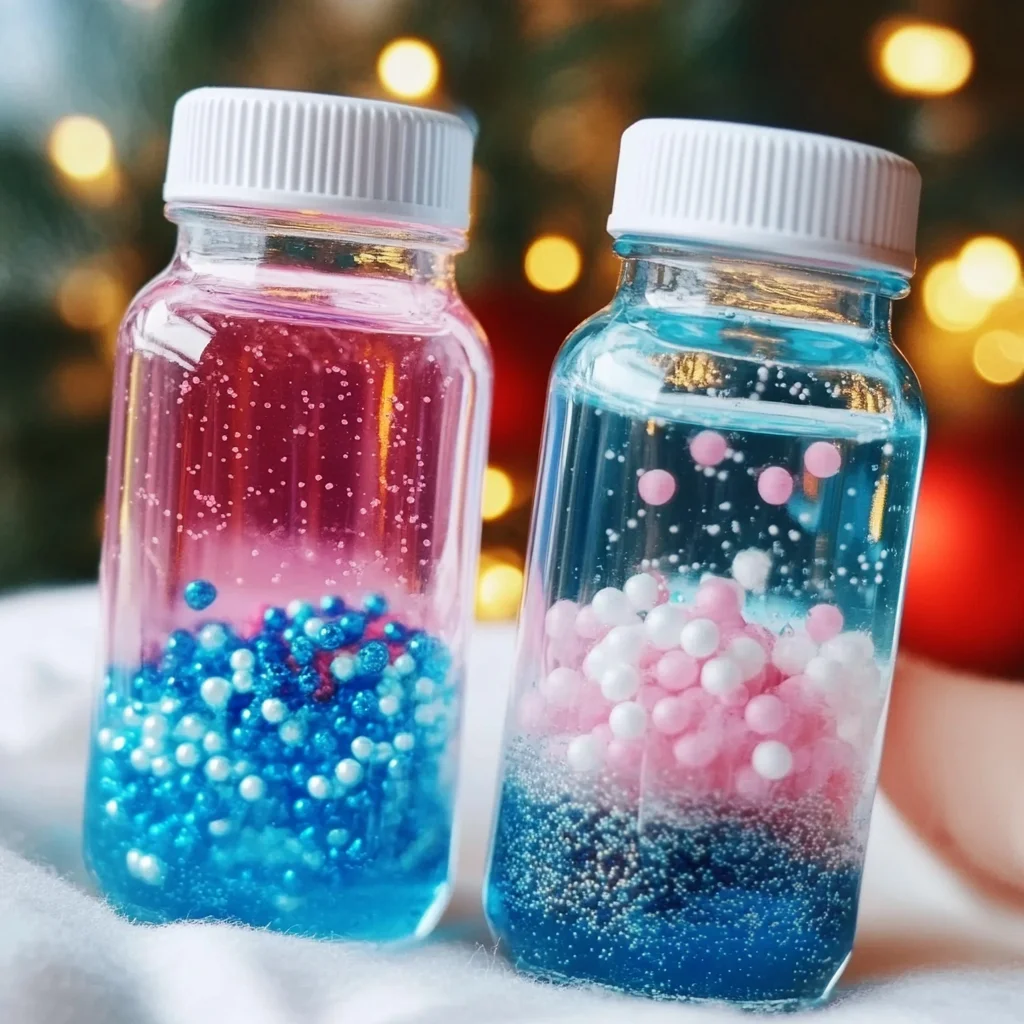
Ingredients
Equipment
Method
- Step 1: Begin by selecting your bottle or jar. Make sure to clean it thoroughly.
- Step 2: Fill the bottle about two-thirds full with distilled water.
- Step 3: Add a tablespoon of glitter to the water.
- Step 4: If using Epsom salt or fake snow, add a tablespoon now.
- Step 5: For a thicker consistency, add a small amount of liquid glycerin.
- Step 6: If desired, add a few drops of food coloring.
- Step 7: Carefully place your winter-themed decorations into the bottle.
- Step 8: Fill the rest of the bottle with distilled water, leaving some space at the top.
- Step 9: Secure the lid tightly to avoid any spills.
- Step 10: Shake the bottle gently to mix the ingredients and create a sensory experience.
Notes
Keep your sensory bottles in a cool, dry place away from direct sunlight. They can be reused or repurposed for different seasons.