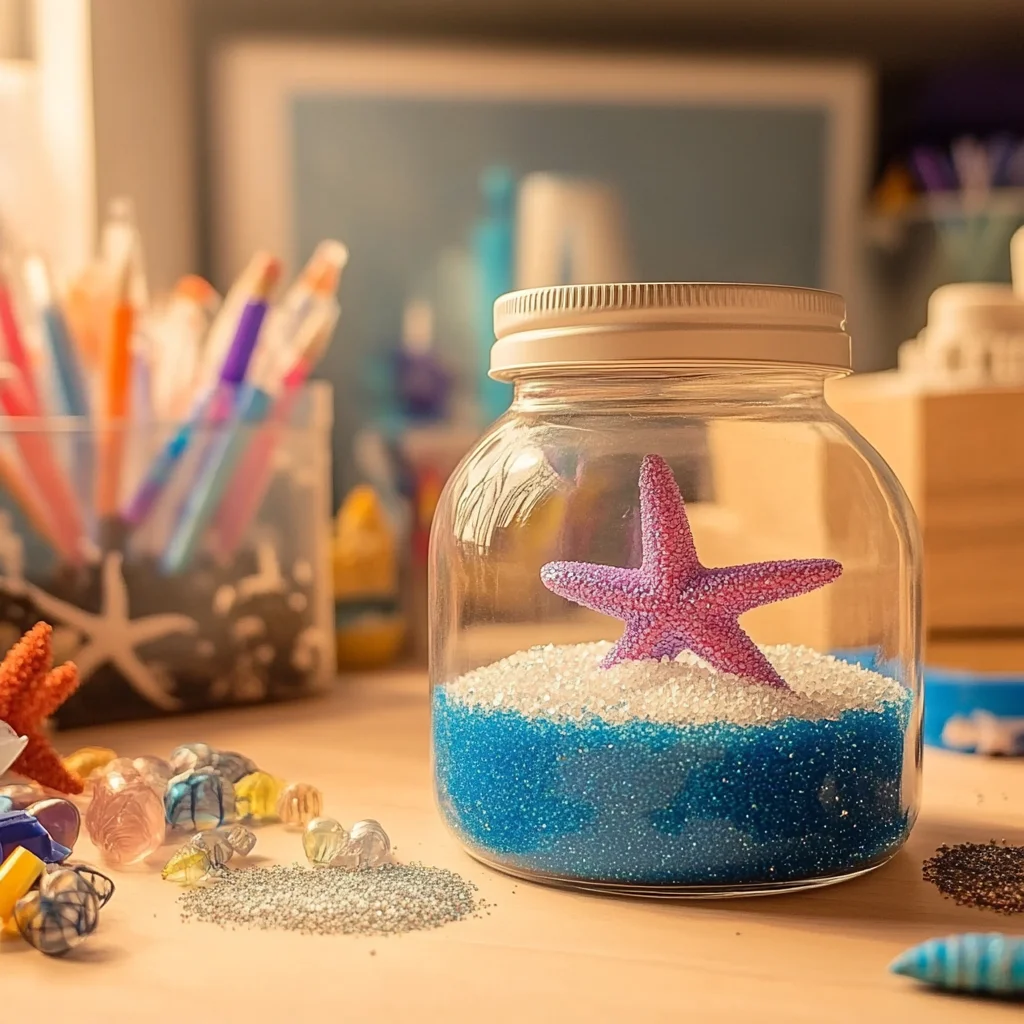
Ingredients
Equipment
Method
- Step 1: Start by cleaning your glass jar thoroughly and ensuring it is dry. This will help your snow globe look crystal clear and beautiful.
- Step 2: Using the hot glue gun, carefully attach your small plastic sea creatures to the inside of the jar lid. Allow the glue to dry completely, ensuring a strong bond.
- Step 3: In a separate container, mix distilled water with a few drops of glycerin. This combination is key, as the glycerin helps the glitter to float more slowly, creating a stunning effect.
- Step 4: If you desire a more vibrant look, add a few drops of food coloring to the water mixture. This can enhance the oceanic feel of your snow globe.
- Step 5: Pour the water and glycerin mixture into the jar, filling it to about three-quarters full. Take a moment to admire the clarity of the water.
- Step 6: Add a generous amount of blue and silver glitter to the jar. Watch as it swirls and sparkles, capturing the essence of the sea.
- Step 7: Carefully place the lid with the attached sea creatures onto the jar, ensuring it is tightly sealed to prevent any leaks.
- Step 8: Now comes the fun part! Turn the jar upside down to create the snow globe effect. Gently shake it to distribute the glitter, and watch the magic unfold.
- Step 9: Optionally, you can decorate the outside of the jar with ribbons or stickers to enhance the theme of your ocean adventure.
Notes
To keep your snow globe looking its best, store it in a cool, dry place away from direct sunlight. If you notice any cloudiness, you might want to replace the water and glycerin mixture.