Ingredients
Equipment
Method
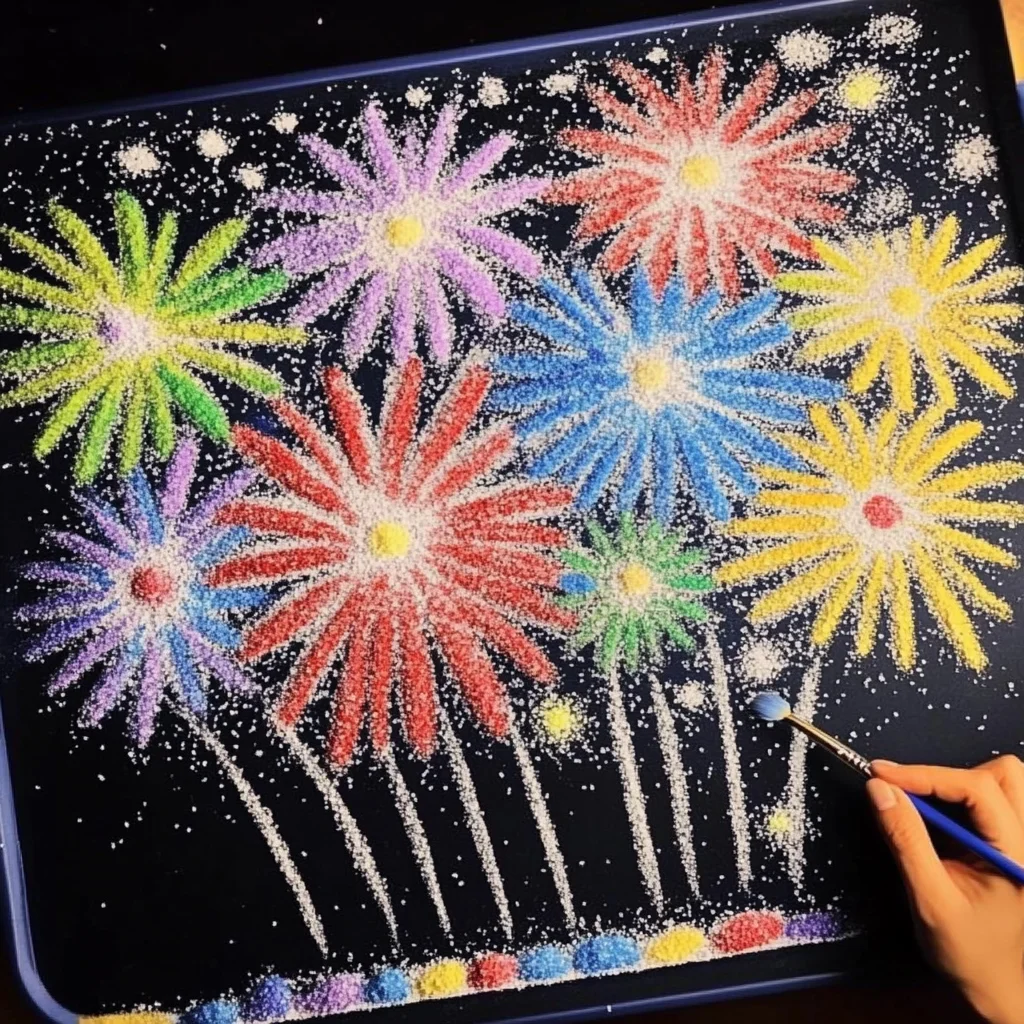
- Step 1: Draw Your Fireworks: Grab your white glue and let your creativity flow! Draw firework designs onto your paper. Think about creating starburst shapes by drawing lines radiating from a center point, or make exploding patterns. Don't worry about perfection; the salt will do its magic.
- Step 2: Salt It Up!: While the glue is still nice and wet, generously sprinkle table salt all over the glue lines. You want to make sure the salt adheres well. Gently tap the excess salt back onto your tray. Now, let your masterpiece dry for about 15 minutes. The salt will stick to the glue as it dries.
- Step 3: Add the Color: This is where the real magic happens! Dip a paintbrush into your watercolors. You can use a single color or mix a few. Gently touch the tip of the brush to the salted glue lines. Watch in amazement as the color travels along the salt, creating a beautiful, diffused effect! Use different colors for different fireworks – blues, reds, yellows, greens – go wild!
- Step 4: Let it Dry: Once you're happy with your colorful explosions, let your artwork dry completely. This might take a bit longer depending on how much watercolor you used.
Notes
Want to switch things up or add a little extra sparkle? For an extra dazzling effect, sprinkle some fine glitter over the wet glue before adding the salt. While black paper is stunning, experiment with deep blue or even purple paper for a different night sky feel. Instead of watercolors, you can try using the tips of markers dipped in water for a more concentrated color. For a raised, textured effect similar to embossing, try sprinkling embossing powder over the wet glue, then heat setting it before adding watercolor. Once dry, you can use a fine brush or a white gel pen to add tiny white dots for extra stars or a more defined center to your fireworks.