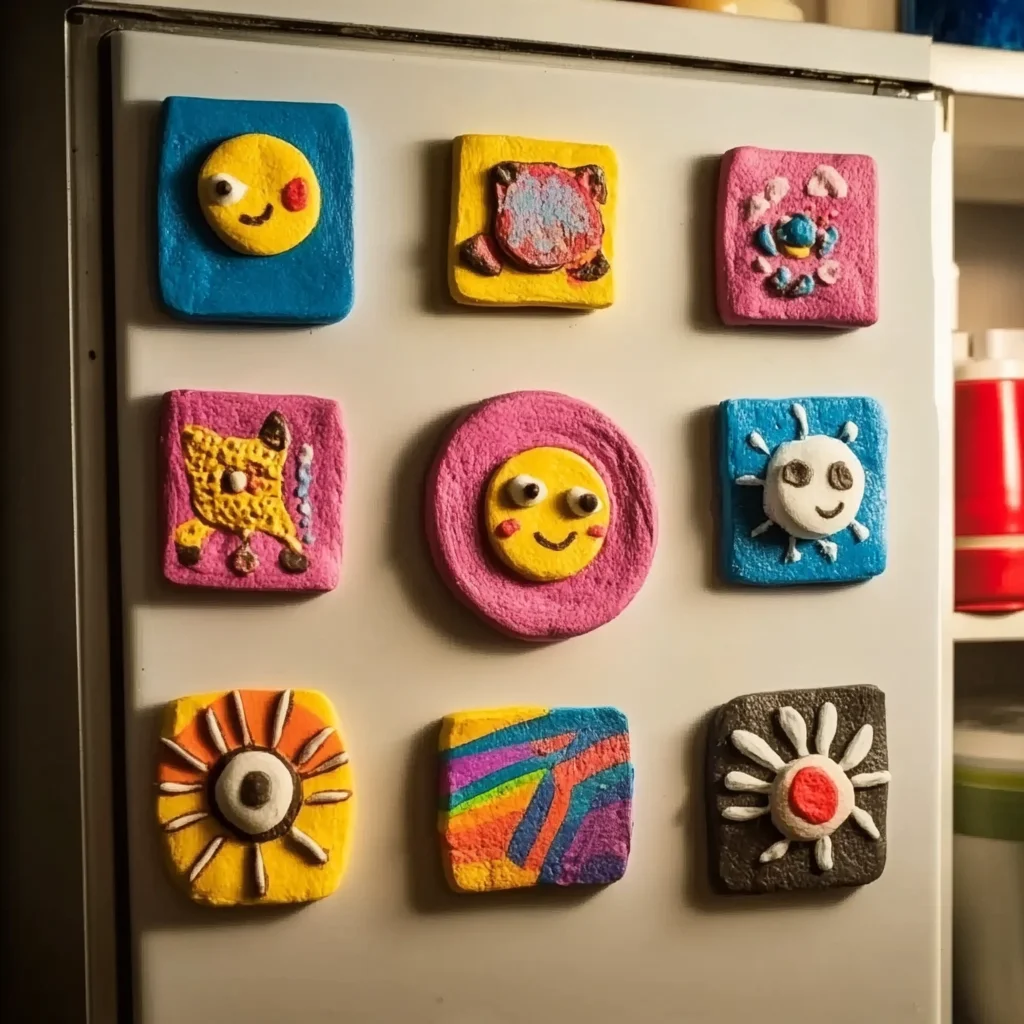
Ingredients
Equipment
Method
- Step 1: Start by kneading the air-dry clay until it is soft and pliable.
- Step 2: Roll out the clay to a uniform thickness using a rolling pin.
- Step 3: Cut out shapes using a cookie cutter or knife, and remove any excess clay.
- Step 4: Use a craft knife or shaping tools to add details or designs if desired.
- Step 5: Allow the clay shapes to dry completely according to the manufacturer's instructions.
- Step 6: Once dry, you may paint the shapes with acrylic paint if you wish.
- Step 7: Apply a clear sealant to protect the paint and enhance durability.
- Step 8: Attach strong adhesive magnet strips or round magnets to the back of each shape.
- Step 9: Allow the adhesive to cure as per the manufacturer's instructions before using the magnets.
Notes
To keep your DIY Clay Magnets in great condition, store them in a cool, dry place when not in use. If they get dirty, simply wipe them with a damp cloth.