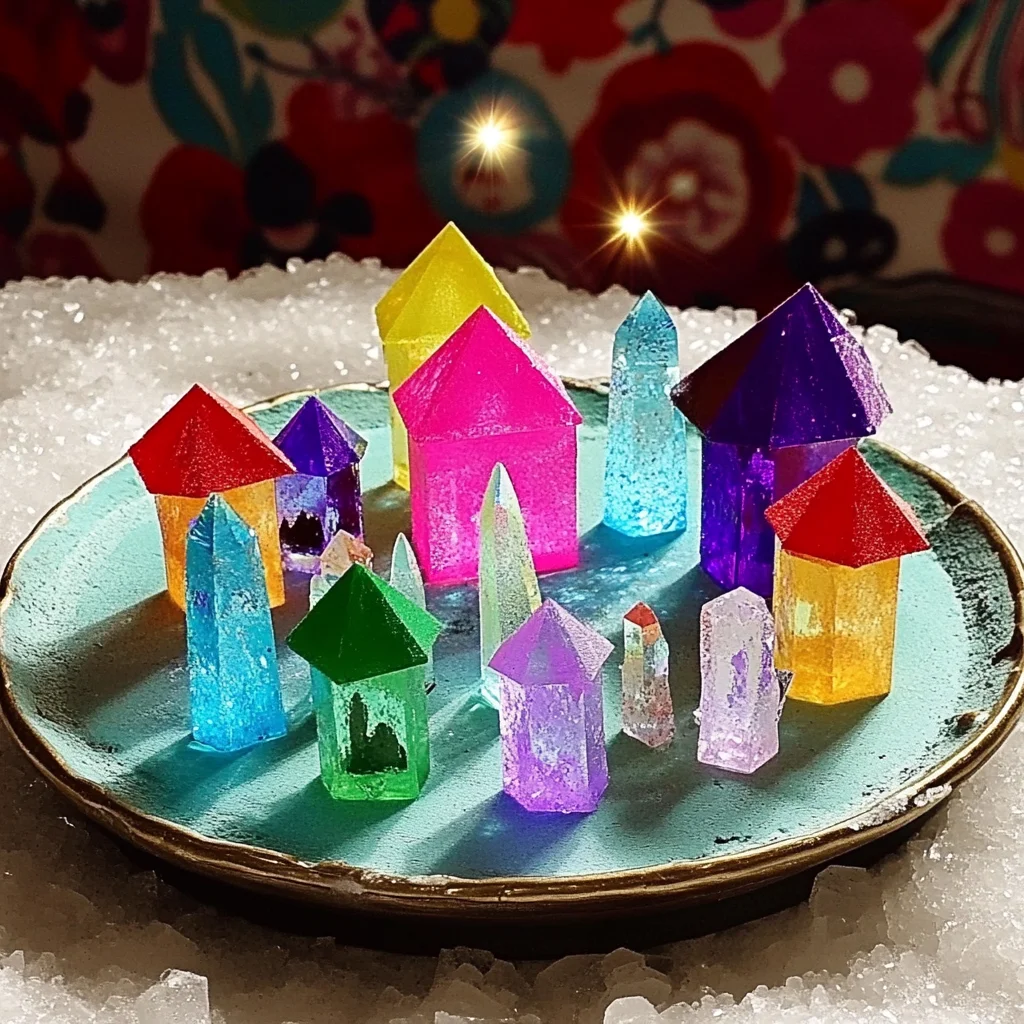
Ingredients
Equipment
Method
- Step 1: In a saucepan, combine 1 cup of water and 1 cup of sugar. Heat the mixture over medium heat, stirring continuously until all the sugar is dissolved.
- Step 2: If desired, add 1 tablespoon of food coloring to the solution and stir until evenly mixed.
- Step 3: Remove the saucepan from heat and allow the solution to cool for a few minutes.
- Step 4: Pour the sugar solution into small containers or jars, filling them about halfway.
- Step 5: Cut a piece of string or yarn and tie one end to a stick or pencil. The other end should hang into the sugar solution without touching the bottom of the container.
- Step 6: Place the stick or pencil across the top of the container to suspend the string in the solution.
- Step 7: Leave the containers in a quiet, undisturbed area for several days to allow crystals to form.
- Step 8: Once the crystals have grown to your desired size, remove the string and enjoy your crystal village setup.
Notes
To preserve your Crystal Growing Village, keep it in a dry place away from direct sunlight. Avoid touching the crystals too much, as they can be delicate.