
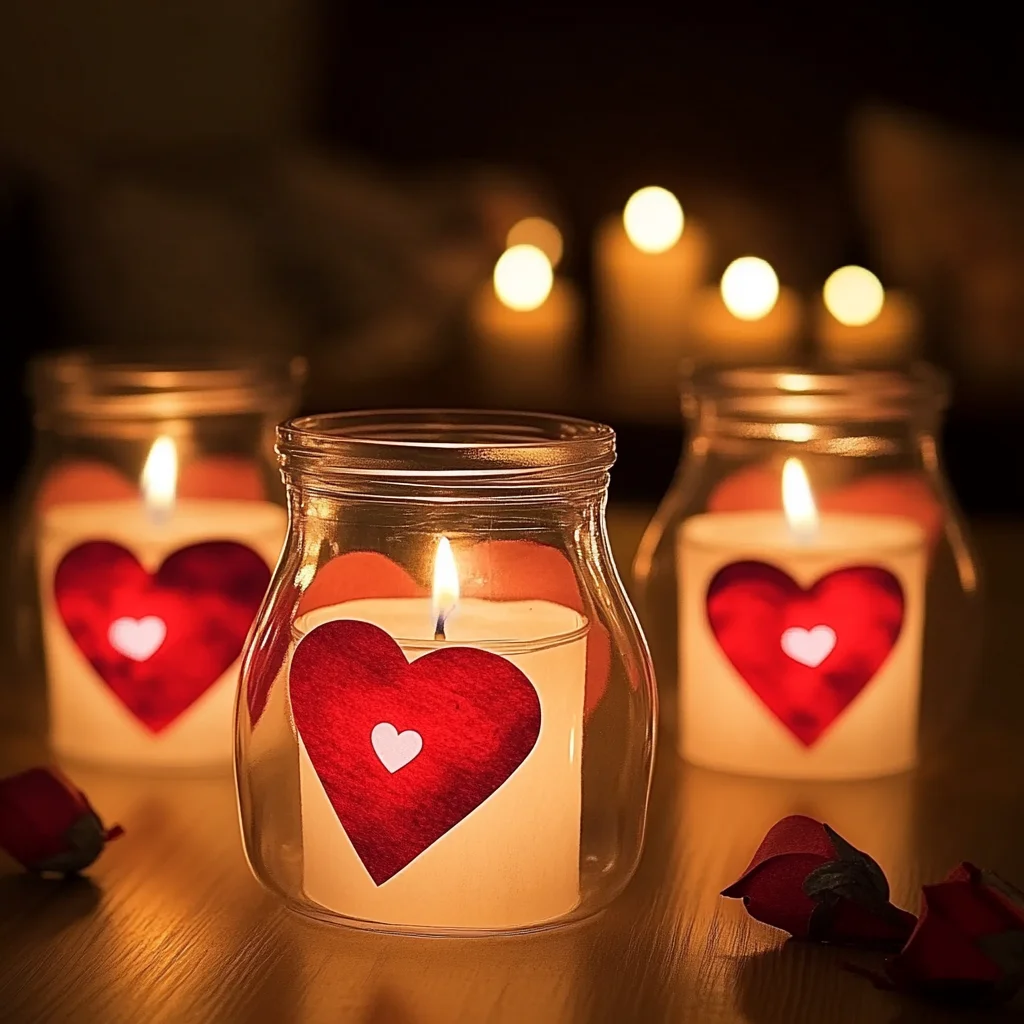
Welcome to a cozy crafting session where we’ll be creating something truly special: Valentine Heart Jar Lanterns! Imagine the gentle flicker of warm light spilling through vibrant reds and soft pinks, creating an atmosphere of love and warmth in your home. This project is not just a simple craft; it’s a way to express your creativity and bring a touch of magic to your space. Whether you’re setting the mood for a romantic dinner, adding charm to a child’s room, or creating heartfelt gifts, these lanterns are sure to brighten your day and warm your heart.
Why You’ll Love Valentine Heart Jar Lanterns
- Beginner-friendly
- Budget-friendly
- Creative and fun
- Great for kids and families
- Perfect for gifts or decorations
- Customizable
The Heart Behind This DIY
Crafting can be a beautiful form of self-expression, and Valentine Heart Jar Lanterns are a perfect example. As you cut, glue, and create, you’ll find a sense of mindfulness washing over you. This project encourages creativity while allowing you to focus on the present moment—a wonderful way to relax and unwind. Not to mention, it’s a fantastic activity for families, fostering connections through collaboration and shared joy. I love how crafting can boost your confidence as you see your ideas come to life, and these lanterns are a delightful way to explore that feeling.
A Gentle Look at the Process
As we embark on this crafting journey together, you can expect a lovely blend of colors, textures, and creativity. Picture yourself surrounded by bits of tissue paper, a paintbrush in hand, and the sweet smell of craft glue wafting through the air. You’ll start with simple shapes, layering them onto a jar to create a luminous heart design. Each step unfolds with anticipation, and soon you’ll see your lanterns glowing softly, perfect for any occasion.
Materials You’ll Need
- Mason jars or glass jars – These will be the foundation of your lanterns, providing a beautiful canvas.
- Red and pink tissue paper – The vibrant colors will bring your lanterns to life.
- Mod Podge or craft glue – This is your adhesive, securing the tissue paper in place while adding a lovely finish.
- Paintbrush – For applying the glue smoothly and evenly.
- Tea lights (battery-operated recommended) – To safely illuminate your beautiful creations.
- Scissors – To cut your tissue paper into charming shapes.
- Heart-shaped hole punch (optional) – For those who want to add an extra touch of love with heart shapes.
- Ribbon or twine (optional for decoration) – A lovely way to add a finishing touch to your lanterns.
Step-by-Step Directions
Step 1: Prepare Your Tissue Paper
Start by cutting your red and pink tissue paper into small squares or hearts. The size is up to you, but aim for pieces around 1 to 2 inches—this will make them easy to work with. If you’re using a heart-shaped hole punch, this is a great time to make lovely little hearts to sprinkle onto your jar.
Step 2: Apply the Glue
Using your paintbrush, apply a layer of Mod Podge or craft glue to the outside of the mason jar. Don’t worry about being perfect; a little messiness adds character! Just make sure to cover a good portion of the jar where you plan to stick the tissue paper.
Step 3: Attach the Tissue Paper
Begin placing your tissue paper squares or hearts onto the jar. Overlap them for a layered look, and don’t be afraid to mix the colors! Once you have them arranged just how you like, apply another layer of Mod Podge or glue over the top to secure everything in place. This will give your lanterns a beautiful, glossy finish.
Step 4: Let It Dry
Set your decorated jars aside to dry completely. This is a great time to enjoy a warm cup of tea or coffee while you admire your handiwork!
Step 5: Add the Finishing Touches
If you’d like, tie a ribbon or twine around the neck of the jar for a little extra flair. It adds a lovely rustic touch that complements the warmth of the lantern.
Step 6: Light It Up
Finally, place a battery-operated tea light inside each jar. As you turn them on, watch your creations glow softly, casting beautiful heart-shaped shadows around the room. It’s a truly magical sight!
Creative Ways to Use Valentine Heart Jar Lanterns
These heart jar lanterns can be used in so many delightful ways! Set them on your dining table for a romantic dinner, place them on your windowsill to catch the evening light, or give them as heartfelt gifts to loved ones. They also make perfect centerpieces for Valentine’s Day parties or cozy gatherings. You can even create a charming display by grouping several lanterns together of varying heights. The glow will create an inviting atmosphere that fills your space with warmth and love.
How to Store, Preserve, or Reuse Valentine Heart Jar Lanterns
To keep your lanterns looking their best, store them in a cool, dry place when not in use. If dust gathers, gently wipe them with a soft cloth. You can also reuse the jars for different occasions by changing the tissue paper colors or themes, making them versatile decorations year-round!
Creative Variations and Customizations
- Color variations – Experiment with different shades, like purple or gold for a unique touch.
- Theme ideas – Create holiday-themed lanterns for Halloween or Christmas using appropriate colors.
- Seasonal adaptations – Use floral patterns in spring or autumn leaves in fall.
- Kid-friendly modifications – Let little ones create their own designs and take the lead in decorating.
- Advanced creative upgrades – Try adding glitter or glow-in-the-dark paint for an extra surprise effect!
Tips for Success
- Common mistakes to avoid – Don’t rush the drying process; allow ample time for the glue to set.
- Safety tips – Always use battery-operated lights for safety, especially around children.
- Preparation suggestions – Gather all materials before starting to keep the process smooth.
- Cleanup recommendations – Keep a damp cloth nearby to wipe up any glue spills quickly.
- Expert crafting tips – If you’re working with kids, consider pre-cutting the tissue paper for a smoother experience.
FAQs About Valentine Heart Jar Lanterns
Can beginners make this?
Absolutely! This project is perfect for beginners, and I promise you’ll enjoy every step of the way.
Can children participate?
Yes! Kids can help with cutting the tissue paper and placing it on the jars. Just supervise them with the scissors and glue.
How long does it last?
With proper care, your lanterns can last for many seasons. Just store them safely when not in use.
Can I customize it?
Definitely! Feel free to experiment with colors, shapes, and decorations to make it uniquely yours.
A Final Creative Note
As you complete your Valentine Heart Jar Lanterns, take a moment to appreciate the creativity and love that went into making them. Each lantern is a reflection of your unique style and spirit. Remember, crafting is not just about the final product; it’s about the journey of creation, the memories made, and the joy of self-expression. So gather your materials and start crafting today! For more delicious recipes, check out No-Bake Strawberry Shortcake Cheesecake Rolls or Easy Homemade Cream Cheese for treats you will love!
For even more DIY inspiration, follow us on Pinterest!
Valentine Heart Jar Lantern
Ingredients
Equipment
Method
- Step 1: Clean and dry the glass jar thoroughly. Remove all labels, stickers, and adhesive residue from the surface.
- Step 2: Cut red and pink tissue paper into heart shapes or small squares. Make several different sizes and mix the colors for a varied design.
- Step 3: Use a paintbrush to apply a thin layer of Mod Podge or white school glue to a small section of the jar. Carefully place the tissue paper pieces onto the glue and gently smooth away air bubbles.
- Step 4: Continue applying glue and layering tissue paper until the desired area of the jar is covered. Allow each layer to dry before adding additional layers if desired.
- Step 5: Once the tissue paper is completely dry, brush a final thin coat of Mod Podge or diluted white school glue over the surface to seal the design. Allow it to dry completely.
- Step 6: Place an LED tealight candle inside the finished jar. The light will shine through the tissue paper and create a warm romantic glow.
- Step 7: Add ribbon, string lights, or other decorative embellishments around the jar if desired, then display it in a safe location.
Honestly the best experience I have had with a slot site recently. The payouts are fair and the interface is super smooth. Definitely check out jili988casinologin if you want a reliable place to play.
Great selection of games and the promotions are actually useful. It is my go-to spot for some weekend fun. Try 291jiliph if you want a reliable site.
Great platform with a very user friendly design. I feel safe depositing here and the wins are real. Check out nogad88app!
Best betting experience I have had in a long time. The odds are fair and the registration process was a breeze. Give betpk44comlogin a try if you want some real action.
I love how many different game options they have. There is always something new to try and the rewards are quite generous. Definitely check out y88888games.
Goodd post. I learnn something totallky new andd chalenging
oon sites I stumblerupon onn a aily basis. It’s allways eexciting too read contdnt ftom othber writers annd practtice a littlee
sopmething from their wweb sites. xnxx
[8042]bkok লগইন ও অ্যাপ ডাউনলোড | সেরা অনলাইন স্লট ও ক্যাসিনো গেম,bkok লগইন করে উপভোগ করুন লাইভ ডিলার ক্যাসিনো গেম এবং সেরা অনলাইন স্লট গেম। বিকাশ দিয়ে অনলাইন casino খেলার জন্য আজই অ্যাপটি ডাউনলোড করুন। visit: bkok
The login process is so quick and easy. I love how they keep everything organized and user friendly. Just signed up at jili291casinologin and I’m already loving it.