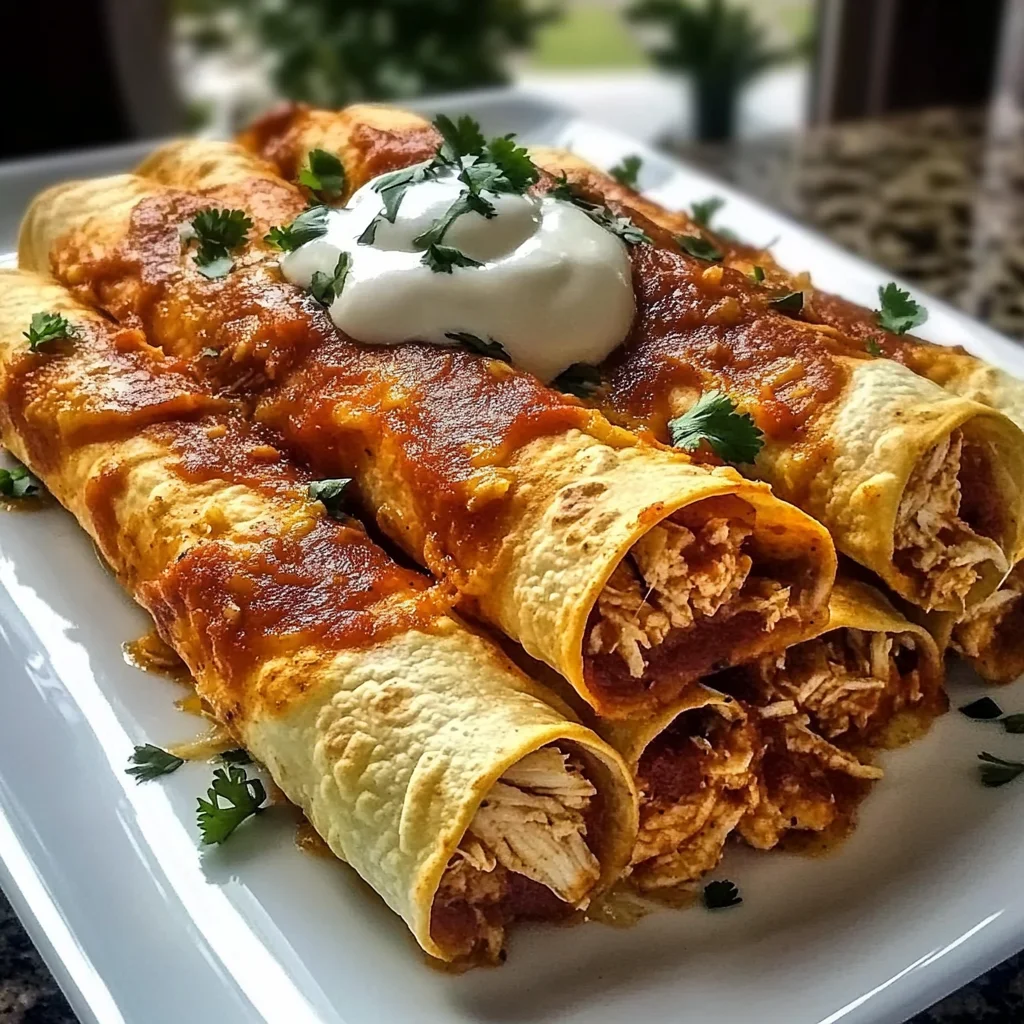
There’s something so comforting about homemade taquitos, isn’t there? The crispy outside, the warm, cheesy filling, and the delightful crunch when you take that first bite. These Easy Baked Chicken Taquitos are not just a treat for your taste buds; they also come together in no time, making them perfect for a busy weeknight dinner or a cozy gathering with friends. Trust me, you’ll want to keep this recipe in your back pocket!
Why You’ll Love Easy Baked Chicken Taquitos
- Fast
- Easy
- Giftable
- Crowd-pleasing
Ingredients
- 2 cups cooked chicken, shredded – Use leftover rotisserie chicken for even quicker prep!
- 1 cup shredded cheese (cheddar or Mexican blend) – Choose your favorite cheese for that perfect melty goodness.
- 1/2 cup salsa – Adds flavor and moisture. You can use mild, medium, or hot based on your preference.
- 1 teaspoon cumin – This spice gives a warm, earthy flavor.
- 1 teaspoon garlic powder – A must for that lovely aromatic touch.
- 1/2 teaspoon salt – Enhances all the flavors.
- 1/4 teaspoon black pepper – Just a hint of spice!
- 10 small flour or corn tortillas – Use whichever you prefer; both work wonderfully!
- Cooking spray or olive oil – For a crispy finish.
How to Make Easy Baked Chicken Taquitos
- Preheat your oven to 400°F (200°C).
- In a mixing bowl, combine the shredded chicken, cheese, salsa, cumin, garlic powder, salt, and black pepper. Mix until everything is well blended.
- Warm the tortillas in the microwave for about 20 seconds to make them pliable. This step is key to avoid tearing!
- Place 2-3 tablespoons of the chicken mixture onto each tortilla and roll them up tightly. Make sure to tuck in the ends as you roll for a neat finish.
- Place the rolled taquitos seam-side down on a baking sheet lined with parchment paper.
- Lightly spray the taquitos with cooking spray or brush them with olive oil. This helps them achieve that golden, crispy texture.
- Bake in the preheated oven for 15-20 minutes, or until golden and crispy. Keep an eye on them during the last few minutes!
- Remove from the oven and let cool slightly before serving. Enjoy!
Substitutions & Additions
If you’re looking to mix things up, here are a few ideas:
- Swap the chicken for shredded beef or beans for a vegetarian option.
- Add in some diced bell peppers or onions for extra veggies.
- Try different types of cheese like pepper jack for a spicy kick!
Tips for Success
- Make sure not to overfill the tortillas, or they might burst while baking.
- If you’re prepping ahead, you can assemble the taquitos and freeze them before baking. Just add a few extra minutes to the baking time if cooking from frozen.
How to Store Easy Baked Chicken Taquitos
These taquitos are best enjoyed fresh, but if you have leftovers, you can store them in an airtight container in the fridge for up to 3 days. To reheat, pop them in the oven at 350°F (175°C) until warmed through, or use an air fryer for that fresh-out-of-the-oven crunch.
FAQs
- Can I make these taquitos ahead of time? Yes! You can assemble them and keep them in the fridge for a day, or freeze them for longer storage.
- What dipping sauces go well with taquitos? Sour cream, guacamole, or more salsa make excellent dips!
Now that you have this delicious recipe, I hope you give it a try soon! Don’t forget to follow my Pinterest for more tasty recipes and cooking inspiration!
Easy Baked Chicken Taquitos
Ingredients
Equipment
Method
- Step 1: Preheat your oven to 400°F (200°C).
- Step 2: In a mixing bowl, combine the shredded chicken, cheese, salsa, cumin, garlic powder, salt, and black pepper. Mix until everything is well blended.
- Step 3: Warm the tortillas in the microwave for about 20 seconds to make them pliable.
- Step 4: Place 2-3 tablespoons of the chicken mixture onto each tortilla and roll them up tightly.
- Step 5: Place the rolled taquitos seam-side down on a baking sheet lined with parchment paper.
- Step 6: Lightly spray the taquitos with cooking spray or brush them with olive oil.
- Step 7: Bake in the preheated oven for 15-20 minutes, or until golden and crispy.
- Step 8: Remove from the oven and let cool slightly before serving. Enjoy!