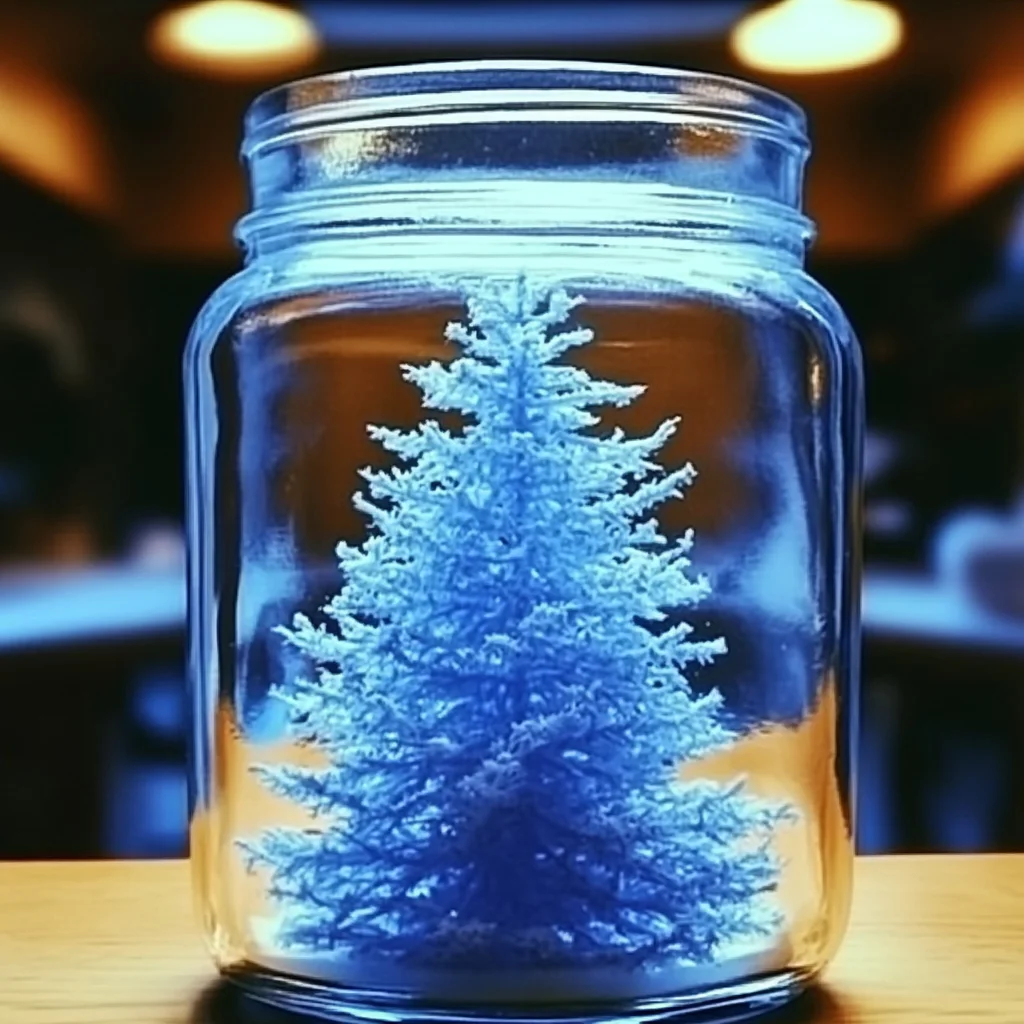
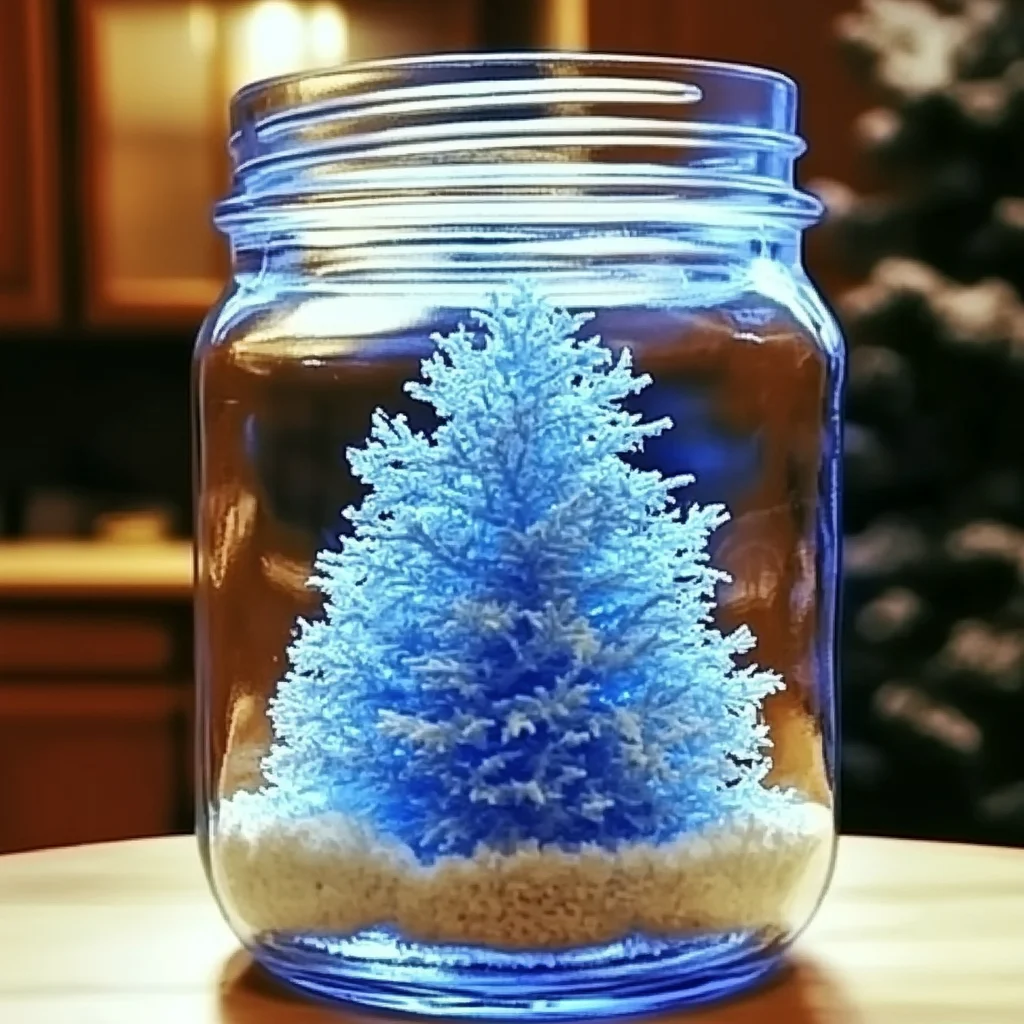
Remember those cozy winter days, maybe with a mug of hot cocoa in hand, watching the snow gently fall outside? There’s something truly magical about a winter wonderland, isn’t there? Today, we’re going to capture that enchanting feeling right in a jar! This DIY Snowstorm in a Jar craft is ridiculously simple, incredibly fun, and the perfect way to bring a little bit of winter magic into your home, no matter the weather outside. It’s a fantastic activity for kids and adults alike, and it makes for a charming handmade gift, too!
Why You’ll Love Snowstorm in a Jar
- Fast: You can whip this up in less than 10 minutes!
- Easy: Seriously, it’s as simple as mixing a few things in a jar.
- Giftable: Imagine gifting these to friends, teachers, or neighbors for a touch of winter cheer.
- Crowd-pleasing: Everyone, from toddlers to grandparents, will be mesmerized by the swirling snow.
Ingredients
Gathering your supplies is part of the fun! Here’s what you’ll need to create your own mesmerizing snowstorm:
- 1 clear glass jar (about 12–16 oz) with a tight-fitting lid. A clean jam jar or mason jar works perfectly!
- 1 cup of water.
- 2 tablespoons of baby oil or vegetable oil. Baby oil gives it a lovely shimmer!
- 1 teaspoon of white school glue. This helps the glitter swirl just right.
- 1 tablespoon of aluminum powder or fine white glitter. The finer the glitter, the better the snowfall effect!
- 1 drop of blue food coloring (optional, but adds a lovely icy touch).
How to Make Snowstorm in a Jar
Ready to create some magic? Let’s get started! It’s a straightforward process, and the results are so satisfying.
-
First things first, grab your clean glass jar. Fill it about three-quarters of the way full with plain old water. This is the base for our winter scene!
-
If you want a subtle hint of winter sky, add just one single drop of blue food coloring to the water. Give it a gentle stir with a spoon or a craft stick to mix it in. Don’t go overboard with the food coloring; we want a delicate tint!
-
Now, it’s time for the glue! Slowly stir in your 1 teaspoon of white school glue. You’ll notice the water getting a little thicker, which is exactly what we want. This helps the glitter suspend in the water and create that magical swirling effect.
-
Next, add your star ingredient: the glitter or aluminum powder! Sprinkle in your 1 tablespoon and stir it gently. Watch as it starts to catch the light. If you’re looking for more crafty ideas, you might enjoy our DIY Fizzing Ice Cubes for another fun science-themed craft!
-
This next step is crucial for the swirling effect. Slowly and carefully pour the 2 tablespoons of baby oil (or vegetable oil) down the inside edge of the jar. Try to pour it in a steady stream; it will settle on top of the water layer.
-
Now, secure the lid tightly onto the jar. Make sure it’s on there good and snug to prevent any leaks!
-
Give the jar a good shake! Watch as the glitter or aluminum powder swirls around like a miniature blizzard. It’s so mesmerizing!
-
Let the contents settle for a moment. See how the glitter slowly drifts down? Give it another gentle shake to re-activate that snowy scene. You can repeat this as many times as you like!
Substitutions & Additions
Feeling creative? You can totally customize your snowstorm! Here are a few ideas:
- Glitter Types: Experiment with different colors of fine glitter, or even chunky glitter for a bolder effect. Biodegradable glitter is a great eco-friendly option!
- The “Snow”: Instead of glitter, try using fine iridescent flakes or even some very finely chopped white tissue paper for a different texture.
- Miniatures: If your jar opening is wide enough, you could try adding a tiny plastic snowman or a little evergreen sprig for a more complete scene. Just make sure they are waterproof! For other fun jar crafts, check out our DIY Crystal Geode Eggs.
- Scents: Add a drop of essential oil like peppermint or pine for a festive aroma.
Tips for Success
A few little tricks can make your snowstorm even more spectacular:
- Use Fine Glitter: Very fine glitter or aluminum powder will swirl and float much better than larger glitter.
- Don’t Overfill: Leave enough space at the top of the jar for the contents to swirl without overflowing.
- Secure the Lid: For extra peace of mind, especially if kids are involved, you can add a bit of strong glue around the rim of the lid before tightening it.
- Prep Ahead: You can prepare a few of these jars ahead of time for a party or a craft event. They store beautifully! If you’re planning a party and looking for more edible treats, you might enjoy our easy homemade cream cheese recipe for dips or spreads.
How to Store Snowstorm in a Jar
These jars are quite durable. Simply keep them sealed with the lid on, and they can be enjoyed again and again. Store them upright in a safe place away from direct sunlight or extreme temperatures. They are quite resilient, but it’s always best to keep them somewhere they won’t get knocked over.
FAQs
What kind of glue should I use?
White school glue (like Elmer’s) works best. It helps to thicken the water slightly, allowing the glitter to swirl more effectively.
Can I use regular craft glitter?
Yes, but fine craft glitter will give you the best “snowfall” effect. Chunky glitter can sometimes sink too quickly.
Can I make these with my kids?
Absolutely! This is a fantastic craft for children. Just supervise younger ones with the glue and ensure the lid is securely fastened.
We hope you have a blast creating your own magical Snowstorm in a Jar! It’s such a simple yet rewarding craft. For more fun ideas and inspiration, be sure to follow us on Pinterest!
DIY Snowstorm in a Jar
Ingredients
Equipment
Method
- First things first, grab your clean glass jar. Fill it about three-quarters of the way full with plain old water. This is the base for our winter scene!
- If you want a subtle hint of winter sky, add just one single drop of blue food coloring to the water. Give it a gentle stir with a spoon or a craft stick to mix it in. Don't go overboard with the food coloring; we want a delicate tint!
- Now, it's time for the glue! Slowly stir in your 1 teaspoon of white school glue. You'll notice the water getting a little thicker, which is exactly what we want. This helps the glitter suspend in the water and create that magical swirling effect.
- Next, add your star ingredient: the glitter or aluminum powder! Sprinkle in your 1 tablespoon and stir it gently. Watch as it starts to catch the light. If you’re looking for more crafty ideas, you might enjoy our DIY Fizzing Ice Cubes for another fun science-themed craft!
- This next step is crucial for the swirling effect. Slowly and carefully pour the 2 tablespoons of baby oil (or vegetable oil) down the inside edge of the jar. Try to pour it in a steady stream; it will settle on top of the water layer.
- Now, secure the lid tightly onto the jar. Make sure it's on there good and snug to prevent any leaks!
- Give the jar a good shake! Watch as the glitter or aluminum powder swirls around like a miniature blizzard. It’s so mesmerizing!
- Let the contents settle for a moment. See how the glitter slowly drifts down? Give it another gentle shake to re-activate that snowy scene. You can repeat this as many times as you like!
What type of tree did you use and what is at the base of the jar?
Thank you for your sharing. I am worried that I lack creative ideas. It is your article that makes me full of hope. Thank you. But, I have a question, can you help me?
Your point of view caught my eye and was very interesting. Thanks. I have a question for you. https://accounts.binance.bh/register/person?ref=JW3W4Y3A