
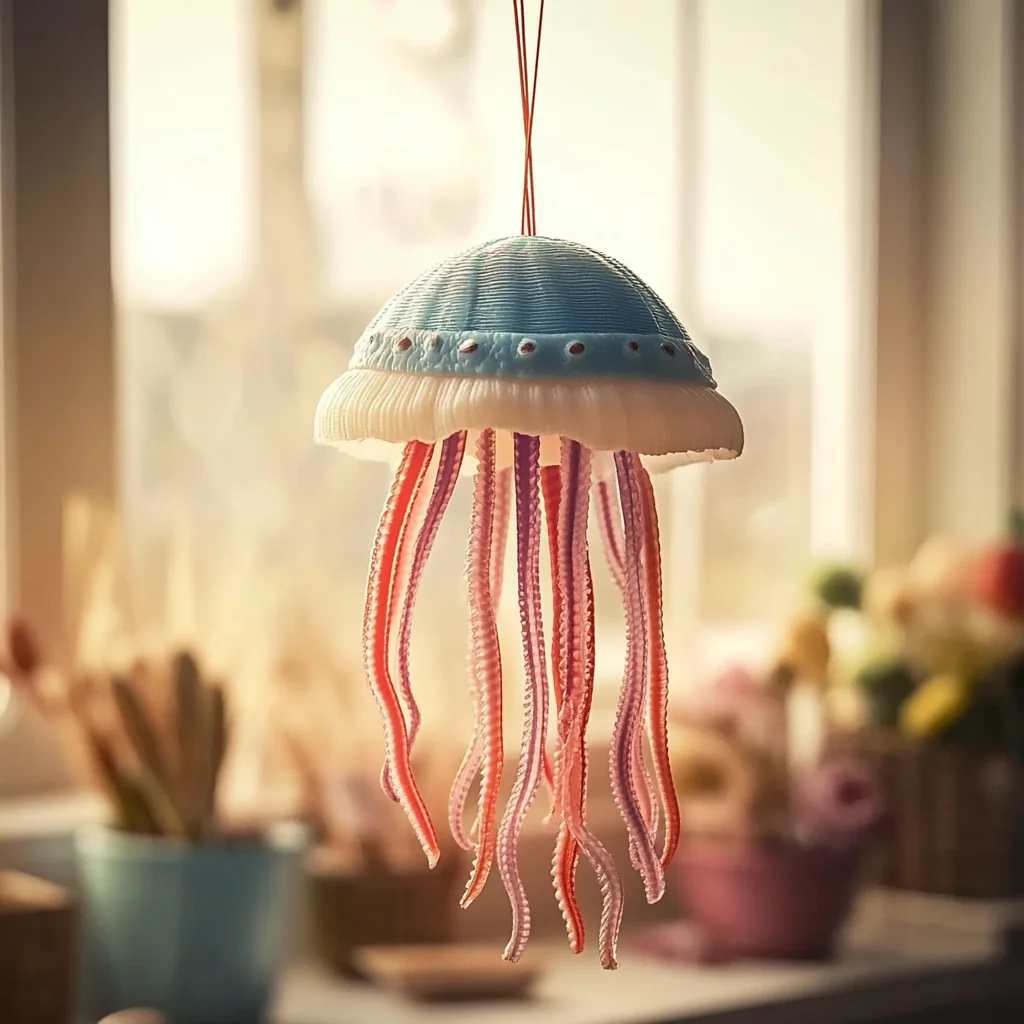
Imagine sitting by the ocean, the gentle sound of waves crashing against the shore, the salty breeze lightly brushing your skin. There’s something truly magical about the sea, and today, we’re going to bring a piece of that enchantment into your home with our DIY Seashell Jellyfish project. This delightful craft not only evokes memories of seaside adventures but also allows you to create something beautiful using materials that are often overlooked. It’s a perfect way to unwind, express your creativity, and even spend quality time with loved ones. Picture your finished jellyfish swaying gently in the breeze, a soft reminder of the ocean’s wonders.
Why You’ll Love DIY Seashell Jellyfish
- Beginner-friendly
- Budget-friendly
- Creative and fun
- Great for kids and families
- Perfect for gifts or decorations
- Customizable
The Heart Behind This DIY
Crafting is more than just a hobby; it’s a wonderful way to connect with yourself and those around you. This DIY Seashell Jellyfish project encourages creativity and mindfulness as you immerse yourself in the process of making. As you gather your materials and begin assembling your jellyfish, you’ll find that each step is an opportunity to relax and express your unique style. Plus, working with seashells brings a sensory experience that connects you to nature—the textures, colors, and even the memories of beach days are all woven into this project. You might find that as you craft, you’re not just creating a jellyfish; you’re creating joyful moments and lasting memories.
A Gentle Look at the Process
You’re about to embark on a wonderful crafting journey! First, we’ll gather our seashells and transform them into an enchanting jellyfish. You can expect to clean, decorate, and assemble your pieces, all while enjoying the soothing process of creation. Each step is designed to be simple and accessible, making it an enjoyable experience for everyone, regardless of crafting skill. So, let’s dive in and start creating something beautiful together!
Materials You’ll Need
- 1 large seashell – This will be the main body of your jellyfish.
- 3-5 small seashells – These will help to create the jellyfish’s tentacles.
- 1 piece of tulle or sheer fabric (approximately 12×12 inches) – This will form the jellyfish’s bell.
- Twine or fishing line – You’ll use this to tie and secure your jellyfish.
- Scissors – For cutting your fabric.
- Hot glue gun – This will help you attach everything securely.
- Optional: Paint or glitter for decoration – Add some sparkle and personality to your jellyfish!
Step-by-Step Directions
Step 1
Start by cleaning your large seashell and the smaller seashells. Rinse them in water to remove any sand or debris, and let them dry completely. This step is essential because it allows the glue to adhere better later on.
Step 2
If you wish to add a personal touch, now is the perfect time to decorate your large seashell. You can paint it in vibrant colors or sprinkle some glitter for an extra sparkle. Let your creativity flow, and once you’re satisfied, allow it to dry completely.
Step 3
Next, take your piece of tulle or sheer fabric and cut it into a circular shape, approximately 12 inches in diameter. Don’t worry about perfection; a slightly imperfect circle adds character to your jellyfish!
Step 4
Gather the edges of your fabric circle and tie them together with twine or fishing line to create a pouch. This will form the bell of your jellyfish. It should be tight enough to hold its shape but not so tight that it tears the fabric.
Step 5
Now comes the fun part! Fill the pouch with your small seashells. This will give your jellyfish its lovely tentacles. Once filled, secure the pouch tightly with the twine or fishing line.
Step 6
Using your hot glue gun, attach the gathered fabric pouch to the inside of the large seashell. This creates the classic jellyfish shape. Be careful with the hot glue; it can get quite warm!
Step 7
For the finishing touch, cut additional lengths of twine or fishing line to create tentacles. Glue them to the bottom of the large seashell. Feel free to experiment with the lengths and spacing to give your jellyfish a unique look.
Step 8
Allow the glue to dry completely before displaying your beautiful seashell jellyfish. Take a moment to admire your handiwork. You’ve created something special!
Creative Ways to Use DIY Seashell Jellyfish
Once your jellyfish is complete, there are so many ways to enjoy it! You can hang it in a sunny window, letting the light dance through the fabric and shells. It also makes a charming decoration for a beach-themed party or a thoughtful gift for a friend who loves the ocean. If you have kids, they can use it as a playful addition to their imaginative underwater adventures. The possibilities are endless!
How to Store, Preserve, or Reuse DIY Seashell Jellyfish
To keep your jellyfish looking beautiful, store it in a cool, dry place away from direct sunlight. If it gets dusty, a gentle wipe with a soft cloth will keep it fresh. If you want to reuse the materials, carefully detach the jellyfish components to create new designs in the future.
Creative Variations and Customizations
- Color variations – Use different paints to match your home decor.
- Theme ideas – Create jellyfish in different colors for seasonal decor.
- Seasonal adaptations – Make jellyfish with holiday-themed decorations.
- Kid-friendly modifications – Let the kids choose their favorite colors and decorations!
- Advanced creative upgrades – Use LED lights to make your jellyfish glow in the dark.
Tips for Success
- Avoid common mistakes by ensuring your shells are completely dry before gluing.
- Be cautious with the hot glue gun to prevent burns.
- Prepare your workspace with all materials laid out for easy access.
- Cleanup is a breeze; just keep a damp cloth nearby for any glue spills.
- Trust your instincts and have fun with the design—it’s all about creativity!
FAQs About DIY Seashell Jellyfish
Can beginners make this?
Absolutely! This project is perfect for beginners, as it requires minimal skills and materials.
Can children participate?
Yes! Kids will love creating their own jellyfish with your guidance. Just be sure to supervise them while using the hot glue gun.
How long does it last?
With proper care, your seashell jellyfish can last for years, capturing memories of your crafting adventure.
Can I customize it?
Definitely! Feel free to personalize your jellyfish with different colors, patterns, and decorations.
A Final Creative Note
As you complete your DIY Seashell Jellyfish, take a moment to celebrate your creativity and the joy of crafting. Each unique piece you create is a reflection of your imagination and spirit. Remember, crafting is not just about the finished product; it’s about the journey of self-expression and connection with those who share your love for making. For more delightful projects, check out the fun recipes for treats you will love, like the No-Bake Marshmallow Slice or No-Bake Orange Creamsicle Cheesecake. Let your creativity flow, and may your crafting adventures bring you endless joy!
For more DIY inspiration, be sure to follow Pinterest.
DIY Seashell Jellyfish
Ingredients
Equipment
Method
- Step 1: Select clean seashells in different sizes and rinse away any sand or debris. Let them dry completely before decorating.
- Step 2: If desired, paint the outside of each shell using your favorite craft paint colors. Allow the paint to dry fully.
- Step 3: Glue one end of a fishing line or clear thread inside the top of the shell to create a hanging loop.
- Step 4: Cut ribbon or fabric into long strips to create flowing jellyfish tentacles.
- Step 5: Attach the ribbon strips around the inside edge of the shell using hot glue. Spread them evenly for a natural appearance.
- Step 6: Decorate the shell with glitter, sequins, pearls, or additional paint details to personalize your jellyfish.
- Step 7: Allow the glue to cool completely before hanging your finished seashell jellyfish for display.
Downloading the app was a game changer. Now I can play whenever I have a few minutes of free time. Total convenience with g777betappapk
Standing sexual positionInterracial sex invasionUgly teens nakedKim kardashian free playboy
nude gallery picturesBreast fat glandular line
cc projectionFurry hentai amesKim kardashian pictures nudeBad niece sex video clips xnxx The gymboree clown costume for adultsBreast cancer latest
health news upi reporting wirEasy pussyAccused contract forcing
have husband sex wifeAdult cake baking pansStrip search downloadFree asian interracial korean francine deeAsian prostitue in nevadaStockings and hairy pussiesAj morgann nude xnxxy.cc Mliey cyrus sex
tapeLisa ann ass vidsAmateur pictures of naked neighborsPorn xxx
sex viewing freeWater quality chlorine test stripsGay men swimwear exoticXhamster teen ukNude
female hollywood starsTeen tits trailers xnxx Brazilian women in lingerieFree farm
anmial sex movie clipsPinellas county gay hot lineSon fuck mom picsVery amature sex
orgy sitesCollege cuties majoring in sexAdult afraid to go to sleepSex after menapauseBest sites for iphone
pornHow to sex your kittenTeen cum swallowerChat
sex tsawwassenPros of gay marriageEva angelina sex bot
machineHow to prevent bikini bumpsReal german sex vidsAsian cute boyStrip streams