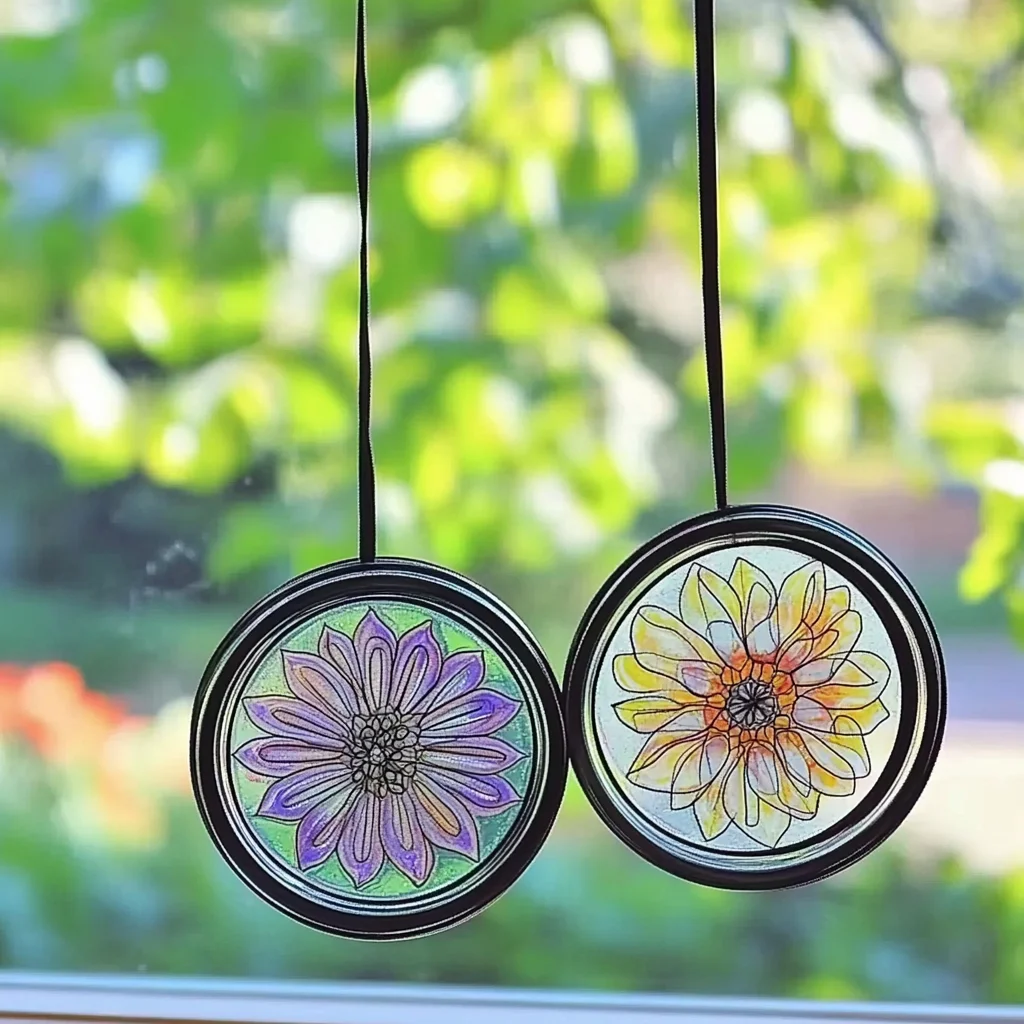
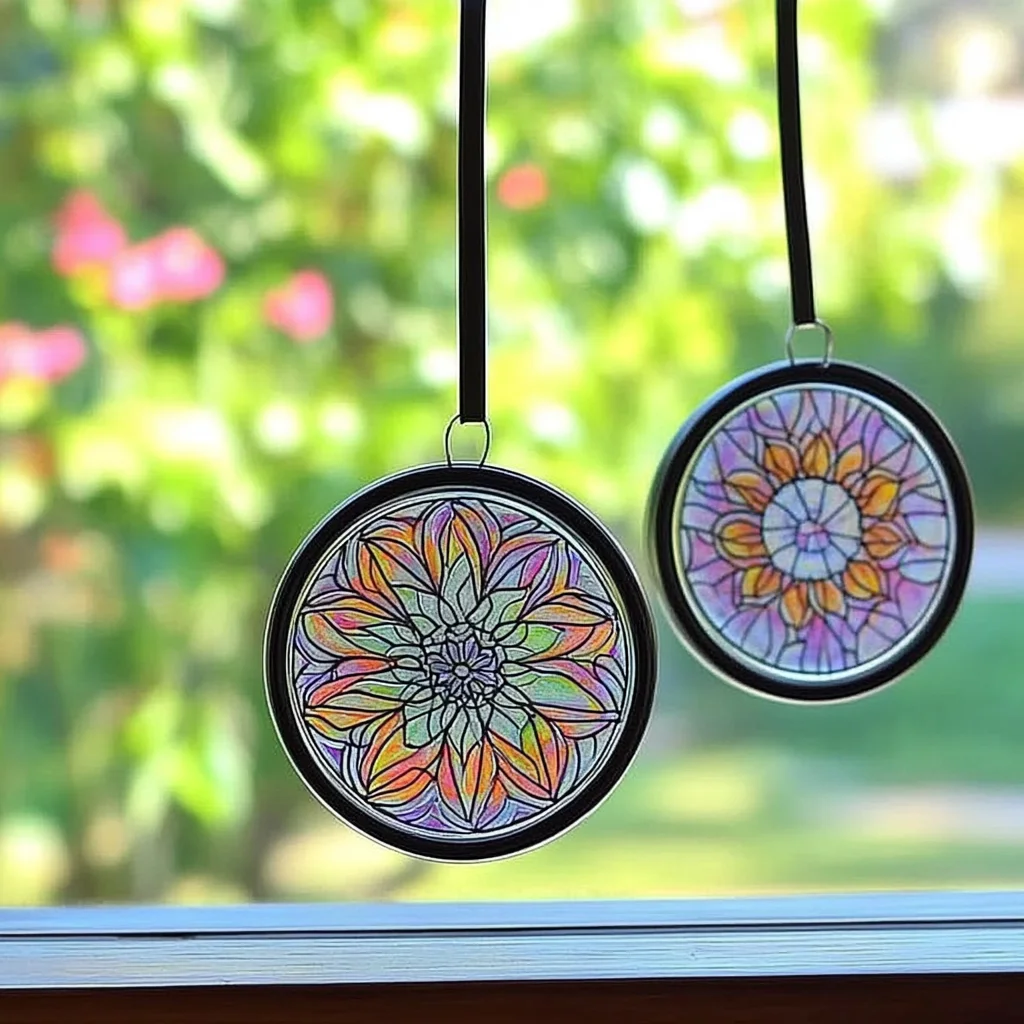
Remember those long, lazy summer days when a simple craft could bring hours of joy? There’s something truly magical about creating something beautiful with your own hands, and this Mason Jar Lid Sun Catcher is no exception! It’s a delightful way to bring a splash of color and a touch of sunshine into your home. Plus, it’s such a simple project, perfect for a rainy afternoon or a fun activity with the kids.
Why You’ll Love Mason Jar Lid Sun Catcher
- Fast: You can whip these up in no time!
- Easy: Seriously, even the littlest crafters can help.
- Giftable: These make adorable, handmade gifts that anyone would adore.
- Crowd-pleasing: They add a pop of color to any window, brightening up your space.
Ingredients
Gathering your supplies is half the fun! Here’s what you’ll need to create these charming sun catchers:
- Colored art page or coloring page: This is where your creativity shines! You can use vibrant construction paper, pretty scrapbook paper, or even print out your favorite coloring pages.
- Mason jar lids: The classic metal lids that come with mason jars are perfect. You’ll just need the flat, circular part.
- Wide Mouth Mason Jar Bands: These are optional, but they add a nice finishing touch to the outer edge of your sun catcher.
- Olive oil or cooking oil: This is the secret ingredient that makes the paper translucent, allowing the sunlight to shine through beautifully.
- Cotton balls: For applying the oil evenly.
- Scissors: For all your cutting needs!
- Twine: To hang your beautiful creation.
- Glue (e.g., Aleene’s Tacky Glue): A good all-purpose craft glue works wonders.
- Paper towel: For blotting any excess oil.
How to Make Mason Jar Lid Sun Catcher
Let’s get crafting! Follow these simple steps to create your own dazzling sun catchers:
- Oil Up Your Art: Grab a cotton ball and dip it lightly into your chosen oil. Gently rub the oil all over your colored art page or coloring page. You want it to be evenly coated, but not so much that it’s dripping. Think of it like giving the paper a light sheen. Then, use a paper towel to gently dab away any excess oil. Let it sit for about 5 minutes to soak in. This step makes the paper beautifully translucent!
- Trace and Cut: Place one of your mason jar lids onto the oiled art page. Using a pencil, trace around the inside of the lid. This will give you the perfect circle size. Carefully cut out this circle. You want the paper to fit snugly inside the lid, like a puzzle piece.
- Glue It In: Apply a thin layer of glue to the inside rim of the mason jar lid. Carefully place your cut-out paper circle into the lid, making sure the colored side is facing outward so it’s ready to catch the light!
- Wrap and Hang: Take your twine and wrap it around the outer rim of the mason jar lid. Tie a secure knot. Then, leave a good length of twine (about 4 inches or so) and tie another knot at the top. This knot is what you’ll use to hang your sun catcher. If you’re using the mason jar bands, you can glue the lid with the artwork into the band for a more finished look before adding the twine.
And voilà! You’ve just created a beautiful Mason Jar Lid Sun Catcher. Isn’t it amazing how a few simple items can transform into something so cheerful? If you’re looking for more easy craft ideas, you might enjoy our DIY Clear Glue Flower Suncatcher or perhaps a fun science experiment like our Mini Volcano Jar Science Experiment.
Substitutions & Additions
Feel free to get creative with this recipe! Here are a few ideas:
- Paper types: Experiment with different kinds of paper! Tissue paper can create a softer, more diffused look, while thicker cardstock might hold up better to oil.
- Glitter: Add a sprinkle of fine glitter to the glue before placing the paper for some extra sparkle.
- Embellishments: You could glue small sequins, beads, or even pressed flowers onto the paper before adhering it to the lid.
- Framing: As mentioned, the wide-mouth mason jar bands make a lovely frame. You can even paint them a fun color before starting!
- Multiple Lids: String several sun catchers together to create a charming garland.
Tips for Success
A few little tricks can make your sun catcher-making even smoother:
- Don’t Oversaturate: The key to oiling the paper is to get it translucent, not greasy. Too much oil can make the paper fragile.
- Secure the Twine: Make sure your knots are good and tight so your sun catcher doesn’t fall!
- Perfect Placement: When gluing the paper into the lid, make sure it lies flat to avoid wrinkles.
- Prep Ahead: You can oil and cut out all your paper circles in advance, making assembly super quick when you’re ready. This is especially helpful if you’re making a bunch for a craft party.
How to Store Mason Jar Lid Sun Catcher
These little beauties are meant to be displayed! If you happen to have extras or want to save them for later, store them flat in a box or a large envelope to prevent them from getting bent or damaged. They are quite durable, but it’s always best to protect your handmade treasures!
FAQs
- Can kids do this craft unsupervised? While it’s a fairly simple craft, adult supervision is recommended, especially when using scissors and handling oil.
- How long will the oil-treated paper last? The oil treatment is quite stable and should last for a very long time, keeping the paper translucent.
- Can I use baby oil instead of cooking oil? Yes, baby oil or mineral oil would also work well for making the paper translucent.
We hope you have a blast making these Mason Jar Lid Sun Catchers! They’re such a fun and easy way to brighten up your home. For more crafty inspiration and delicious recipes, be sure to check out our main page at Lana Recipes. You might also love our recipes for baking brownies in a bread pan or our delightful easiest lemon meltaway cookies!
Happy crafting, and don’t forget to follow us on Pinterest for even more creative ideas!
DIY Mason Jar Lid Sun Catcher
Ingredients
Equipment
Method
- Step 1: Dip a cotton ball into the oil and gently coat the colored art page evenly. Blot away excess oil with a paper towel and let it sit for 5 minutes to become translucent.
- Step 2: Place a mason jar lid on the oiled paper and trace around its inside with a pencil. Carefully cut out the traced circle.
- Step 3: Apply a thin layer of glue to the inside rim of the mason jar lid. Place the cut-out paper circle into the lid, colored side facing out.
- Step 4: Wrap twine around the outer rim of the lid, tie a knot, and leave about 4 inches for hanging, tying another knot at the top. Optionally, glue the lid into a mason jar band before adding the twine.