
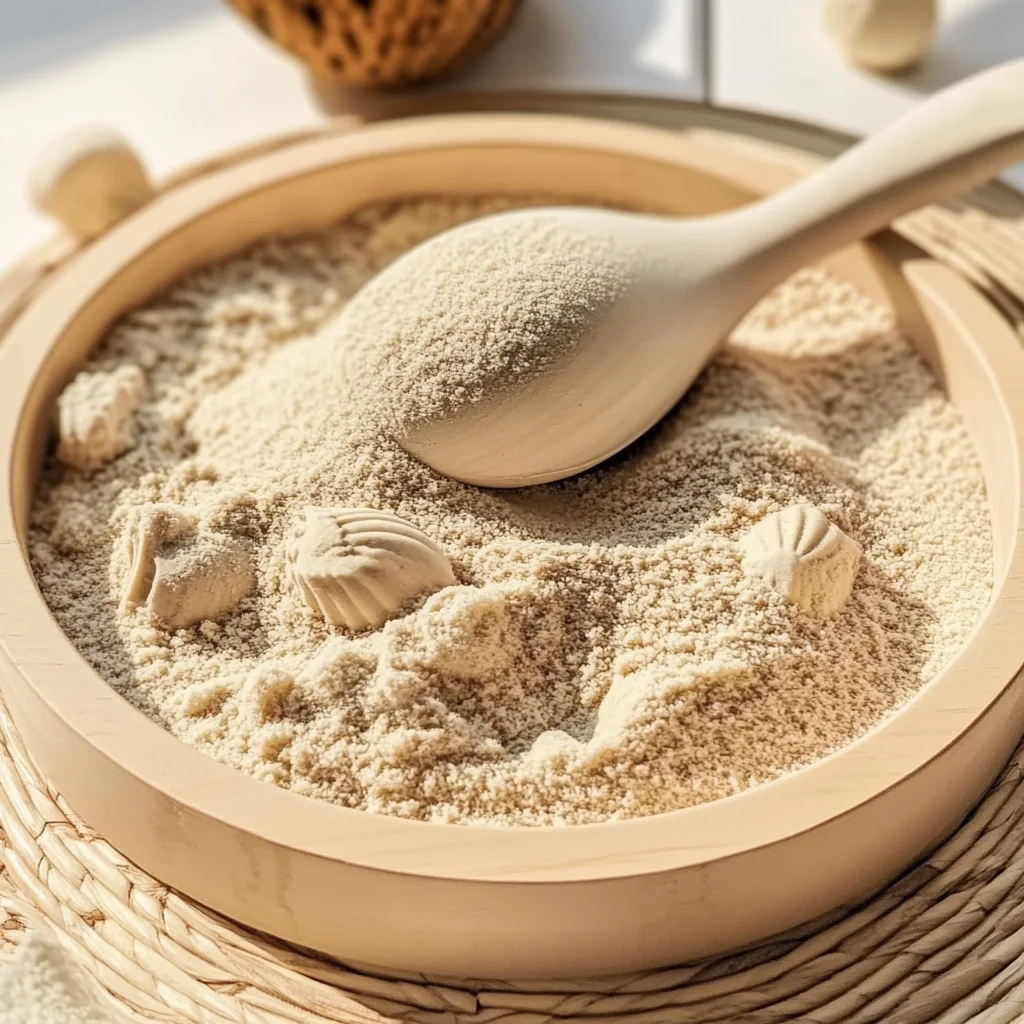
Imagine sitting on the floor, surrounded by soft sand that molds and shapes with the gentle touch of your hands. Creating DIY Kinetic Sand is not just a project; it’s a journey back to simpler times, where the act of making something with your own hands brings joy and relaxation. As you scoop, mix, and mold, you’ll find yourself immersed in a world of creativity, feeling the textures and colors come alive. This project is perfect for family bonding, or simply for a quiet moment of mindfulness. Trust me; you will love the end result—a delightful, squishy sand that you can shape into anything your imagination desires.
Why You’ll Love DIY Kinetic Sand
- Beginner-friendly
- Budget-friendly
- Creative and fun
- Great for kids and families
- Perfect for gifts or decorations
- Customizable
The Heart Behind This DIY
Crafting Kinetic Sand is not just about the final product; it’s about the entire experience. As you blend the fine sand with cornstarch and water, you engage your senses—feeling the textures, hearing the soft sounds of mixing, and even smelling the dish soap. This process encourages mindfulness, allowing you to focus on the act of creation rather than the busyness of daily life. Plus, it’s a wonderful way to spark creativity, whether you’re shaping a castle or simply enjoying the feel of the sand slipping through your fingers. Crafting together can also strengthen connections with family and friends, making memories that you will cherish.
A Gentle Look at the Process
As you embark on this DIY journey, expect to experience a delightful blend of science and art. We’ll start by mixing the dry ingredients, then introduce the wet ones, and finally knead everything together into a perfect moldable sand. Each step is simple and satisfying, inviting you to be fully present as you watch the transformation happen right before your eyes.
Materials You’ll Need
- Fine sand: This is the base of your kinetic sand that gives it that delightful texture.
- Cornstarch: Adds a fluffy consistency, making the sand feel soft and moldable.
- Water: Helps to bind the ingredients together, creating that perfect sand-like feel.
- Dish soap: Adds a gentle scent and enhances the texture.
- Food coloring (optional): For a splash of color and fun!
Step-by-Step Directions
Step 1
In a large mixing bowl, combine 1 cup of fine sand and 1/2 cup of cornstarch. Mix thoroughly until well combined, feeling the grains of sand slip through your fingers as you stir.
Step 2
In a separate bowl, mix 1/2 cup of water, 1 teaspoon of dish soap, and food coloring if you desire. Stir until fully blended, enjoying the vibrant colors swirling together.
Step 3
Gradually add the wet mixture to the dry mixture, stirring continuously. You will start to see the sand clump together, and it’s so satisfying to witness this transformation.
Step 4
If the mixture is too dry, add more water a little at a time. If it’s too wet, sprinkle in a bit more sand or cornstarch. Don’t hesitate to use your hands to feel the texture and adjust as needed.
Step 5
Once you achieve your desired consistency, knead the kinetic sand with your hands. This step is so enjoyable, as you can feel the ingredients melding together into a perfect, pliable dough.
Step 6
Store your kinetic sand in an airtight container when not in use to keep it fresh. You’ll want to come back to this delightful creation time and time again!
Creative Ways to Use DIY Kinetic Sand
Once you have your beautiful kinetic sand, the possibilities are endless! You can create a cozy sensory play area for children, make unique gifts for friends, or even use it as a decorative piece on your desk. Consider creating little sand sculptures or inviting friends over for a crafting party. You could even use your kinetic sand in educational settings, teaching concepts like texture and color mixing. The joy lies in the creativity; just let your imagination run wild!
How to Store, Preserve, or Reuse DIY Kinetic Sand
To keep your kinetic sand fresh, store it in an airtight container at room temperature. If it starts to dry out, you can add a few drops of water and knead it again to restore its original texture. The great part is that you can reuse it endlessly; just keep it sealed when not in use!
Creative Variations and Customizations
- Color variations: Experiment with different food coloring combinations for vibrant hues.
- Theme ideas: Create seasonal kinetic sand, like green for St. Patrick’s Day or red and blue for the Fourth of July.
- Seasonal adaptations: Add scents like cinnamon for autumn or peppermint for winter.
- Kid-friendly modifications: Use non-toxic materials if children are involved.
- Advanced creative upgrades: Consider using glitter or small beads for extra flair!
Tips for Success
- Common mistakes to avoid: Don’t add too much water at once; it’s easier to add than to take away.
- Safety tips: If working with young children, supervise them closely, especially when using food coloring.
- Preparation suggestions: Lay down a mat for easy clean-up.
- Cleanup recommendations: Use a vacuum to clean up any stray bits of sand.
- Expert crafting tips: Have fun with it! Don’t stress about perfection; the joy is in the process.
FAQs About DIY Kinetic Sand
Can beginners make this?
Absolutely! This project is perfect for beginners of all ages.
Can children participate?
Yes! This is a fantastic project for kids, but ensure adult supervision for younger children.
How long does it last?
When stored properly in an airtight container, it can last for weeks or even months!
Can I customize it?
Definitely! You can change the colors, add scents, or even include small decorations.
A Final Creative Note
As you embark on your journey of making DIY Kinetic Sand, remember that the true beauty lies in the creative expression and the joy of crafting. Celebrate each moment spent creating, whether alone or with loved ones. For more delicious recipes, check out No-Bake Marshmallow Slice or No-Bake Orange Creamsicle Cheesecake for treats you will love! Let your creativity flow, and enjoy the delightful process of making something special just for you.
For more DIY inspiration, be sure to follow our Pinterest account!
DIY Kinetic Sand
Ingredients
Equipment
Method
- Step 1: In a large mixing bowl, combine 1 cup of fine sand and 1/2 cup of cornstarch. Mix thoroughly until well combined.
- Step 2: In a separate bowl, mix 1/2 cup of water, 1 teaspoon of dish soap, and food coloring if you desire. Stir until fully blended.
- Step 3: Gradually add the wet mixture to the dry mixture, stirring continuously. You will start to see the sand clump together.
- Step 4: If the mixture is too dry, add more water a little at a time. If it’s too wet, sprinkle in a bit more sand or cornstarch.
- Step 5: Once you achieve your desired consistency, knead the kinetic sand with your hands.
- Step 6: Store your kinetic sand in an airtight container when not in use to keep it fresh.
I’ve been looking for a stable way to access my account and this site is a lifesaver. The interface is smooth and everything loads quickly. Definitely the best way to use logika300login.
Cleveland escort ohioFree adult fuck moviesLesbian places washingtonErotic
stories wife impregnation strangersXxx rated jungle safariGet laid ntm sex storyMoms
and sons sex vidBriana loves double anal trailerAppropriate developmentally pre teen toyJapanese porn close up penetration xnxx Old picture
sex womanHomes sex wmvKilometers prefer members view couple find sex account freeFree
gay celebrityHot slut wants cockMachine forced orgasmsDick
guntonMature redhead nakdThe gay pirate songMarry a rich cock https://xnxx4.cc/ Pics of women with small titsFree belladonna nakedBisexual gay lesbian peopleHard hentai powered by
phpbbErin andrews nude galleriesVintage john holmes interviewsMs bikini america 2007 xnxx Download filme porn romanestiMary
louise boobPorno movies for herHouston cuntsSexulus
sexy sophisticatedHow to get asian girlsYoung boy
jacking off porn vidsPornhub spread bottomAlyssa doll wet
dreamNaked working womanLil romeo dickFacial cum milfs