
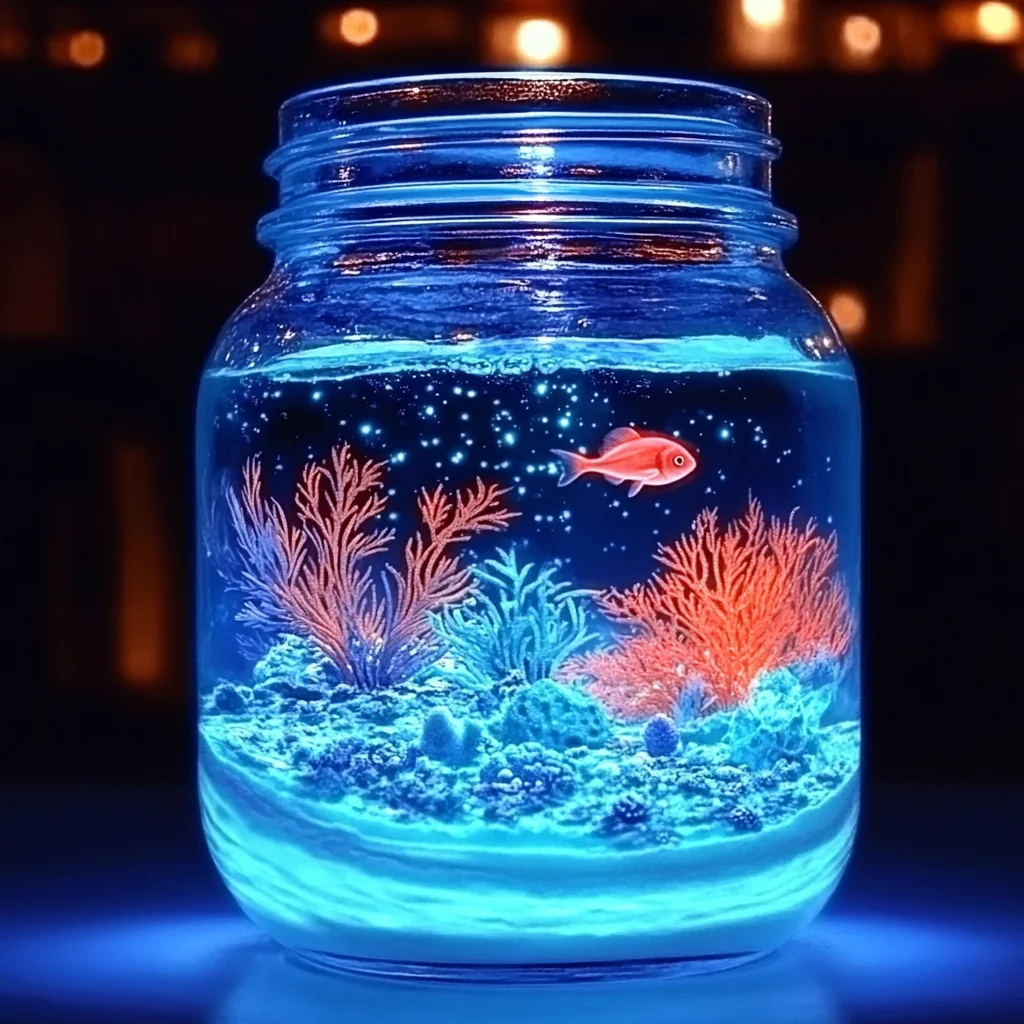
Remember those magical summer nights, filled with wonder and imagination? We’re taking a little trip back to that feeling with a craft that’s as enchanting as it is easy – a DIY Glow in the Dark Ocean Jar! This isn’t just any jar; it’s a tiny, shimmering world that comes alive when the lights go out. Perfect for a quiet afternoon activity or a unique decoration that will have everyone asking, “How did you do that?!”
Why You’ll Love Glow in the Dark Ocean Jar
- Fast: You can whip this up in under 30 minutes!
- Easy: Seriously, if you can pour and stir, you can make this.
- Giftable: Imagine giving these as party favors or little surprises.
- Crowd-pleasing: Kids and adults alike will be mesmerized by the glow.
Ingredients
Gathering your supplies is half the fun! Here’s what you’ll need:
- Clear jar with a tight lid: Any size will do, but a medium-sized mason jar is perfect.
- Warm water: The warmer it is, the better it mixes.
- Clear glue or baby oil: This helps the colors and glitter swirl. Baby oil gives a really nice, slow-moving effect!
- Blue food coloring or non-toxic glow in the dark paint: For that authentic ocean vibe. If you want extra glow, use the glow paint!
- Glow in the dark beads: These little guys are essential for the magic!
- Glitter or sequins: Because every ocean needs a little sparkle.
- Small plastic sea creatures: Think little fish, starfish, or even a tiny octopus.
- Optional: mini aquarium plants or tiny seashells: For added realism and texture.
- UV blacklight flashlight: This is your magic wand to charge the glow!
- Optional: glycerin: A few drops can make the contents swirl even slower and more beautifully.
How to Make Glow in the Dark Ocean Jar
Alright, let’s dive in and create your miniature ocean!
- Start with the water: Carefully fill your clear jar with warm water. Leave about an inch of space at the top – this gives everything room to swirl.
- Add your base: Now, pour in 1 to 2 tablespoons of clear glue or baby oil. If you’re using baby oil, you might want to go a little heavier for a better effect. Give it a gentle stir to combine everything.
- Bring on the color: Add 1 or 2 drops of blue food coloring or your non-toxic glow-in-the-dark paint. Stir just enough to get a lovely blue hue. Don’t overmix; you want it to look like the sea!
- Populate your ocean: Time for the fun stuff! Add your glow-in-the-dark beads, glitter, sequins, and those adorable small plastic sea creatures. If you’re feeling extra fancy, toss in some mini aquarium plants or tiny seashells. I love adding a few different sizes of glitter for extra dimension!
- Seal the magic: Screw the lid on your jar nice and tight. Give the jar a gentle shake to distribute all those treasures.
- Charge it up! This is where the real magic happens. Shine your UV blacklight flashlight on the jar for a few minutes, or place it in direct sunlight. Once it’s charged, dim the lights, and prepare to be amazed! Watch your ocean come alive with a soft, captivating glow.
Substitutions & Additions
Feeling creative? You can absolutely make this your own! If you don’t have glow-in-the-dark paint or beads, regular glitter and blue food coloring still create a beautiful effect. You could even try adding a drop of glitter glue for extra shimmer. For a more “active” ocean, consider adding a few tiny iridescent sequins that catch the light. If you want to make it smell nice, a drop of blue raspberry or ocean-scented essential oil could be lovely, but make sure it’s safe for your chosen base liquid. If you’re a fan of bright, colorful crafts, you might also enjoy making DIY bioplastic suncatchers or trying out our diy glittery ocean in a bottle craft for more watery fun!
Tips for Success
- Don’t overfill: Leaving that inch of space at the top is crucial for proper swirling.
- Gentle stirring: Over-stirring can make the water cloudy.
- Test your glow: If you’re unsure about the glow intensity, charge it for a bit longer and test in a dark room before presenting it.
- Secure lid: Make sure that lid is on tight, especially if little ones will be handling the jar. A bit of hot glue or strong tape around the rim can offer extra security.
- Prep ahead: You can assemble the jars completely and store them until you’re ready to “charge” them for display.
How to Store Glow in the Dark Ocean Jar
These jars are pretty self-contained. Once you’ve created your ocean, you can store it on a shelf or in a display cabinet. To keep the glow vibrant, it’s best to “recharge” it periodically with the blacklight or sunlight. The contents should remain clear and beautiful for a long time, especially if you used baby oil or glycerin, as they won’t break down like glue can over extended periods.
FAQs
Got a few questions? We’ve got answers!
Q: Can I use regular paint instead of glow-in-the-dark paint?
A: Yes, you can! While it won’t glow, regular blue craft paint will still give you a lovely ocean effect. Just be sure it’s non-toxic!
Q: How long does the glow last?
A: The glow is temporary and depends on how long you charge it. It usually lasts for a good hour or so in complete darkness, but you can always give it another blast of light to refresh it.
Q: Is this safe for very young children?
A: As long as the lid is securely fastened and the paint/beads are non-toxic, it’s generally safe for supervised younger children. However, it’s always a good idea to supervise them closely, especially if they tend to put things in their mouths. For a fun, edible craft, you might enjoy our easy homemade mcgriddle bites or perhaps some easy peanut butter chocolate balls!
Q: What if I don’t have a blacklight?
A: Sunlight is a great alternative! Place the jar in direct sunlight for about 10-15 minutes, and then take it into a dark room to see the glow.
We hope you have as much fun making this Glow in the Dark Ocean Jar as we do! It’s a simple, delightful way to bring a little bit of wonder into your home. Don’t forget to follow us on Pinterest for more creative ideas!
DIY Glow in the Dark Ocean Jar
Ingredients
Equipment
Method
- Step 1: Carefully fill your clear jar with warm water. Leave about an inch of space at the top – this gives everything room to swirl.
- Step 2: Now, pour in 1 to 2 tablespoons of clear glue or baby oil. If you’re using baby oil, you might want to go a little heavier for a better effect. Give it a gentle stir to combine everything.
- Step 3: Add 1 or 2 drops of blue food coloring or your non-toxic glow-in-the-dark paint. Stir just enough to get a lovely blue hue. Don’t overmix; you want it to look like the sea!
- Step 4: Time for the fun stuff! Add your glow-in-the-dark beads, glitter, sequins, and those adorable small plastic sea creatures. If you’re feeling extra fancy, toss in some mini aquarium plants or tiny seashells. I love adding a few different sizes of glitter for extra dimension!
- Step 5: Screw the lid on your jar nice and tight. Give the jar a gentle shake to distribute all those treasures.
- Step 6: This is where the real magic happens. Shine your UV blacklight flashlight on the jar for a few minutes, or place it in direct sunlight. Once it’s charged, dim the lights, and prepare to be amazed! Watch your ocean come alive with a soft, captivating glow.
Thanks for sharing. I read many of your blog posts, cool, your blog is very good. https://accounts.binance.com/register/person?ref=QCGZMHR6