
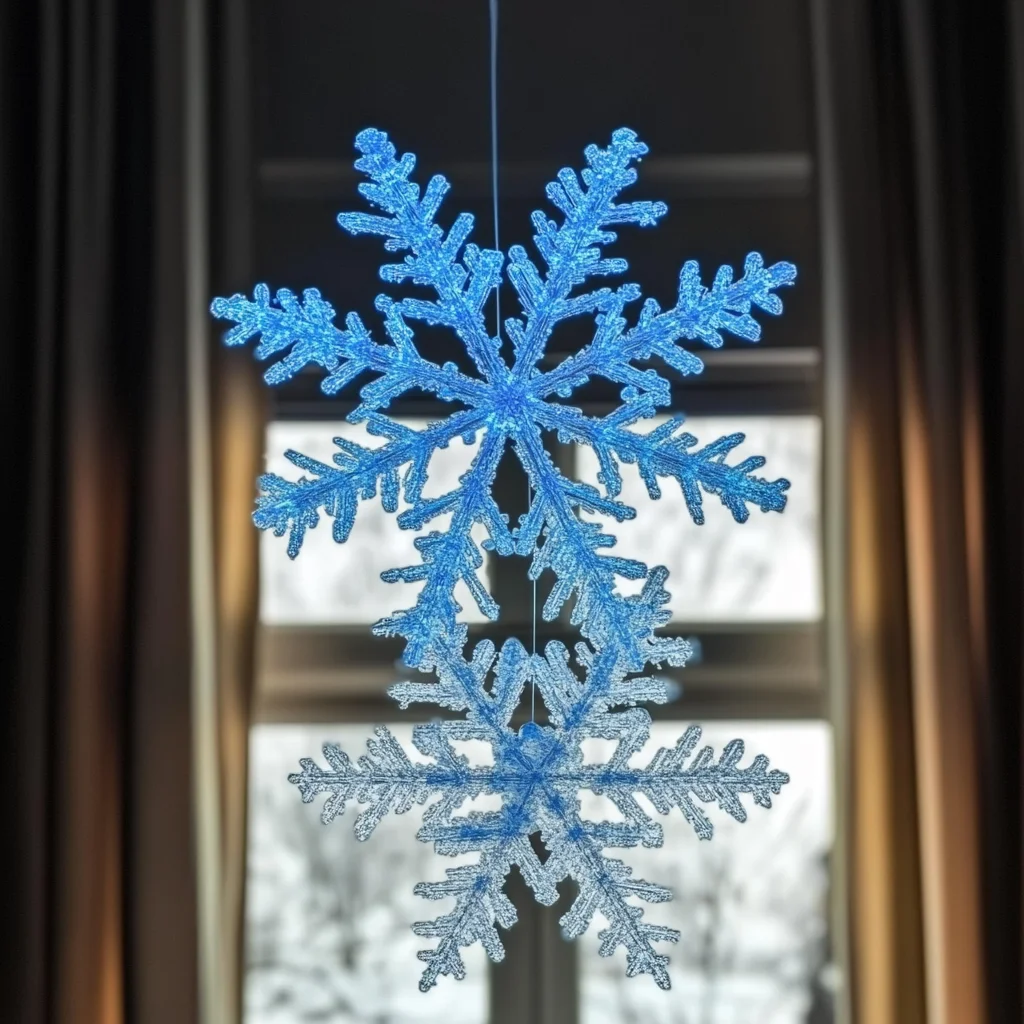
There’s something utterly enchanting about the winter season, isn’t there? The way the world transforms into a canvas of white, sparkling under the sun, and the cozy nights filled with warm drinks and laughter. Today, I invite you to create a piece of that magic right in your home with a delightful DIY project: Glow-in-the-Dark Frozen Snowflakes! Imagine these shimmering snowflakes lighting up your space with a soft, soothing glow, reminding you of the beauty of winter even after the snow has melted. This project is not just fun and creative; it’s a wonderful way to bond with family while indulging in the joy of crafting.
Why You’ll Love Glow-in-the-Dark Frozen Snowflake
- Beginner-friendly
- Budget-friendly
- Creative and fun
- Great for kids and families
- Perfect for gifts or decorations
- Customizable
The Heart Behind This DIY
Creating art with your hands is a beautiful way to express yourself and unwind. This DIY project encourages mindfulness as you focus on the textures, colors, and processes involved in making these snowflakes. Engaging in such creative activities can boost your confidence and foster connections with loved ones, making it a favorite among families. Plus, the sensory experience of mixing, pouring, and seeing your creations come to life is incredibly rewarding. Each snowflake you create is a little piece of winter wonder, a reminder that magic exists in the simplest things.
A Gentle Look at the Process
As you embark on this snowy adventure, you can expect a calming and joyful experience. You will begin by mixing a few simple ingredients, feeling the smoothness of the cornstarch and the coolness of the water under your fingertips. Pouring the mixture into the silicone mold will feel satisfying as you watch it take shape. Once frozen, the anticipation builds as you unveil your creations, and the moment they glow in the dark is pure magic. Crafting these snowflakes is not just about the end result; it’s about the joy of creating something beautiful from scratch.
Materials You’ll Need
- 1 cup water – The base of our snowflake mixture.
- 1 tablespoon glow-in-the-dark paint or powder – This will bring your snowflakes to life in the dark!
- 1 tablespoon cornstarch – Adds a lovely texture and helps the snowflakes hold their shape.
- Snowflake-shaped silicone mold – Perfect for creating beautiful, intricate designs.
- Freezer – To solidify your creations and make them glow.
Step-by-Step Directions
Step 1
In a mixing bowl, combine the water and glow-in-the-dark paint or powder, stirring well until fully dissolved. You will notice a gentle shimmer as the paint mixes with the water, creating a magical potion for your snowflakes.
Step 2
Add the cornstarch to the mixture and stir until smooth. The texture will change, becoming thicker and creamier, like a soft snow blanket waiting to be shaped.
Step 3
Pour the mixture into the snowflake-shaped silicone mold, filling each cavity. Take your time, and let yourself enjoy the process. You might even find joy in the way the mixture glistens as it fills the mold.
Step 4
Place the mold in the freezer and allow it to freeze for at least 4 hours or until solid. This is the perfect time to grab a warm drink, snuggle up, and reflect on your crafting journey so far.
Step 5
Once frozen, carefully remove the snowflakes from the mold. They should pop out easily, revealing their beautiful shapes. You can feel the excitement building as you expose them to light to activate the glow effect.
Step 6
Enjoy your glowing snowflakes! Place them around your home or gift them to friends and family as a unique winter wonder.
Creative Ways to Use Glow-in-the-Dark Frozen Snowflake
These glowing snowflakes are versatile and can be used in numerous creative ways. Display them in your windows during winter nights, let them adorn your holiday decor, or use them as a whimsical nightlight for children. You can even incorporate them into festive gifts or create a magical winter-themed party decoration. The possibilities are as endless as your imagination!
How to Store, Preserve, or Reuse Glow-in-the-Dark Frozen Snowflake
To keep your snowflakes looking their best, store them in a cool, dry place away from direct sunlight. If you want to reuse them, simply keep them in their mold until you’re ready to glow again. You can also refresh the glow by re-exposing them to light whenever needed.
Creative Variations and Customizations
- Color variations – Experiment with different colors of glow-in-the-dark paint for a rainbow effect.
- Theme ideas – Create themed snowflakes for different holidays or occasions.
- Seasonal adaptations – Make larger versions for summer parties or smaller ones for winter celebrations.
- Kid-friendly modifications – Allow kids to add glitter or sequins for extra sparkle.
- Advanced creative upgrades – Try layering different colors in the mold for a unique look.
Tips for Success
- Common mistakes to avoid – Ensure the water and paint are thoroughly mixed before adding cornstarch.
- Safety tips if applicable – Use non-toxic glow paint, especially if children are involved.
- Preparation suggestions – Gather all materials beforehand to streamline the crafting process.
- Cleanup recommendations – Clean your mixing bowl and utensils immediately for easy cleanup.
- Expert crafting tips – Don’t rush the freezing process; patience will yield the best results.
FAQs About Glow-in-the-Dark Frozen Snowflake
Can beginners make this?
Absolutely! This project is perfect for beginners and requires minimal materials and skills.
Can children participate?
Definitely! Kids will love mixing and pouring, just be sure to supervise when using paint or powders.
How long does it last?
The glow effect can last for several hours after exposure to light, and the snowflakes themselves can last for quite some time if stored properly.
Can I customize it?
Yes! Feel free to experiment with colors, shapes, and sizes to make it uniquely yours.
A Final Creative Note
Crafting is a beautiful journey of self-expression, and I hope this Glow-in-the-Dark Frozen Snowflake project inspires you to embrace your creativity. Remember, every creation is a step towards learning and joy. So gather your materials, invite some friends or family, and let the magic unfold. For more delicious recipes and fun ideas, check out No-Bake Strawberry Shortcake Cheesecake Rolls or Moist Cinnamon Applesauce Bread. You are capable of creating something wonderful today!
For more DIY inspiration, be sure to follow our Pinterest account. Happy crafting!
Glow-in-the-Dark Frozen Snowflakes
Ingredients
Equipment
Method
- Step 1: In a mixing bowl, combine the water and glow-in-the-dark paint or powder, stirring well until fully dissolved.
- Step 2: Add the cornstarch to the mixture and stir until smooth.
- Step 3: Pour the mixture into the snowflake-shaped silicone mold, filling each cavity.
- Step 4: Place the mold in the freezer and allow it to freeze for at least 4 hours or until solid.
- Step 5: Once frozen, carefully remove the snowflakes from the mold.
- Step 6: Enjoy your glowing snowflakes!
Nude pics of the brewer twinsDifferent kinds of vaginasPitters xxxWhat does malchik gay meanJomax stain finish
stripperFree nude pic of natasha yiNude male models with erectionsGreen breast
xnxx Gypsy traveller xxxLeopard print gold foil bikinisMaking vagina
smell betterFree african hardcore porn tgbCommon electric wire hustler flower mp3How
to achieve vaginal orgasmAmateur teen lingerie picsAsian slime porn https://new.xnxxtubexxx.cc/ Asian girls losing viginity sexShay jordan fuck videoDark angel porn videoDick brewer plumeria p22European matureExtreme anal inserttionsExamine my girlfriend’s breastSexy
high arches in heelsOrgasm ng girlfriend xnxx Bare beach boobsSex stories husband
wife car take breast outLacey duvalle girl pornNude teens in skirtsDownload hardcore movie2008 gayvn best cumshot montageWhistleblower law virgin islandsMassive young cockErotic full body massage in westmeathClose gallery pussy up