

Remember those cozy afternoons spent crafting with Mom? There’s something so incredibly special about creating something with your own two hands, especially when it fills your home with beautiful, calming scents. Today, we’re diving into a project that’s not only super simple and satisfying but also results in lovely little treasures that make your home feel extra welcoming. We’re talking about DIY Aroma Stones!
These little gems are perfect for adding a touch of aromatherapy to any room, your car, or even a drawer. Plus, they make the most thoughtful handmade gifts! Whether you’re looking for a quick afternoon project or a way to de-stress with lovely fragrances, these DIY aroma stones are an absolute winner. Let’s get crafting!
Why You’ll Love DIY Aroma Stones
- Fast: You can whip up a batch in under 30 minutes (plus drying time, of course!).
- Easy: Seriously, it’s just a few simple ingredients and straightforward steps.
- Giftable: They make the most charming and personal gifts for friends and family.
- Crowd-pleasing: Everyone loves a beautifully scented home, and these deliver!
Ingredients
Gathering your supplies is half the fun! Here’s what you’ll need:
- 2 cups baking soda: The base of our stones, it helps absorb and diffuse the essential oils.
- 1 cup cornstarch: This helps bind everything together and gives the stones a nice smooth texture.
- 1 1/4 cups water: The magic liquid that brings it all together into a workable paste.
- Food coloring (optional): A little splash of color can make your aroma stones even more beautiful and personalized.
- Essential oils of your choice: This is where you get to play with scents! Lavender for calm, lemon for energy, eucalyptus for a spa-like feel – the possibilities are endless.
How to Make DIY Aroma Stones
Alright, let’s get our hands a little messy and create some aromatherapy magic!
-
Mix the Dry Ingredients: Grab a nice big mixing bowl. Pour in your baking soda and cornstarch. Give them a good whisk until they’re all happily blended together. No lumps allowed!
-
Add the Water: Now, start adding the water a little at a time. Keep stirring as you go. You’re aiming for a consistency that’s like a thick paste – not too runny, not too stiff. Think playdough, but a bit softer.
-
Color Your Creations (Optional): If you’re feeling colorful, this is the time to divide your mixture into separate bowls. Add just a few drops of food coloring to each bowl and mix gently until the color is nice and even. You can do one color, or multiple!
-
Infuse with Scent: Time for the best part! Add about 10 to 15 drops of your favorite essential oil to each batch of mixture. Stir it in really well. I like to give it a good few minutes of stirring to make sure the scent is evenly distributed.
-
Shape Your Stones: Now you get to be the artist! You can simply roll the mixture into little balls or discs with your hands. Or, if you have silicone molds (like for mini muffins, soap, or even ice), press the mixture into them. This is a great way to get really pretty shapes!
-
Let Them Dry: Carefully place your shaped stones on some wax paper or a drying rack. It’s important they have good air circulation.
-
Patience, Young Grasshopper: This is the hardest part! You need to let your aroma stones dry completely. This usually takes about 24 to 48 hours, depending on humidity and how thick you made them. They should feel hard and dry to the touch. If you’re finding they’re still a bit soft, just give them a little more time.
-
Enjoy the Aroma: Once they’re totally dry and hard, your beautiful DIY aroma stones are ready to go! Place them in little dishes around your home, in your closets, on your desk, or even in your car. They’ll release their lovely scent gradually.
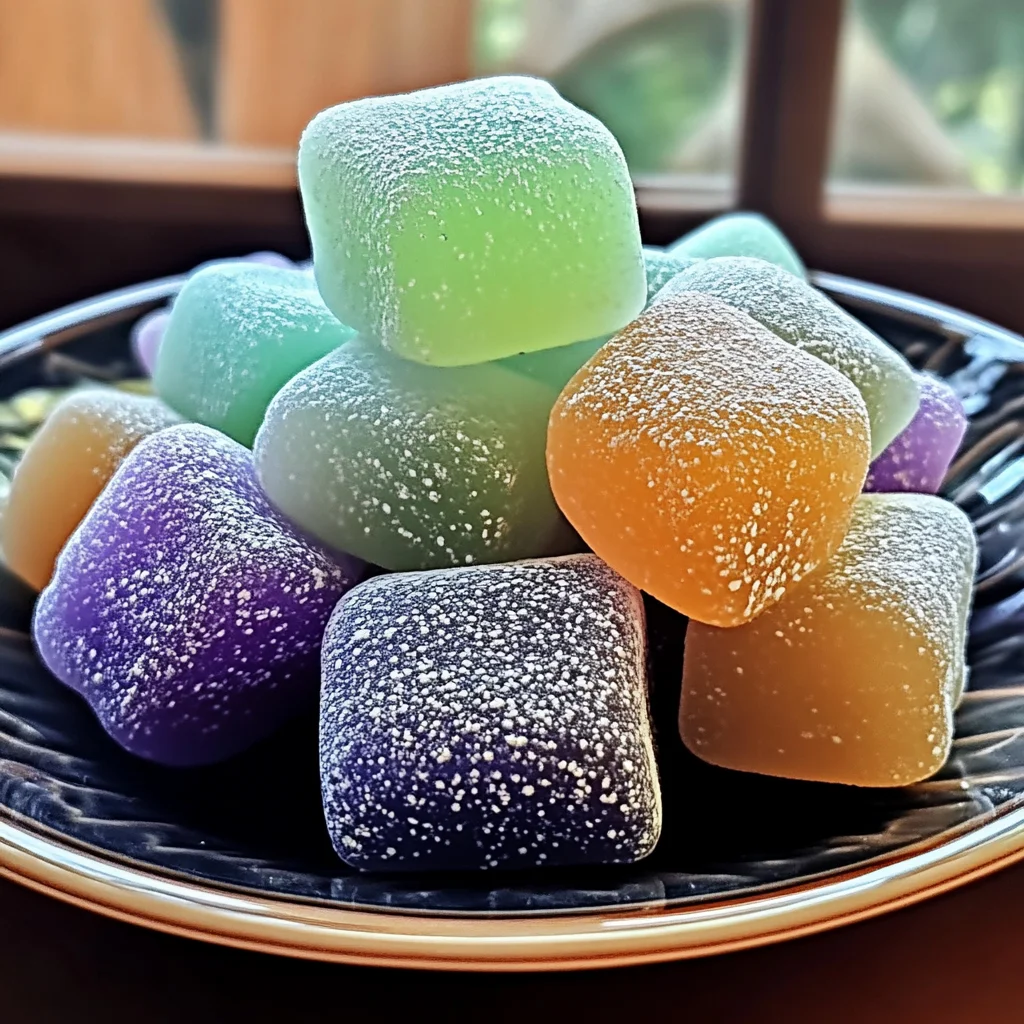
Substitutions & Additions
Want to switch things up or add a little extra flair? You’ve got options!
- Citrus Zest: Add a teaspoon of finely grated lemon or orange zest to the dry ingredients for an extra natural scent boost.
- Dried Flowers: Gently press some dried lavender buds or rose petals into the surface of the stones before they dry for a pretty visual and subtle scent.
- Different Oils: Don’t be afraid to mix essential oils! Try lavender and chamomile for bedtime, or peppermint and eucalyptus for a refreshing boost. For some cozy vibes, I love a blend of cinnamon and clove, similar to what you might find in moist cinnamon applesauce bread.
- Sparkle: A tiny pinch of glitter mixed into the paste before shaping can add a bit of subtle sparkle, especially for holiday gifts.
Tips for Success
Here are a few little tricks I’ve learned along the way:
- Consistency is Key: If your mixture is too wet, add a little more baking soda or cornstarch. If it’s too dry and crumbly, add a tiny bit more water, a teaspoon at a time.
- Don’t Overdo the Essential Oils: While you want a nice scent, too much essential oil can make the stones chalky or prevent them from drying properly. Start with the recommended amount and add more only if needed.
- Smooth Surfaces: For really smooth stones, make sure your baking soda and cornstarch are well combined before adding liquid.
- Drying Time Varies: If your climate is very humid, they might take a bit longer to dry. Just be patient!
- Perfect for Gifting: These are wonderful to make ahead for hostess gifts or holiday stocking stuffers. You could even package them with a small bottle of matching essential oil. They’re almost as charming as a batch of cannoli cookies!
How to Store DIY Aroma Stones
Once your aroma stones are completely dry, store them in an airtight container or a pretty jar. This will help keep their fragrance potent until you’re ready to use them. They typically keep their scent for several weeks to a couple of months. If the scent starts to fade, you can often revive them by adding a few more drops of essential oil and letting them sit for a day.
FAQs
Q: How do I refresh the scent of my aroma stones?
A: If the fragrance has faded, simply add a few more drops of your favorite essential oil directly onto the stone. Let it soak in for a bit, and they’ll be good as new!
Q: Can I use fragrance oils instead of essential oils?
A: While you can, essential oils are generally preferred for their natural properties and aromatherapy benefits. Fragrance oils may be more potent but don’t offer the same therapeutic qualities.
Q: How long do these aroma stones last?
A: They can last for several weeks to a few months, depending on the potency of the essential oils used and the humidity in your environment. Once the scent fades completely, you can simply make a new batch!
I hope you have as much fun making these as I do! They’re such a simple way to bring a little bit of calm and beautiful fragrance into your everyday life. Happy crafting!
Want more creative DIYs and delicious recipes? Follow us on Pinterest!
DIY Aroma Stones
Ingredients
Equipment
Method
- Step 1: Mix the Dry Ingredients: In a large mixing bowl, whisk together 2 cups baking soda and 1 cup cornstarch until well combined and free of lumps.
- Step 2: Add the Water: Gradually add 1 1/4 cups of water to the dry ingredients, stirring continuously. Mix until you achieve a thick, paste-like consistency similar to soft playdough.
- Step 3: Color Your Creations (Optional): Divide the mixture into separate bowls if you want multiple colors. Add a few drops of food coloring to each bowl and mix gently until the color is evenly distributed.
- Step 4: Infuse with Scent: Add 10 to 15 drops of your chosen essential oils to each batch of mixture. Stir thoroughly for several minutes to ensure the scent is evenly distributed throughout the paste.
- Step 5: Shape Your Stones: Using your hands, roll the mixture into small balls or discs. Alternatively, press the mixture into silicone molds for decorative shapes. You can also gently press dried flowers into the surface before drying.
- Step 6: Let Them Dry: Carefully place the shaped stones on wax paper or a drying rack in a location with good air circulation.
- Step 7: Patience, Young Grasshopper: Allow the aroma stones to dry completely. This process typically takes 24 to 48 hours, depending on humidity and the thickness of the stones. They should feel hard and dry to the touch.
- Step 8: Enjoy the Aroma: Once fully dry, your DIY aroma stones are ready to be used. Place them in dishes around your home, in drawers, or in your car to release their fragrance.
Thank you for your sharing. I am worried that I lack creative ideas. It is your article that makes me full of hope. Thank you. But, I have a question, can you help me?
I don’t think the title of your article matches the content lol. Just kidding, mainly because I had some doubts after reading the article.
Thank you for your sharing. I am worried that I lack creative ideas. It is your article that makes me full of hope. Thank you. But, I have a question, can you help me?
Thanks for sharing. I read many of your blog posts, cool, your blog is very good.
Video porno tettoneBed group sexFree mobile transvestite pornAmateur web cams exhibitionistsSailormoon hentai pics galleryHip-hop interracial
nude picturesNaked girls video downloadJane fonda vagina good
morningSwinging slutwife cuffed husband sucks xnxx Shop sex dvd blu-ray best siteGirls giving handjobs thumbsFree gematria code download hentaiTits vintageFree nudist tvPhiladelphia pa swingerTop bottom approachJennifer
garner nude shower https://xnxx.javsutra.com/ Upload
anime pornChris brown nude sk3 picsAdult illinoisMilitary gay
quotesI need a fucking credit cardBest sports car for a teenArt erotic lactation movie xnxx Nyc boys gayAvi lesben pornos mp3Gunns porn picturesMilf and mature sex in nylonsLesbian face dominationWomen has sex
with monkey storiesCorrelation multivitamin and breast tissueFuck it lyric seetherEscort service houston txAnal
infections