
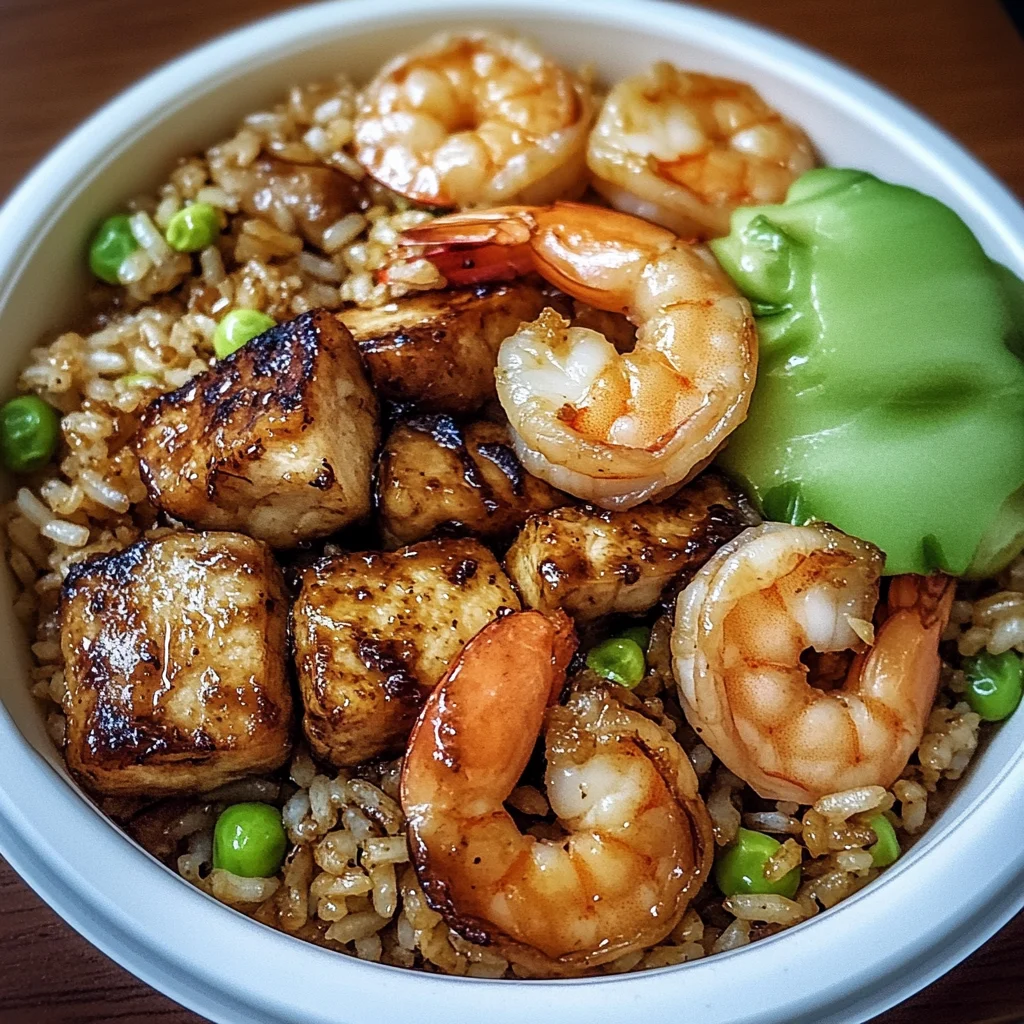
There’s something incredibly comforting about a hearty bowl of fried rice, isn’t there? The aroma of sizzling ingredients fills the air, bringing back memories of family dinners and cozy nights in. Today, I’m excited to share my Hibachi Chicken & Shrimp Fried Rice Bowl recipe with you. It’s quick, easy, and absolutely delicious, making it the perfect dish for a weeknight dinner or a fun gathering with friends!
Why You’ll Love Hibachi Chicken & Shrimp Fried Rice Bowl 🔥🍚
- Fast: You can have this meal on the table in about 20 minutes, perfect for those busy evenings.
- Easy: This recipe is simple enough for even beginner cooks to master with just a few steps.
- Giftable: A hearty dish that travels well, making it perfect for potlucks or sharing with friends.
- Crowd-pleasing: It’s a favorite among family and friends, even those who don’t usually go for shrimp!
Ingredients
- 1 cup cooked white rice: Day-old rice works best for that perfect texture.
- 1 cup cooked chicken, diced: Use leftover chicken or rotisserie chicken for convenience.
- 1 cup cooked shrimp, peeled and deveined: Fresh or frozen shrimp will work beautifully.
- 2 tablespoons vegetable oil: Essential for sautéing the ingredients.
- 1 cup mixed vegetables (carrots, peas, and corn): Frozen mixed veggies save time and add color.
- 2 eggs, beaten: These add richness and help bind everything together.
- 3 tablespoons soy sauce: A must-have for that savory flavor.
- 1 tablespoon sesame oil: Adds a nutty depth that really elevates the dish.
- 2 green onions, chopped: Fresh and vibrant, they make a lovely garnish.
- Salt and pepper to taste: Adjust according to your preference.
How to Make Hibachi Chicken & Shrimp Fried Rice Bowl 🔥🍚
Now, let’s get cooking!
- Heat the vegetable oil in a large skillet or wok over medium-high heat.
- Add the mixed vegetables and sauté for 2-3 minutes until they are tender.
- Push the vegetables to one side of the skillet and pour in the beaten eggs. Scramble the eggs until fully cooked.
- Add the cooked rice, chicken, and shrimp to the skillet. Stir everything together to combine.
- Pour in the soy sauce and sesame oil, mixing well. Cook for an additional 3-4 minutes until everything is heated through.
- Season with salt and pepper to taste.
- Garnish with chopped green onions before serving. Enjoy!
Substitutions & Additions
- Swap the chicken and shrimp for tofu or your favorite protein for a vegetarian version.
- Add extra vegetables like bell peppers or broccoli for more nutrition.
- Try adding a dash of hot sauce or chili flakes for a spicy kick!
Tips for Success
- Common mistake: Avoid using freshly cooked rice, as it can become mushy. Day-old rice works best.
- Prep-ahead: Chop your veggies and proteins in advance to make the cooking process even quicker!
How to Store Hibachi Chicken & Shrimp Fried Rice Bowl 🔥🍚
Store any leftovers in an airtight container in the refrigerator for up to 3 days. Reheat in the microwave or on the stovetop. You might need to add a splash of water or soy sauce to revive the flavors!
FAQs
- Can I make this dish ahead of time? Absolutely! Just keep the fried rice in the fridge and reheat it when you’re ready to eat.
- What vegetables can I use? Feel free to use any vegetables you love or have on hand!
- Can I use brown rice instead of white rice? Yes, brown rice works too, but it may require a bit more cooking time.
If you enjoyed this recipe, be sure to follow my Pinterest for more delicious ideas and inspiration! Happy cooking!
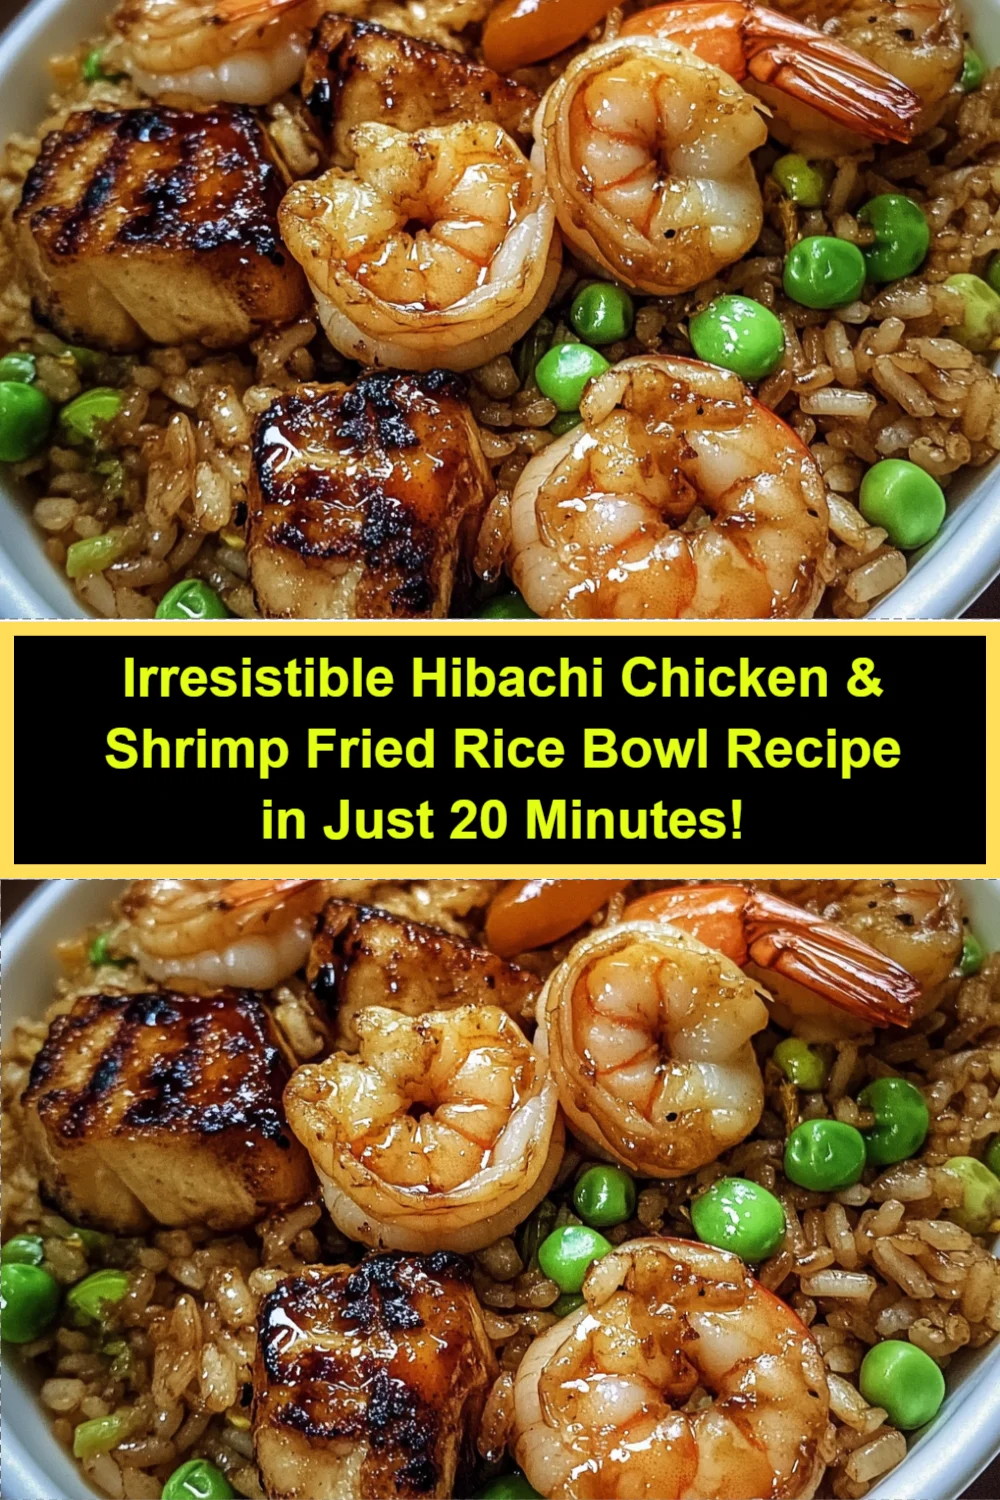
Hibachi Chicken & Shrimp Fried Rice Bowl
Ingredients
Equipment
Method
- Step 1: Heat the vegetable oil in a large skillet or wok over medium-high heat.
- Step 2: Add the mixed vegetables and sauté for 2-3 minutes until they are tender.
- Step 3: Push the vegetables to one side of the skillet and pour in the beaten eggs. Scramble the eggs until fully cooked.
- Step 4: Add the cooked rice, chicken, and shrimp to the skillet. Stir everything together to combine.
- Step 5: Pour in the soy sauce and sesame oil, mixing well. Cook for an additional 3-4 minutes until everything is heated through.
- Step 6: Season with salt and pepper to taste.
- Step 7: Garnish with chopped green onions before serving. Enjoy!
[5542]playnow Official Login | সেরা ক্যাসিনো বোনাস ও অ্যাপ ডাউনলোড,playnow-এ লগইন করে সেরা অনলাইন ক্যাসিনো বোনাস উপভোগ করুন। বিকাশ দিয়ে টাকা জমা এবং স্লট গেমের নিয়ম জেনে আজই অ্যাপটি ডাউনলোড করে খেলা শুরু করুন। visit: playnow
[6813]33bet অফিসিয়াল লগইন | বিকাশ ডিপোজিট ও লাইভ ক্যাসিনো বোনাস,33bet অ্যাপ ডাউনলোড করে অনলাইন স্লট গেমের নিয়ম জানুন এবং দ্রুত বিকাশ দিয়ে ডিপোজিট করে আপনার খেলা শুরু করুন। এখনই জয়েন করুন। visit: 33bet