
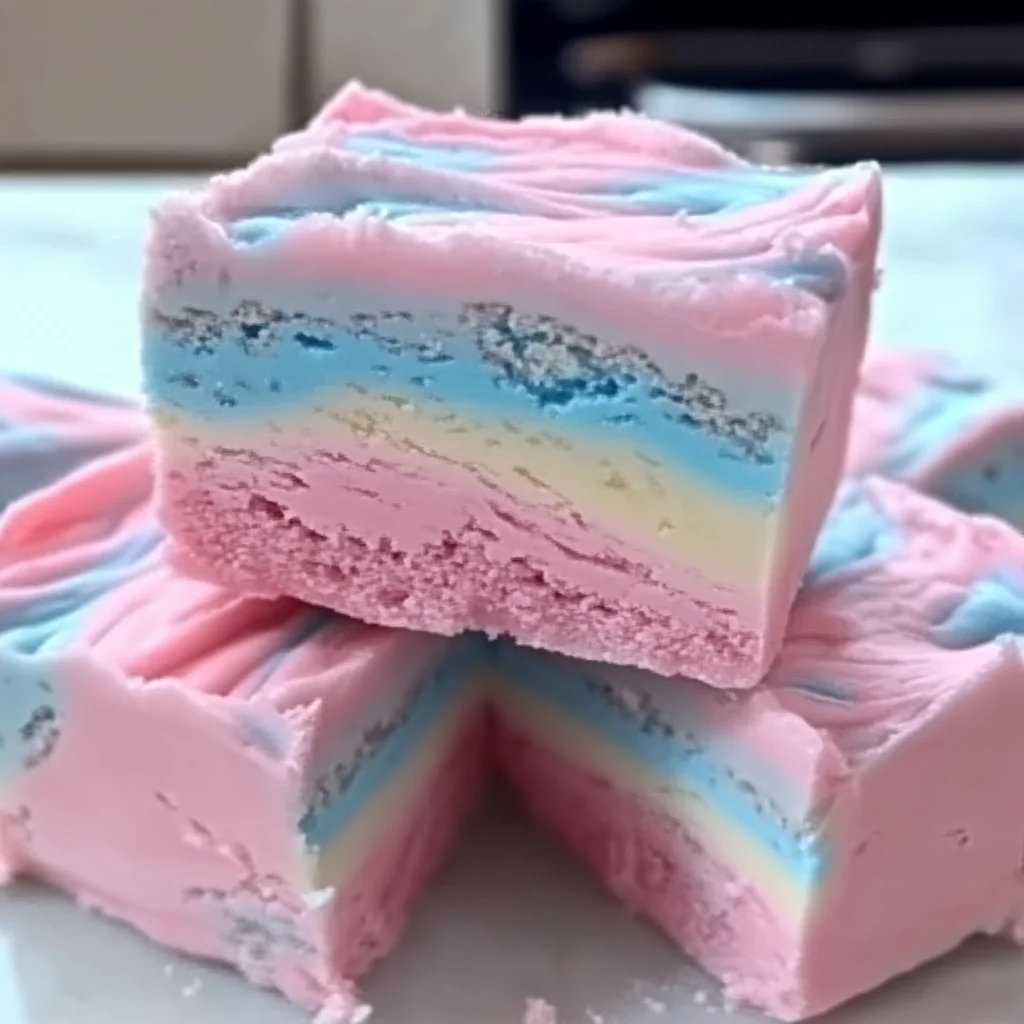
Ah, the smell of cotton candy at the fair! It brings back so many memories of laughter, joy, and those bright, colorful clouds of sugary goodness. Today, I’m excited to share a recipe that captures that nostalgic feeling in a deliciously easy way. This Cotton Candy Fudge is not only quick to make, but it also requires zero baking, making it a perfect treat for any occasion. Trust me, your taste buds will thank you!
Why You’ll Love It looks like a unicorn and tastes like a carnival — just 4 ingredients for this Cotton Candy Fudge and zero baking required. 🍭
- Fast: You can whip up this treat in under 30 minutes.
- Easy: Just melt, mix, and chill — it’s that simple!
- Giftable: This fudge is a delightful gift for friends and family.
- Crowd-pleasing: It’s a fun and festive treat that everyone will enjoy.
Ingredients
- 1 (14 oz) can sweetened condensed milk: This adds creaminess and sweetness to the fudge.
- 3 cups white chocolate chips: The base of this fudge, providing that deliciously sweet flavor.
- 1 teaspoon cotton candy flavoring: This is the magic ingredient that gives it that carnival taste.
- Pink and blue food coloring: For fun colors that make your fudge look as good as it tastes!
How to Make It looks like a unicorn and tastes like a carnival — just 4 ingredients for this Cotton Candy Fudge and zero baking required. 🍭
- In a medium saucepan over low heat, combine the sweetened condensed milk and white chocolate chips. Stir continuously until the chocolate is fully melted and the mixture is smooth.
- Remove the saucepan from heat and stir in the cotton candy flavoring. It will smell amazing!
- Divide the melted mixture in half into two separate bowls. Add a few drops of pink food coloring to one bowl and blue food coloring to the other, mixing until you achieve your desired colors.
- In a lined 8×8 inch baking dish, alternate spoonfuls of the pink and blue mixtures, swirling them together to create a marbled effect. Don’t worry about it being perfect; the imperfections make it look even more fun!
- Refrigerate for at least 2 hours or until set. Once firm, cut into squares and serve. Enjoy the smiles!
Substitutions & Additions
If you’re looking to mix things up, here are some fun ideas:
- Use different flavored extracts like vanilla or strawberry for a new twist.
- Try adding sprinkles on top for extra fun and crunch.
- Feel free to experiment with other colors like purple or yellow for a rainbow effect.
Tips for Success
- Don’t rush the melting process; low heat is key to avoiding burnt chocolate.
- Make sure to line your baking dish with parchment paper for easy removal.
- If the fudge is too soft after chilling, try putting it back in the fridge for a bit longer.
How to Store It looks like a unicorn and tastes like a carnival — just 4 ingredients for this Cotton Candy Fudge and zero baking required. 🍭
Store your Cotton Candy Fudge in an airtight container in the refrigerator. It will keep well for up to two weeks, but I doubt it will last that long! The fudge can also be frozen for up to three months — just make sure to wrap it tightly.
FAQs
- Can I use dark chocolate instead of white chocolate? Technically, yes! But it will change the flavor profile significantly.
- What if I can’t find cotton candy flavoring? You can substitute with vanilla extract, but it won’t have that classic cotton candy taste.
- Can I add nuts or other mix-ins? Absolutely! Chopped nuts or crushed candies can add a fun texture.
If you enjoyed this recipe and want to discover more delightful treats, be sure to follow my Pinterest account for inspiration and ideas!
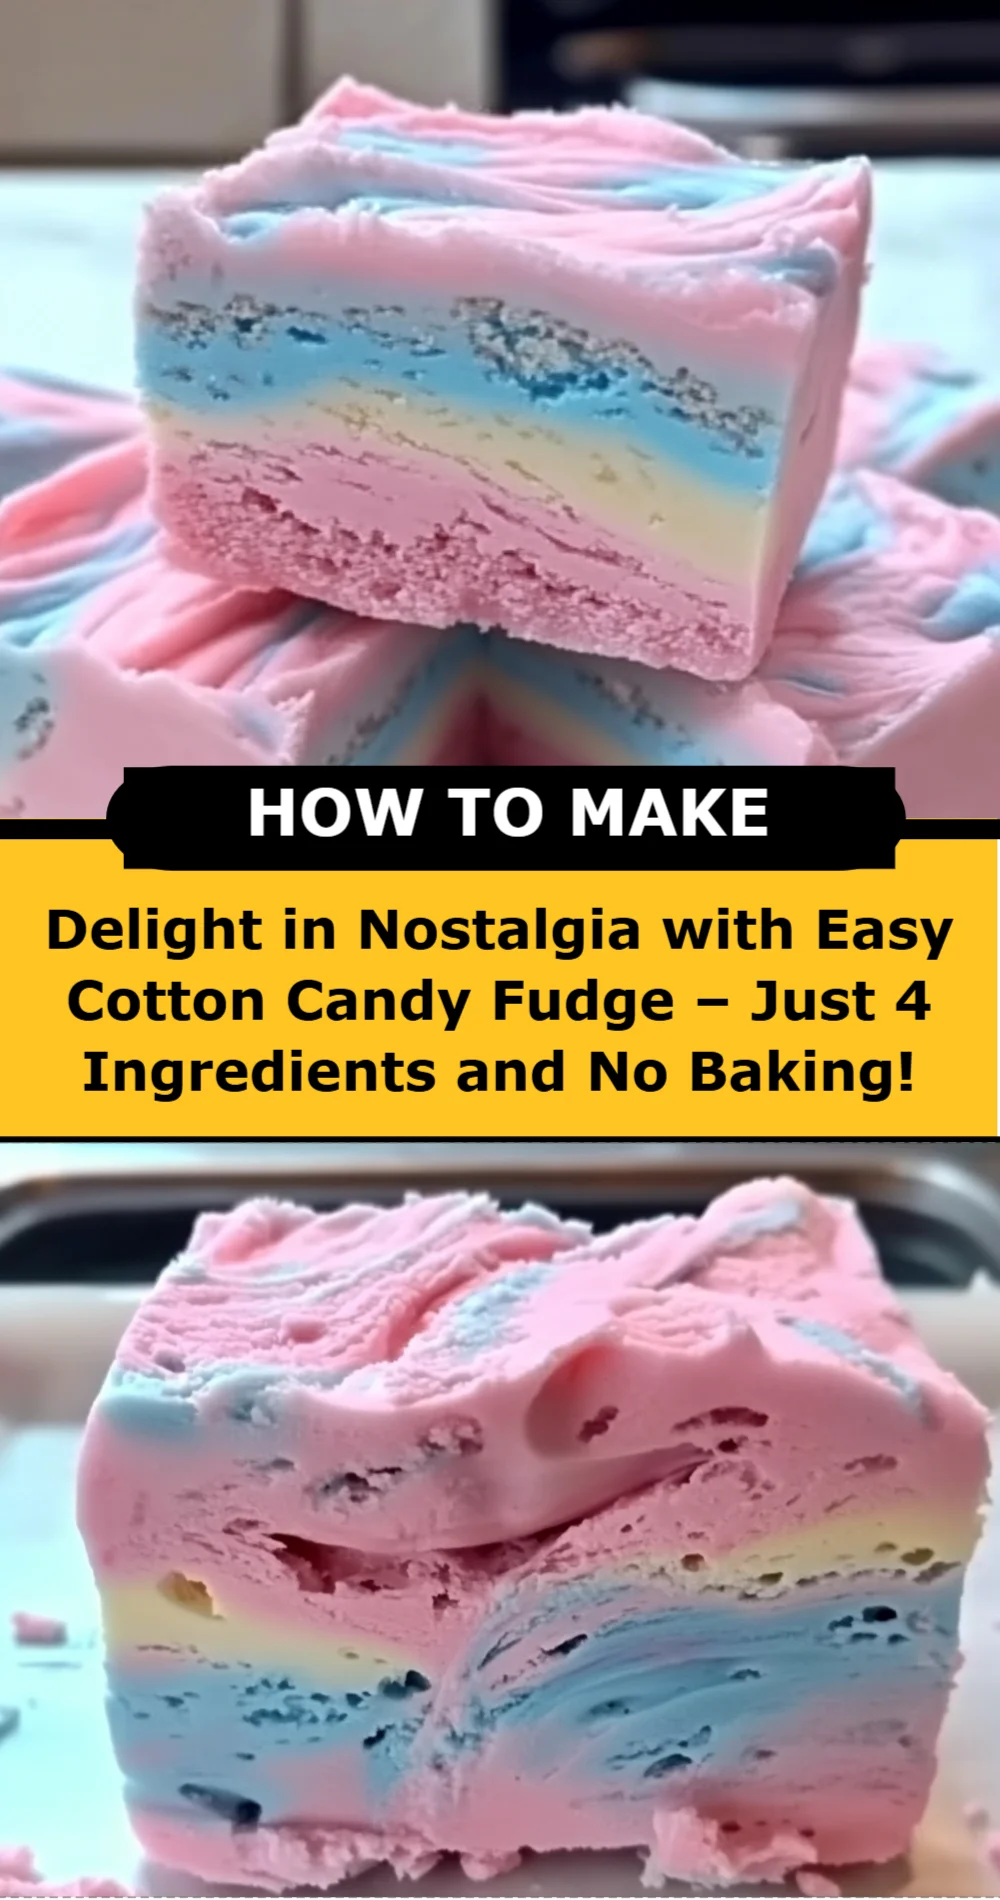
Cotton Candy Fudge
Ingredients
Equipment
Method
- Step 1: In a medium saucepan over low heat, combine the sweetened condensed milk and white chocolate chips. Stir continuously until the chocolate is fully melted and the mixture is smooth.
- Step 2: Remove the saucepan from heat and stir in the cotton candy flavoring. It will smell amazing!
- Step 3: Divide the melted mixture in half into two separate bowls. Add a few drops of pink food coloring to one bowl and blue food coloring to the other, mixing until you achieve your desired colors.
- Step 4: In a lined 8x8 inch baking dish, alternate spoonfuls of the pink and blue mixtures, swirling them together to create a marbled effect.
- Step 5: Refrigerate for at least 2 hours or until set. Once firm, cut into squares and serve. Enjoy the smiles!
Such a great vibe on this site. The graphics are crisp and the gameplay is very fair. I always have a blast on ph9ajili.
[4018]bet365 একাউন্ট খোলা এবং অনলাইন স্লট গেম সাইট,bet365 অ্যাপ ডাউনলোড করে আজই শুরু করুন। বিকাশ দিয়ে ক্যাসিনো ডিপোজিট এবং লাইভ ক্যাসিনো খেলার নিয়ম জানতে আমাদের সাইটে ভিজিট করুন। visit: bet365