
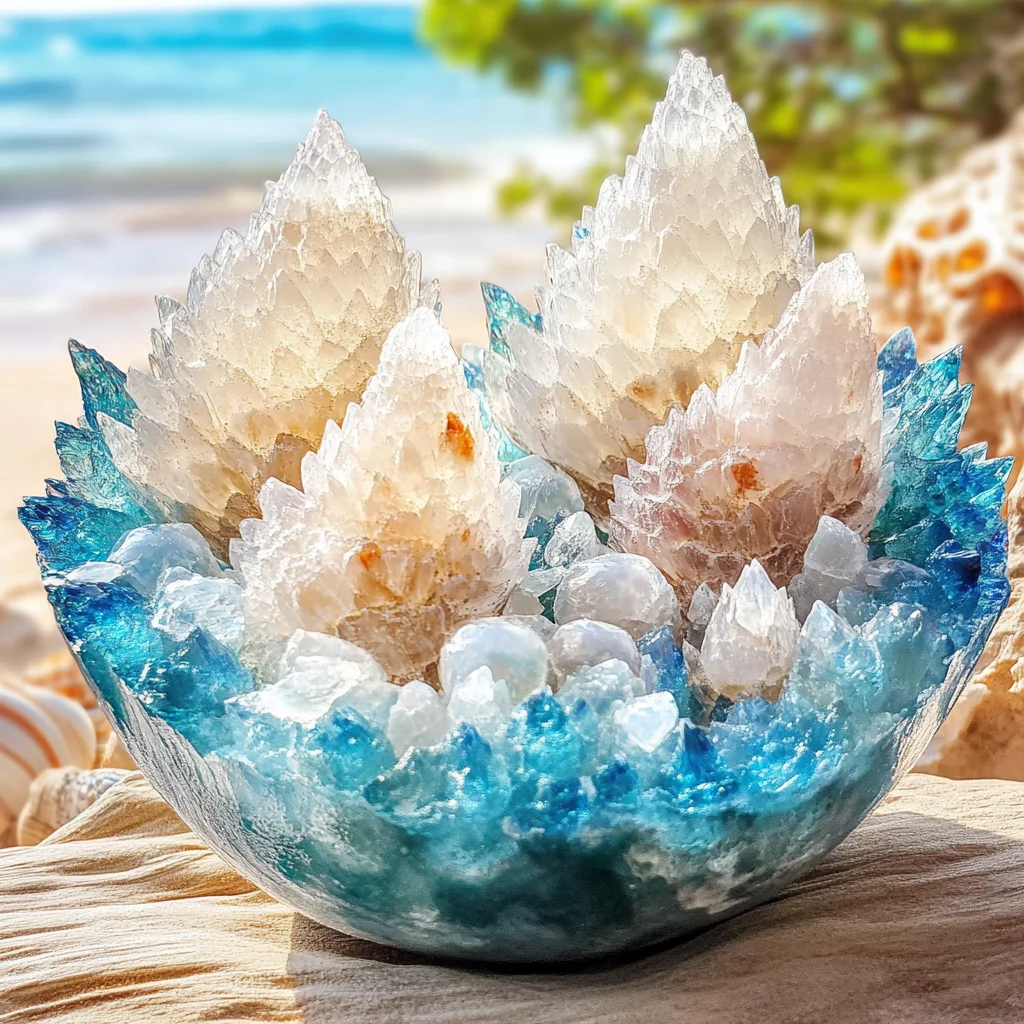
Imagine the gentle sound of waves lapping against the shore as you gather beautiful seashells, each one a tiny piece of the ocean’s treasure. Now, picture those shells sparkling with intricate, shimmering crystals, catching the light just right. This DIY project is all about creating stunning Borax crystal seashells that are not only fun to make but also bring a touch of the beach into your home. Whether you’re crafting with your family or enjoying a quiet afternoon alone, this project will spark creativity and joy as you watch the magic of crystals unfold.
Why You’ll Love Borax Crystal Seashells
- Beginner-friendly
- Budget-friendly
- Creative and fun
- Great for kids and families
- Perfect for gifts or decorations
- Customizable
The Heart Behind This DIY
There’s something truly special about crafting, isn’t there? When you engage in a project like creating Borax crystal seashells, you tap into a world of creativity and mindfulness. Each step allows you to connect with the materials and the process itself, making it a wonderful opportunity to unwind and focus on the present moment. Plus, watching the crystals form can feel almost magical, giving you a sense of accomplishment and joy. As you create, you’ll find that this project encourages not only creativity but also confidence in your ability to make something beautiful with your own hands.
A Gentle Look at the Process
In this delightful project, you’ll mix water and Borax to craft a solution that will transform your seashells into eye-catching crystal formations. As you work through the steps, you’ll experience the satisfaction of seeing your creation evolve. It’s a peaceful process that allows you to embrace the colors and textures of both your seashells and the crystals. Let’s dive into the materials you’ll need to get started!
Materials You’ll Need
- 1 cup of Borax – This will be the magical ingredient that forms the crystals.
- 3 cups of water – To dissolve the Borax and create your solution.
- Seashells (clean and dry) – Your beautiful canvas for the crystal transformation.
- A heat-resistant container or jar – To hold your solution and seashells safely.
- A stirring utensil – For mixing your Borax solution thoroughly.
- String (optional for hanging) – To display your seashells creatively.
Step-by-Step Directions
Step 1
Begin by combining 3 cups of water with 1 cup of Borax in your heat-resistant container. As you stir the mixture, watch the Borax dissolve, creating a clear solution. The gentle sound of your stirring will add to the calming atmosphere of your crafting session.
Step 2
Next, carefully place your clean and dry seashells into the solution, ensuring they are fully submerged. Take a moment to appreciate the unique shapes and colors of each shell as they disappear into the magical mixture.
Step 3
If you’d like, tie a piece of string around your shells for a lovely hanging display once they are finished. This little touch adds a personal flair that can make your creation even more special.
Step 4
Now, leave your container undisturbed in a warm location for 24 to 48 hours. This is where the magic happens! During this time, you can check back occasionally to see how the crystals are forming, turning your seashells into glistening works of art.
Step 5
Once the crystals have formed to your liking, carefully remove the seashells from the solution. Be gentle and take it slow; you want to preserve the beautiful crystals you’ve created.
Step 6
Gently rinse the seashells with water to remove any excess Borax. As you do this, you might notice the crystals twinkling under the water, and it’s a moment to savor.
Step 7
Finally, allow your seashells to dry completely before displaying or using them. Once dry, you’ll have stunning crystal seashells ready to bring a touch of the ocean to your home.
Creative Ways to Use Borax Crystal Seashells
Now that your beautiful Borax crystal seashells are complete, it’s time to think about how to showcase them. Here are a few creative ideas:
- Display them in a decorative bowl on your coffee table for a beachy vibe.
- Use them as unique place card holders for a summer gathering.
- Hang them in a sunny window to catch the light and create a sparkling display.
- Gift them to a friend as a thoughtful handmade present.
- Create a beach-themed centerpiece by arranging them with sand and candles.
How to Store, Preserve, or Reuse Borax Crystal Seashells
To keep your crystal seashells looking their best, store them in a cool, dry place. Avoid direct sunlight, as prolonged exposure can dull their sparkle. If you want to reuse them for a different project or as decor, simply rinse them gently to remove any dust and display them again!
Creative Variations and Customizations
- Experiment with different colors of Borax for a unique look.
- Try different themes, like a winter wonderland with white crystals.
- Adapt for seasonal decorations, such as vibrant colors for summer or pastel shades for spring.
- Involve kids by allowing them to choose their shells and colors.
- For advanced crafters, try layering colors in the shells for a stunning effect.
Tips for Success
- Avoid stirring the solution too vigorously once the shells are submerged to prevent disrupting the crystals.
- Keep Borax out of reach of small children and pets during the crafting process.
- Prepare your workspace with a protective covering, as Borax can create a bit of a mess.
- Remember to clean up any spills immediately to keep your crafting space tidy.
- Don’t rush the drying process; let the seashells dry completely for the best results.
FAQs About Borax Crystal Seashells
Can beginners make this?
Absolutely! This project is beginner-friendly and perfect for all ages.
Can children participate?
Yes, children can help with supervision, especially during the mixing and placing of shells!
How long does it last?
With proper care, your Borax crystal seashells can last a long time and remain beautiful.
Can I customize it?
Definitely! You can play with colors, themes, and even the types of shells you use.
A Final Creative Note
Crafting Borax crystal seashells is not just about the end result; it’s about the journey of creation, the joy of making something beautiful, and the memories you create along the way. So gather your materials, embrace your creativity, and let the process unfold. For more delicious recipes, check out easy family meals or fun dessert ideas for treats you will love! And remember, every handmade creation is a celebration of your unique self. Happy crafting!
For more inspiration, be sure to follow our Pinterest for endless DIY ideas!
Borax Crystal Seashells
Ingredients
Equipment
Method
- Step 1: Cover your workspace with newspaper or another protective covering. Gather the mold, heat-resistant container, stirring tools, Borax, water, and optional food coloring.
- Step 2: Carefully boil 2 cups of water and pour it into the heat-resistant container. Add 1/2 cup of Borax and stir vigorously until the Borax is dissolved as completely as possible.
- Step 3: Add a few drops of food coloring if desired and stir gently until the color is evenly distributed throughout the solution.
- Step 4: Place the seashell-shaped mold on a stable surface and carefully pour the Borax solution into the mold to the desired level.
- Step 5: If you want to hang the finished seashells, tie string to a skewer or stirring stick and position it over the mold so the string hangs into the solution.
- Step 6: Leave the mold completely undisturbed for approximately 6 to 8 hours or overnight. Avoid moving the container while crystals form.
- Step 7: Carefully remove the finished crystal seashells from the mold. Rinse them gently with cold water to remove excess Borax, then allow them to dry completely.
I’ve tried a few platforms lately and this one really stands out. The login process is smooth and I didn’t encounter any lag. Definitely a top-tier experience! royal1000login
Great vibe and the games are always updated. I appreciate the transparency with the odds. bd8e884 is a winner in my book.