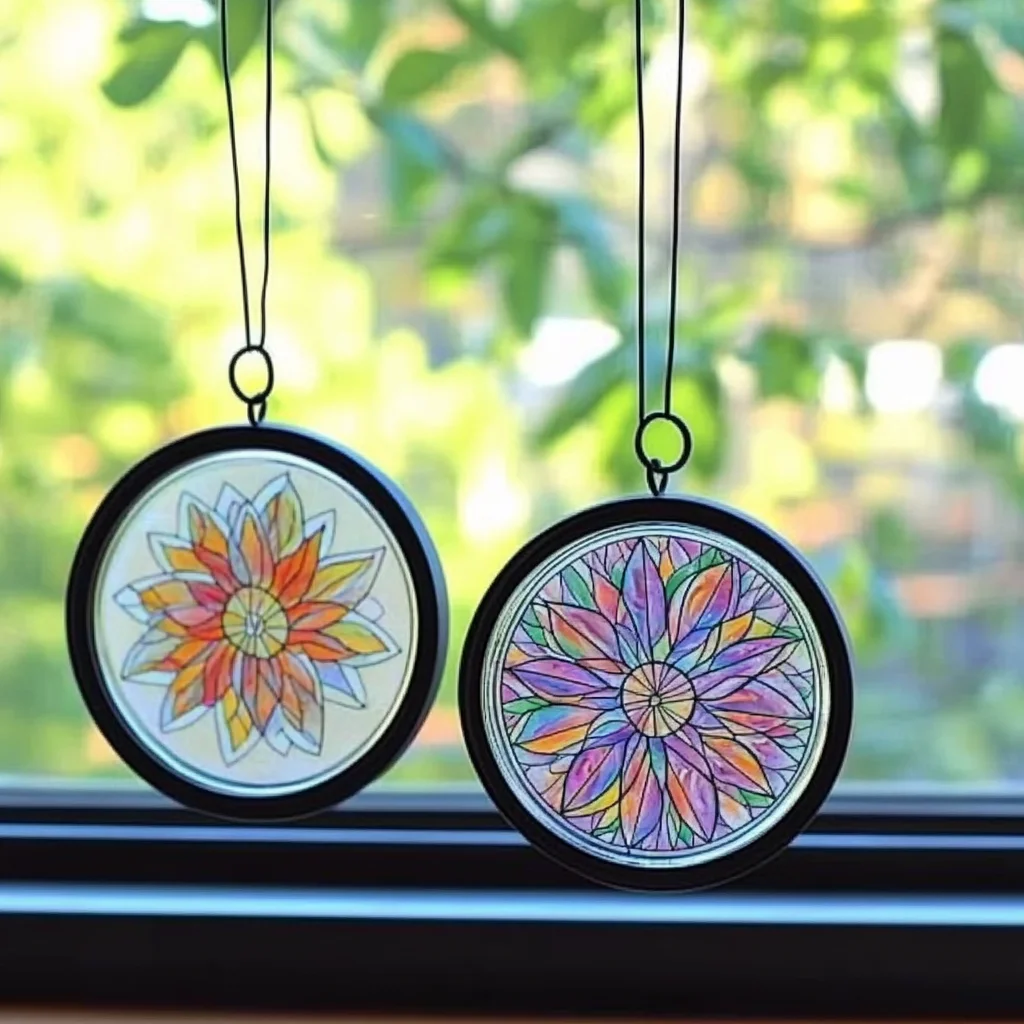
Remember those magical afternoons spent crafting as a kid? The excitement of creating something beautiful with your own hands? Well, get ready to relive that joy because today we’re making something truly special: DIY Mason Jar Lid Sun Catchers! These little beauties are a fantastic way to bring a splash of color and light into your home, and they’re so incredibly easy to make, you’ll be whipping them up in no time. Perfect for a rainy day activity, a charming handmade gift, or just a fun project to brighten your space.
Why You’ll Love Mason Jar Lid Sun Catchers
- Fast: You can create these little treasures in under an hour.
- Easy: Perfect for all skill levels, from little hands to seasoned crafters.
- Giftable: They make wonderfully thoughtful and personalized presents.
- Crowd-pleasing: Everyone loves a bit of sparkle and color!
Ingredients You’ll Need
Gathering your supplies is half the fun! Here’s what you’ll need to bring these charming sun catchers to life:
- Colored art page or coloring page: This is where your creativity shines! You can use vibrant construction paper, patterned scrapbook paper, or even print out your favorite coloring pages. For a touch of nostalgia, I love using old coloring book pages.
- Mason jar lids: The metal insert part of the lid. These provide a sturdy frame for your colorful creation.
- Wide mouth mason jar bands: These are optional if you’re just using the flat lid insert, but they give your sun catcher a more finished look and make hanging easier.
- Olive oil or other cooking oil: A little bit of oil is our secret to making the paper translucent and letting the light shine through beautifully. Olive oil works great!
- Cotton balls: Perfect for applying the oil evenly.
- Scissors: For cutting out your colorful designs.
- Twine: To tie everything together and create a loop for hanging. Natural twine adds a lovely rustic touch.
- Glue (e.g., Aleene’s Tacky Glue): A reliable craft glue will hold your paper securely in place.
- Paper towel: To blot away any excess oil.
How to Make Your Magical Mason Jar Lid Sun Catcher
Ready to get crafting? Let’s dive into the simple steps:
-
Prep Your Paper
First things first, let’s get our paper ready to shine! Take your colored art page or coloring page and grab a cotton ball. Dip the cotton ball into your olive oil (just a little goes a long way!). Gently coat the entire surface of the paper. You want it to be evenly oiled, but not sopping wet. Think of it like a light glaze. Then, take a paper towel and gently blot away any excess oil. This helps prevent the paper from becoming too greasy. Let your oiled paper dry for about 5 minutes. You’ll notice it becoming a bit translucent – that’s the magic happening!
-
Trace and Cut
Now, grab one of your mason jar lids. Place it on top of your prepared, oiled art page. Using a pencil, carefully trace around the inside edge of the lid. You want to cut the circle slightly inside the line you just traced. This ensures your paper piece will fit snugly within the metal lid without peeking out the sides. Grab your scissors and carefully cut out your circle. It’s okay if it’s not perfectly round – we’re going for charming, not machine-perfect!
-
Assemble Your Sun Catcher
Time to bring it all together! Take your mason jar lid insert. Apply a small amount of glue around the inner rim of the lid. Carefully place your cut-out paper circle into the lid, making sure the artwork is facing outwards, ready to catch the sun’s rays. Gently press it down to secure it. If you’re using the wide mouth mason jar band, you can now place the lid insert into the band for a more defined edge.
-
Add the Hanger
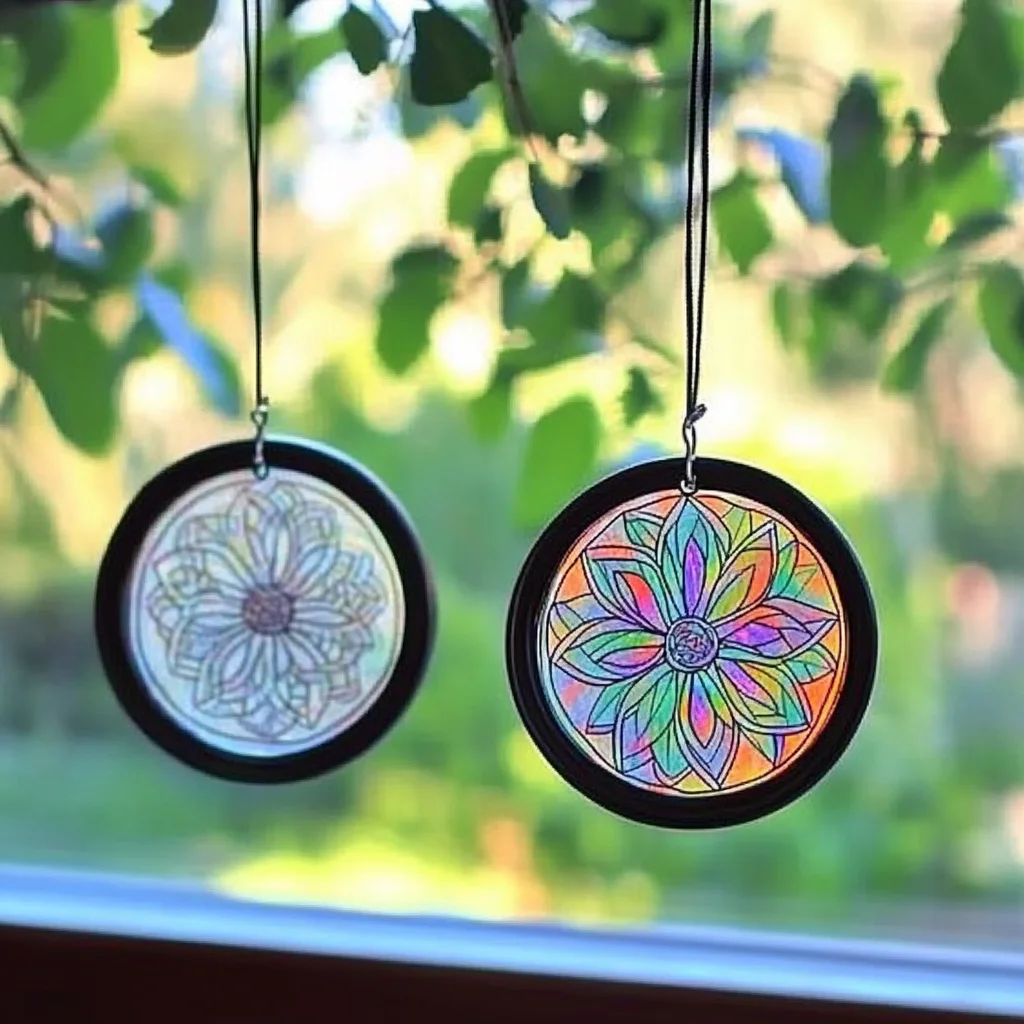
Almost there! Take your twine. Wrap it around the outer edge of the mason jar lid (or the band, if you’re using one). Tie a secure knot. Leave a good length of twine – about 4 to 6 inches – and then tie another knot at the end to create a loop. This loop is what you’ll use to hang your beautiful new sun catcher. Trim any excess twine.
And there you have it! A gorgeous DIY Mason Jar Lid Sun Catcher, ready to brighten your windows. You can make a whole collection using different colored papers and designs!
Substitutions & Additions
Feeling inspired to get a little more creative? Here are some ideas:
- Different Papers: Try using tissue paper for a softer, more diffused light effect, or even pressed flowers for a truly natural touch. You could also try using the stained-glass effect from melted crayons on a piece of parchment paper, similar to how we make DIY melted bead suncatchers.
- Glitter! Who doesn’t love a little sparkle? Add some fine glitter to the glue before you place the paper for extra shimmer.
- Paint: Instead of oiling, you could try painting your paper with watercolors or even diluted acrylic paints and letting them dry completely before cutting.
- Embellishments: Glue on small beads, sequins, or even dried leaves for unique textures and patterns.
Tips for Success
A few little tricks to make your sun catcher project even smoother:
- Don’t Oversaturate: The key to making the paper translucent is a light, even coating of oil. Too much oil can make the paper greasy and might even cause the ink to run.
- Test Your Paper: If you’re unsure how your paper will react to the oil, try oiling a small scrap piece first.
- Let Glue Dry: Give the glue ample time to dry completely before hanging your sun catcher to ensure the paper stays in place.
- Prep Ahead: You can oil and cut all your paper circles in advance, making assembly even quicker when you’re ready to craft. This is a great strategy if you’re making these for a party or a group craft.
How to Store Your Mason Jar Lid Sun Catchers
These sun catchers are pretty durable, but to keep them looking their best:
- Hang them indoors: While they can withstand a bit of weather, prolonged exposure to direct rain and harsh sunlight might fade the colors or damage the paper over time.
- Gentle Cleaning: If they get dusty, a gentle wipe with a dry or slightly damp cloth should do the trick.
- Storage: If you need to store them, lay them flat in a box or a large envelope to prevent them from getting bent.
FAQs
Q1: Can I use any kind of oil?
A: While olive oil is common, other cooking oils like vegetable oil or canola oil can also work. Avoid oils that have a strong scent or color, as they might affect the appearance of your sun catcher.
Q2: My paper is still opaque. What did I do wrong?
A: You might need to apply a bit more oil, or let it soak in a little longer. Ensure you’re blotting off the excess after applying the oil, not before. Sometimes, thicker paper takes longer to become translucent.
Q3: Can kids make these independently?
A: Younger children might need a little help with the cutting and tying steps, but they can certainly help with oiling the paper and gluing the pieces. It’s a great project for supervised crafting sessions!
We hope you have a blast making these charming Mason Jar Lid Sun Catchers! They’re a simple yet delightful way to add a touch of handmade beauty to your world. If you loved making these, you might also enjoy our other fun DIY projects, like creating easy homemade suncatchers or experimenting with DIY lava lamps!
Follow us on Pinterest for more creative ideas and inspiration!
DIY Mason Jar Lid Sun Catcher
Ingredients
Equipment
Method
- First things first, let's get our paper ready to shine! Take your colored art page or coloring page and grab a cotton ball. Dip the cotton ball into your olive oil (just a little goes a long way!). Gently coat the entire surface of the paper. You want it to be evenly oiled, but not sopping wet. Think of it like a light glaze. Then, take a paper towel and gently blot away any excess oil. This helps prevent the paper from becoming too greasy. Let your oiled paper dry for about 5 minutes. You'll notice it becoming a bit translucent – that's the magic happening!
- Now, grab one of your mason jar lids. Place it on top of your prepared, oiled art page. Using a pencil, carefully trace around the inside edge of the lid. You want to cut the circle slightly inside the line you just traced. This ensures your paper piece will fit snugly within the metal lid without peeking out the sides. Grab your scissors and carefully cut out your circle. It's okay if it's not perfectly round – we're going for charming, not machine-perfect!
- Time to bring it all together! Take your mason jar lid insert. Apply a small amount of glue around the inner rim of the lid. Carefully place your cut-out paper circle into the lid, making sure the artwork is facing outwards, ready to catch the sun's rays. Gently press it down to secure it. If you're using the wide mouth mason jar band, you can now place the lid insert into the band for a more defined edge.
- Almost there! Take your twine. Wrap it around the outer edge of the mason jar lid (or the band, if you're using one). Tie a secure knot. Leave a good length of twine – about 4 to 6 inches – and then tie another knot at the end to create a loop. This loop is what you'll use to hang your beautiful new sun catcher. Trim any excess twine.