Ingredients
Equipment
Method
- First things first, let's get our paper ready to shine! Take your colored art page or coloring page and grab a cotton ball. Dip the cotton ball into your olive oil (just a little goes a long way!). Gently coat the entire surface of the paper. You want it to be evenly oiled, but not sopping wet. Think of it like a light glaze. Then, take a paper towel and gently blot away any excess oil. This helps prevent the paper from becoming too greasy. Let your oiled paper dry for about 5 minutes. You'll notice it becoming a bit translucent – that's the magic happening!
- Now, grab one of your mason jar lids. Place it on top of your prepared, oiled art page. Using a pencil, carefully trace around the inside edge of the lid. You want to cut the circle slightly inside the line you just traced. This ensures your paper piece will fit snugly within the metal lid without peeking out the sides. Grab your scissors and carefully cut out your circle. It's okay if it's not perfectly round – we're going for charming, not machine-perfect!
- Time to bring it all together! Take your mason jar lid insert. Apply a small amount of glue around the inner rim of the lid. Carefully place your cut-out paper circle into the lid, making sure the artwork is facing outwards, ready to catch the sun's rays. Gently press it down to secure it. If you're using the wide mouth mason jar band, you can now place the lid insert into the band for a more defined edge.
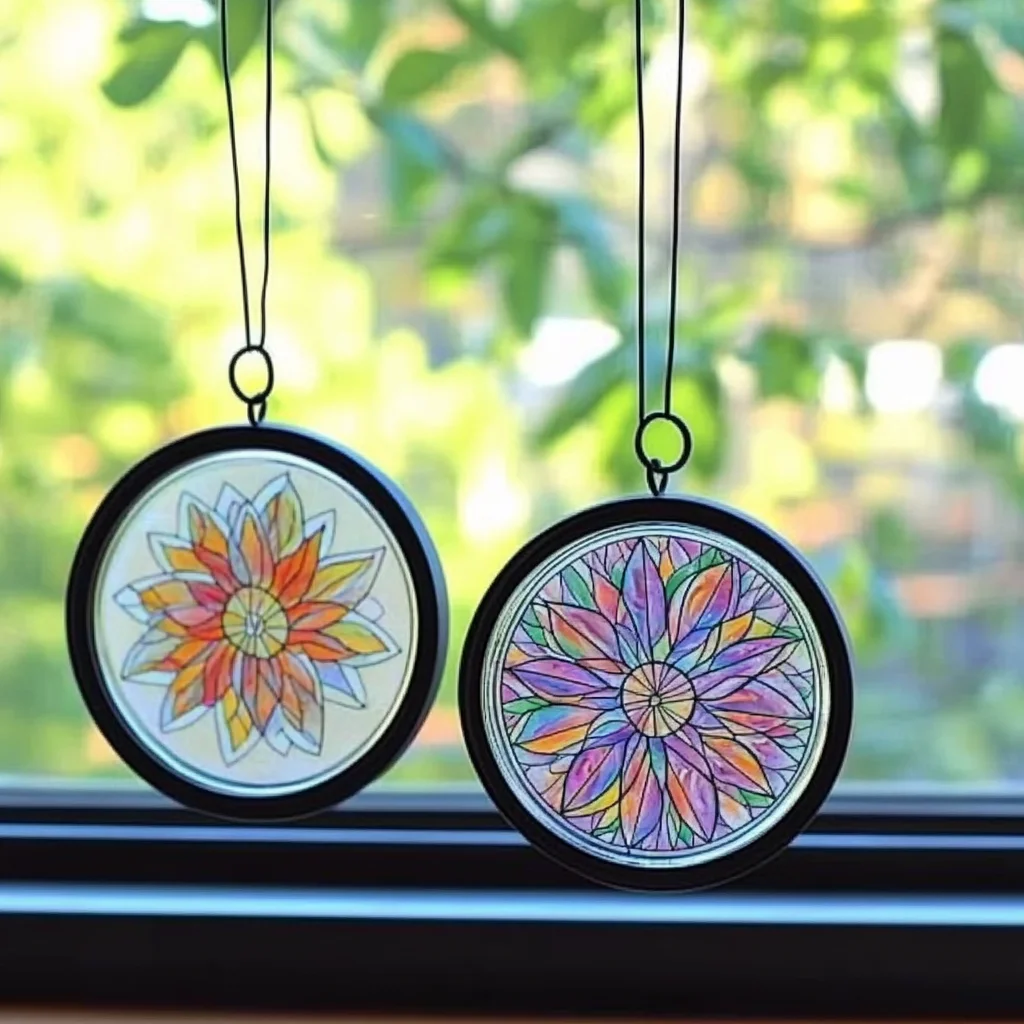
- Almost there! Take your twine. Wrap it around the outer edge of the mason jar lid (or the band, if you're using one). Tie a secure knot. Leave a good length of twine – about 4 to 6 inches – and then tie another knot at the end to create a loop. This loop is what you'll use to hang your beautiful new sun catcher. Trim any excess twine.
Notes
Different Papers: Try using tissue paper for a softer, more diffused light effect, or even pressed flowers for a truly natural touch. You could also try using the stained-glass effect from melted crayons on a piece of parchment paper, similar to how we make DIY melted bead suncatchers. Glitter! Who doesn't love a little sparkle? Add some fine glitter to the glue before you place the paper for extra shimmer. Paint: Instead of oiling, you could try painting your paper with watercolors or even diluted acrylic paints and letting them dry completely before cutting. Embellishments: Glue on small beads, sequins, or even dried leaves for unique textures and patterns.