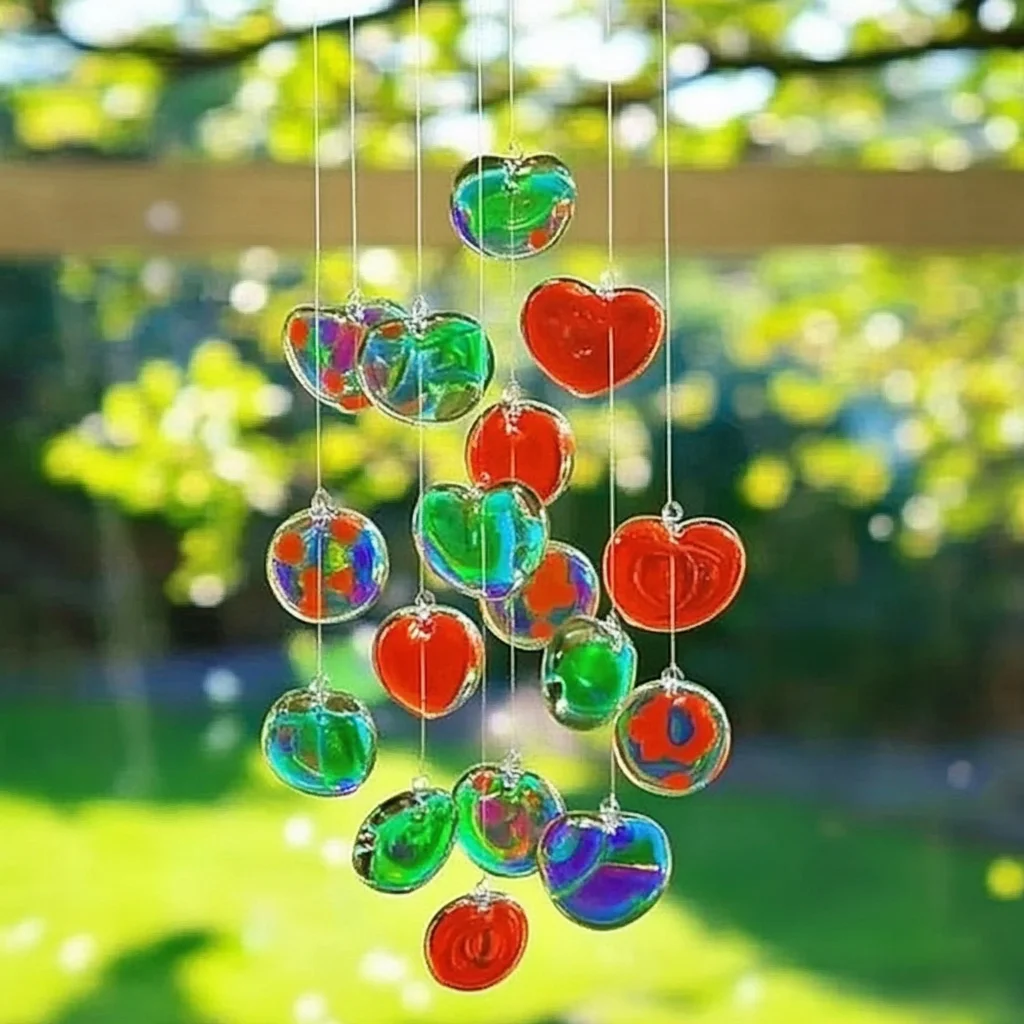
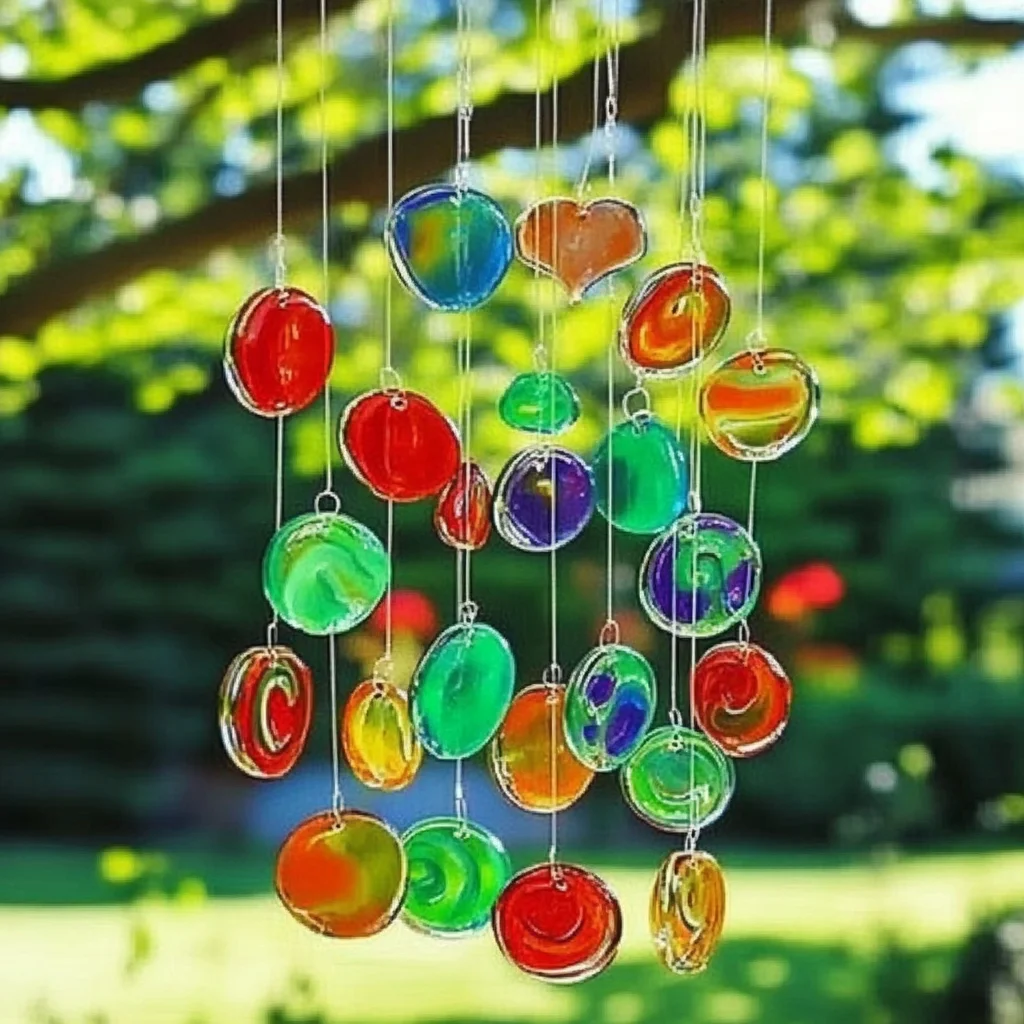
Remember those carefree days of childhood, filled with colorful crafts and a touch of magic? There’s something incredibly special about creating something beautiful with your own two hands. Today, we’re going to revisit that joyful feeling with a craft that’s as mesmerizing as it is easy: Melted Bead Suncatchers! These vibrant creations capture the sunlight and bring a burst of color into any space. Plus, they’re a fantastic way to use up those leftover pony beads from days gone by. Get ready to create something truly special!
Why You’ll Love Melted Bead Suncatchers
- Fast: You can whip up a batch of these beauties in no time!
- Easy: Perfect for all skill levels, from little ones to seasoned crafters.
- Giftable: They make the most thoughtful, handmade gifts for friends and family.
- Crowd-pleasing: Everyone loves the way they sparkle and shine!
Ingredients
Gathering your supplies is half the fun! Here’s what you’ll need:
- Translucent pony beads: These are the magic makers, allowing light to shine through.
- Glitter pony beads: For that extra sparkle and shimmer! Mix and match for endless possibilities.
- Metal cookie cutters: Choose fun shapes like stars, hearts, flowers, or even seasonal designs. Make sure they are sturdy and oven-safe.
- Metal baking dishes: These will hold your cookie cutters and beads during the melting process.
- Gas grill or toaster oven: Your heat source for melting the beads. A toaster oven is often easiest for controlled melting.
- Electric drill: A small drill bit is perfect for creating a hole for hanging.
- String: Embroidery floss, fishing line, or twine all work wonderfully.
How to Make Melted Bead Suncatchers
Alright, let’s get crafting! Grab your beads and get ready to create some sunshine.
- Prep your space: First things first, find a well-ventilated area for this project. Open a window or head outside if you’re using a grill.
- Preheat your oven/grill: Get your heat source ready. Preheat your gas grill to medium heat or your toaster oven to around 350°F (175°C).
- Set up your molds: Place your metal cookie cutters inside your metal baking dishes. This will keep everything contained.
- Get creative with beads: Now for the fun part! Arrange your translucent and glitter pony beads within each cookie cutter. You can create patterns, gradients, or just sprinkle them in randomly. I love mixing a few glitter beads with the translucent ones for a subtle sparkle.
- Melt away: Carefully place the baking dish with the filled cookie cutters onto the preheated grill or into the toaster oven. Melt the beads for approximately 10 minutes. Keep a close eye on them – you want them melted and smooth, not burnt!
- Cool down: Once the beads look perfectly melted, carefully remove the baking dish from the heat. Let everything cool down completely. This is important for the beads to solidify properly.
- De-mold your treasures: Once cool, gently invert the baking dish. Your beautiful melted bead suncatchers should pop right out of the cookie cutters. If any are a little stuck, a gentle wiggle might help.
- Add a hanging hole: Using your electric drill and a small drill bit, carefully create a small hole at the top of each suncatcher. This is where your string will go.
- Cut your string: Cut pieces of string to your desired lengths for hanging. If you’re making a mobile, you’ll need varying lengths.
- Assemble your masterpiece: Now, thread the string through the holes and tie them securely. If you’re making a mobile, attach smaller suncatcher shapes to a larger top piece to create a lovely, light-catching display. It’s like creating your own personalized DIY bioplastic suncatchers, but with beads!
Substitutions & Additions
Want to jazz things up even more? Try these ideas:
- Add small charms: Tiny metal charms can be placed amongst the beads before melting for an extra special touch.
- Use different bead sizes: While pony beads are standard, you can experiment with other plastic beads, ensuring they are safe for melting.
- Glitter glue: For a different kind of sparkle, you could add a touch of glitter glue to the cooled suncatchers.
- Outdoor use: These are best used indoors as suncatchers, but they can be a fun craft for outdoor events, keeping them protected from the elements.
Tips for Success
A few little tricks can make your crafting experience even smoother:
- Ventilation is key: Always work in a well-ventilated area to avoid inhaling any fumes.
- Don’t over-melt: Watch the beads carefully. If they start to look bubbly or dark, they’re getting too hot.
- Cookie cutter placement: Make sure your cookie cutters are lying flat in the baking dish.
- Cool completely: Patience is a virtue! Let the suncatchers cool down fully before trying to remove them from the cookie cutters. This prevents them from warping.
- Prepping ahead: You can sort your beads by color and have your cookie cutters ready to go in the baking dishes before you start the melting process. This makes assembly even quicker!
How to Store Melted Bead Suncatchers
These beauties are meant to be displayed and enjoyed! If you make a lot and need to store them for gifts or later use, keep them in a cool, dry place. Avoid direct sunlight for extended periods if they are stored away, as prolonged exposure to heat could potentially soften them slightly. They generally hold their shape well and can last for years!
FAQs
- Can I use a regular oven? Yes, a regular oven at around 350°F (175°C) works great. Just be sure to use a metal baking dish.
- What if my beads burn? If your beads start to look burnt, immediately remove them from the heat. You might need to trim off the burnt edges or start that specific shape over.
- Can kids do this craft? With adult supervision, absolutely! Kids can help arrange the beads, but an adult should handle the heating and drilling steps.
- Can I make these into jewelry? You sure can! Instead of making a mobile, you can drill holes and string them onto jewelry wire or cord to create necklaces or bracelets.
Making these melted bead suncatchers is such a joy, and the results are so rewarding. It’s a wonderful way to add a touch of handmade charm to your home or to give a heartfelt gift. If you enjoyed this fun craft, you might also love exploring other creative projects on our site, like our DIY Crayon Star Suncatchers or even making some homemade playdough with the kids!
For more creative ideas and recipes, be sure to follow us on Pinterest!
Melted Bead Suncatchers
Ingredients
Equipment
Method
- Step 1: Find a well-ventilated area for this project. Open a window or head outside if you're using a grill.
- Step 2: Preheat your gas grill to medium heat or your toaster oven to around 350°F (175°C).
- Step 3: Place your metal cookie cutters inside your metal baking dishes. This will keep everything contained.
- Step 4: Arrange your translucent and glitter pony beads within each cookie cutter. You can create patterns, gradients, or just sprinkle them in randomly. Mix a few glitter beads with the translucent ones for a subtle sparkle.
- Step 5: Carefully place the baking dish with the filled cookie cutters onto the preheated grill or into the toaster oven. Melt the beads for approximately 10 minutes. Keep a close eye on them – you want them melted and smooth, not burnt!
- Step 6: Once the beads look perfectly melted, carefully remove the baking dish from the heat. Let everything cool down completely. This is important for the beads to solidify properly.
- Step 7: Once cool, gently invert the baking dish. Your beautiful melted bead suncatchers should pop right out of the cookie cutters. If any are a little stuck, a gentle wiggle might help.
- Step 8: Using your electric drill and a small drill bit, carefully create a small hole at the top of each suncatcher. This is where your string will go.
- Step 9: Cut pieces of string to your desired lengths for hanging. If you're making a mobile, you'll need varying lengths.
- Step 10: Thread the string through the holes and tie them securely. If you're making a mobile, attach smaller suncatcher shapes to a larger top piece to create a lovely, light-catching display.
Thanks for sharing. I read many of your blog posts, cool, your blog is very good.
Thank you for your sharing. I am worried that I lack creative ideas. It is your article that makes me full of hope. Thank you. But, I have a question, can you help me? https://www.binance.com/register?ref=QCGZMHR6
Thanks for sharing. I read many of your blog posts, cool, your blog is very good.