Ingredients
Equipment
Method
- Step 1: Find a well-ventilated area for this project. Open a window or head outside if you're using a grill.
- Step 2: Preheat your gas grill to medium heat or your toaster oven to around 350°F (175°C).
- Step 3: Place your metal cookie cutters inside your metal baking dishes. This will keep everything contained.
- Step 4: Arrange your translucent and glitter pony beads within each cookie cutter. You can create patterns, gradients, or just sprinkle them in randomly. Mix a few glitter beads with the translucent ones for a subtle sparkle.
- Step 5: Carefully place the baking dish with the filled cookie cutters onto the preheated grill or into the toaster oven. Melt the beads for approximately 10 minutes. Keep a close eye on them – you want them melted and smooth, not burnt!
- Step 6: Once the beads look perfectly melted, carefully remove the baking dish from the heat. Let everything cool down completely. This is important for the beads to solidify properly.
- Step 7: Once cool, gently invert the baking dish. Your beautiful melted bead suncatchers should pop right out of the cookie cutters. If any are a little stuck, a gentle wiggle might help.
- Step 8: Using your electric drill and a small drill bit, carefully create a small hole at the top of each suncatcher. This is where your string will go.
- Step 9: Cut pieces of string to your desired lengths for hanging. If you're making a mobile, you'll need varying lengths.
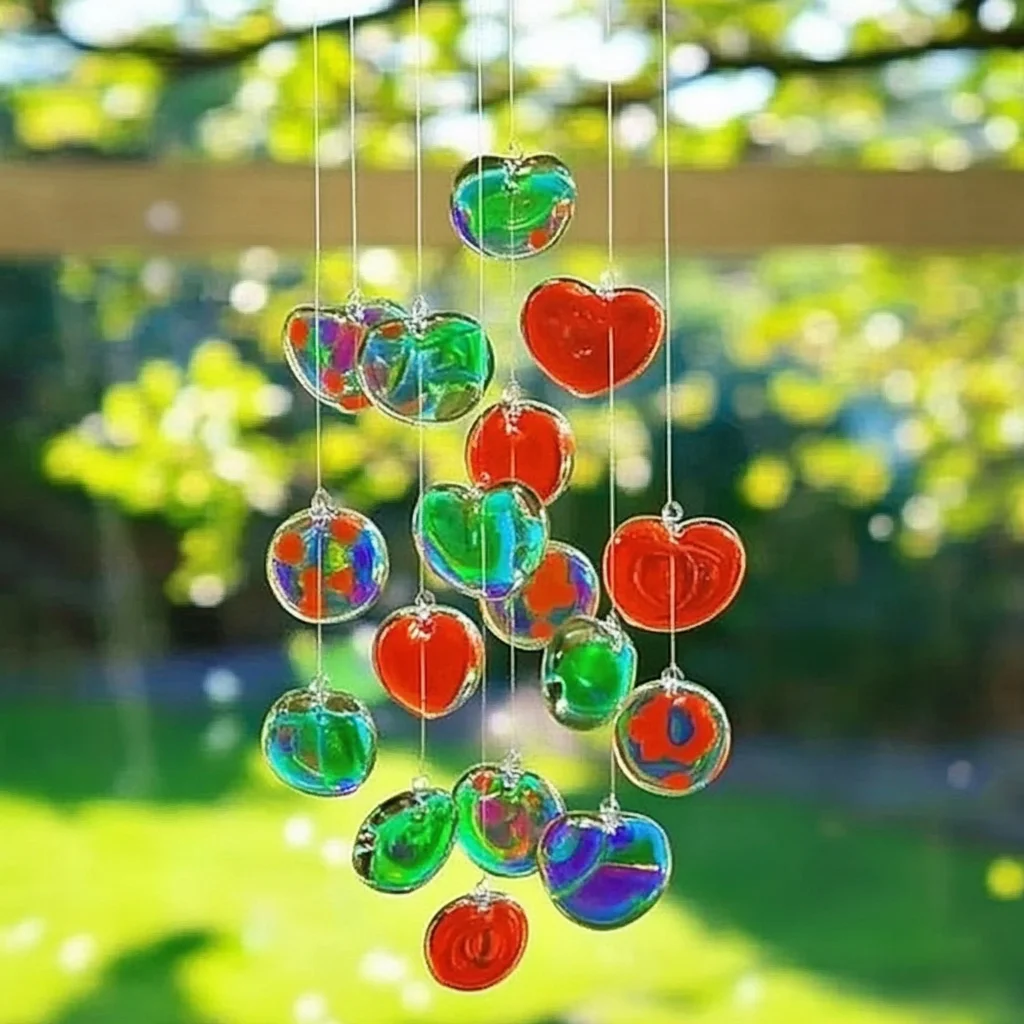
- Step 10: Thread the string through the holes and tie them securely. If you're making a mobile, attach smaller suncatcher shapes to a larger top piece to create a lovely, light-catching display.
Notes
Add small charms amongst the beads before melting for an extra special touch. You can experiment with other plastic beads, ensuring they are safe for melting. For a different kind of sparkle, you could add a touch of glitter glue to the cooled suncatchers. These are best used indoors as suncatchers, but they can be a fun craft for outdoor events, keeping them protected from the elements.