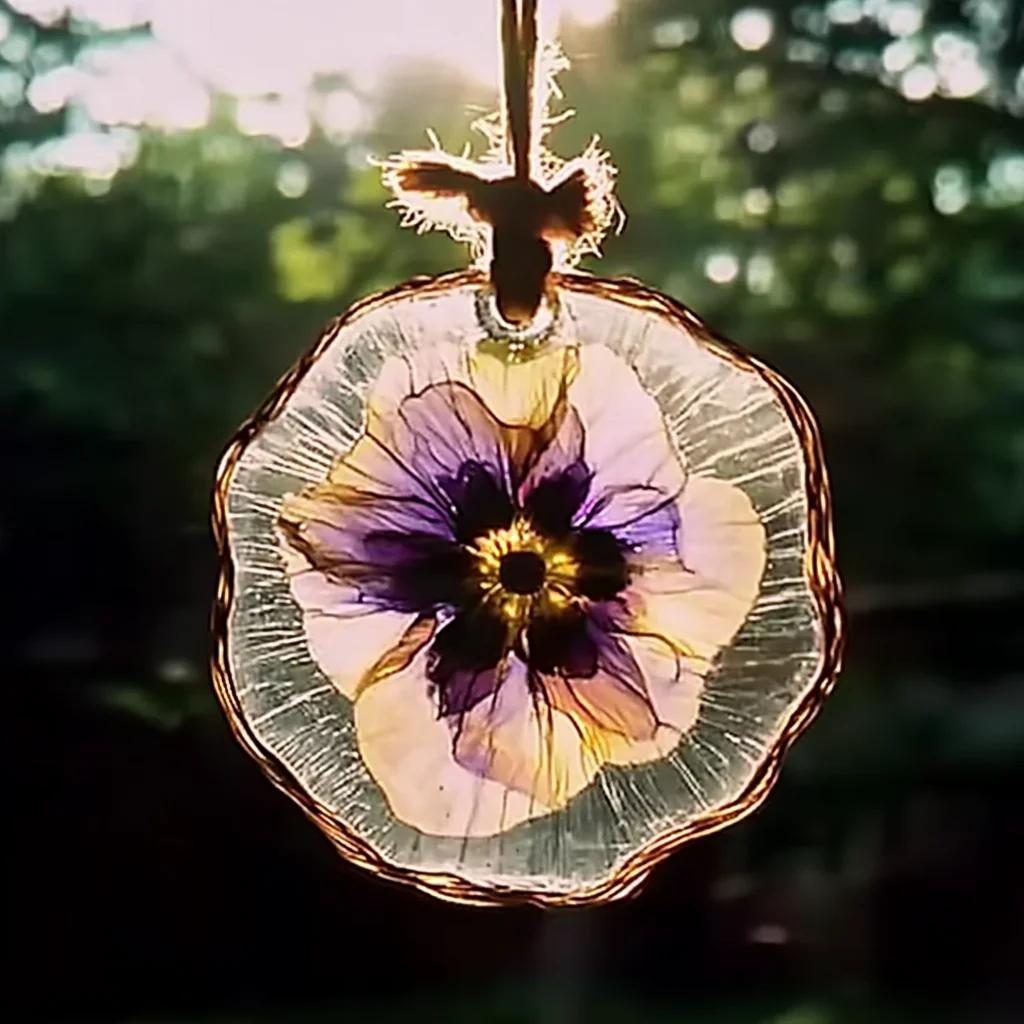
Remember those magical afternoons spent collecting treasures from the garden? The vibrant colors of fallen leaves, the delicate patterns of tiny flowers, the intricate veins of a sun-kissed twig? There’s something so special about bringing a bit of the outdoors in, especially when you can create something truly dazzling with your own hands. Today, we’re diving into a wonderfully simple and incredibly rewarding craft: DIY Bioplastic Suncatchers! These little beauties are quick to make, bursting with natural charm, and are guaranteed to bring a smile to your face every time the sunbeams catch them.
Why You’ll Love Bioplastic Suncatchers
- Fast: You can whip up a batch in no time, perfect for a rainy afternoon project.
- Easy: Seriously, the steps are so straightforward, even little ones can help!
- Giftable: Imagine gifting these unique, handmade treasures to friends and family. They’re truly one-of-a-kind!
- Crowd-pleasing: Whether you’re making them with kids or for yourself, the results are always stunning.
Ingredients
Gathering your supplies is half the fun! Here’s what you’ll need:
- Gelatin powder: The magical ingredient that turns our liquid into a solid, flexible film.
- Boiling water: To dissolve the gelatin and create our bioplastic base.
- String or yarn: For creating a loop to hang your beautiful suncatchers.
- Loose natural materials: Think delicate leaves, pressed flowers, small twigs, or even tiny pinecones. The more variety, the better!
- Molds: Old plastic lids (like from yogurt or sour cream containers) work perfectly. You can also use silicone molds if you have them!
How to Make Bioplastic Suncatchers
Let’s get crafting! It’s as easy as 1-2-3 (well, 6 steps, but you get the idea!).
- Collect Your Natural Treasures: Head outside and gather your nature bits! Look for thin, flat items like leaves, flower petals, small ferns, or even delicate twigs. Pressing them beforehand can help them lie flatter, but it’s not strictly necessary.
- Arrange Your Design: Place your chosen natural materials inside your molds. Get creative with your arrangements! Think about color combinations and how the light will shine through them.
- Mix the Bioplastic Magic: In a heatproof bowl, dissolve 1 part gelatin powder into 4 parts boiling water. Stir it really well until there are no lumps and the mixture is clear. It’s important to get it all dissolved for a smooth result.
- Pour and Cover: Carefully pour the dissolved gelatin mixture into each mold, making sure to cover all the beautiful natural materials you’ve arranged. Don’t fill it too high, just enough to encase your treasures.
- Add a Hanger: Before the mixture starts to set, gently insert a piece of string or yarn into the edge of the mold, making sure it’s submerged in the gelatin. This will be your loop for hanging your suncatcher later.
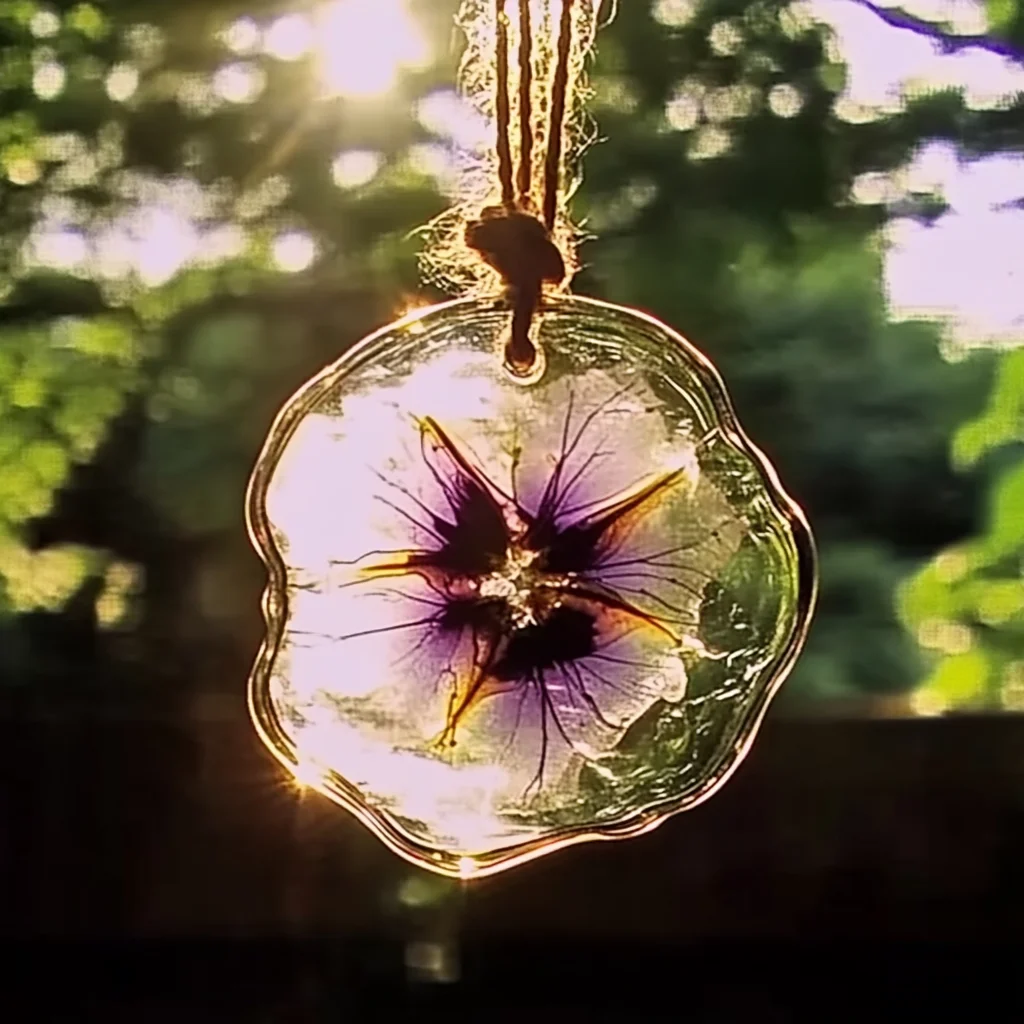
- Let Them Set: Now for the patient part! Leave your molds undisturbed at room temperature for about 24 to 48 hours, or until the gelatin is completely firm and dry to the touch. They’ll become translucent and wonderfully flexible.
Substitutions & Additions
Want to mix things up or add extra sparkle? You totally can!
- Glitter: A tiny pinch of biodegradable glitter can add a touch of magic.
- Food Coloring: A drop of food coloring in the gelatin mixture can create a tinted effect.
- Seed Paper: If you’re feeling extra crafty, you could even embed small pieces of seed paper that will sprout when watered!
- Other Natural Finds: Consider dried citrus slices, small feathers, or even colorful threads.
Tips for Success
A few little tricks to ensure your suncatchers turn out perfectly:
- Dry Materials are Key: Make sure your natural materials are completely dry before placing them in the molds. Any moisture can affect the setting process.
- Thin Layers: Aim for thin layers of natural materials to avoid a bulky suncatcher.
- Room Temperature is Best: Avoid the temptation to put them in the fridge or freezer; room temperature allows for even drying and flexibility.
- Gentle Handling: Once dry, handle your suncatchers gently as they can be delicate.
- Prep Ahead: If you’re making these for a party or event, you can collect your natural materials and prepare them a day or two in advance.
How to Store Bioplastic Suncatchers
Once your beautiful bioplastic suncatchers are dry and ready, storing them is a breeze. Keep them in a cool, dry place, perhaps in a shallow box or a large zip-top bag. They shouldn’t stick to each other if fully dry, but a layer of parchment paper between them is always a good idea if you’re stacking them. They’re quite stable, but prolonged exposure to extreme humidity or direct sunlight might cause them to soften slightly over time. Enjoy them hanging in your windows, on plants, or even as unique decorations for gift packages!
FAQs
Q: Can I use dried flowers instead of fresh ones?
A: Yes, absolutely! Dried flowers and leaves work wonderfully and are often easier to handle and arrange.
Q: How long do these suncatchers last?
A: With proper care and storage, your bioplastic suncatchers can last for a long time, bringing nature’s beauty into your home season after season.
Q: Are these biodegradable?
A: Since the main ingredient is gelatin, which is derived from animal collagen, these suncatchers are biodegradable and compostable!
Ready to try more fun DIY projects or find some amazing recipes? You’ll find tons of inspiration across our site, from delicious treats like our collection of cookies to delightful meal ideas. If you’re looking for something specific, perhaps some air fryer chicken fries or a comforting bowl of soup like our vegetable soup, we’ve got you covered!
We hope you have so much fun creating these natural wonders! For even more crafty ideas and delicious recipes, be sure to follow us on Pinterest!
DIY Bioplastic Suncatchers
Ingredients
Equipment
Method
- Step 1: Collect your natural treasures! Look for thin, flat items like leaves, flower petals, small ferns, or even delicate twigs. Pressing them beforehand can help them lie flatter, but it's not strictly necessary.
- Step 2: Arrange your design inside your molds. Get creative with your arrangements! Think about color combinations and how the light will shine through them.
- Step 3: In a heatproof bowl, dissolve 1 part gelatin powder into 4 parts boiling water. Stir it really well until there are no lumps and the mixture is clear. It’s important to get it all dissolved for a smooth result.
- Step 4: Carefully pour the dissolved gelatin mixture into each mold, making sure to cover all the beautiful natural materials you’ve arranged. Don't fill it too high, just enough to encase your treasures.
- Step 5: Before the mixture starts to set, gently insert a piece of string or yarn into the edge of the mold, making sure it's submerged in the gelatin. This will be your loop for hanging your suncatcher later.
- Step 6: Let your molds undisturbed at room temperature for about 24 to 48 hours, or until the gelatin is completely firm and dry to the touch. They'll become translucent and wonderfully flexible.
6 thoughts on “Easy DIY Bioplastic Suncatchers: Nature Craft for Kids & Adults”