
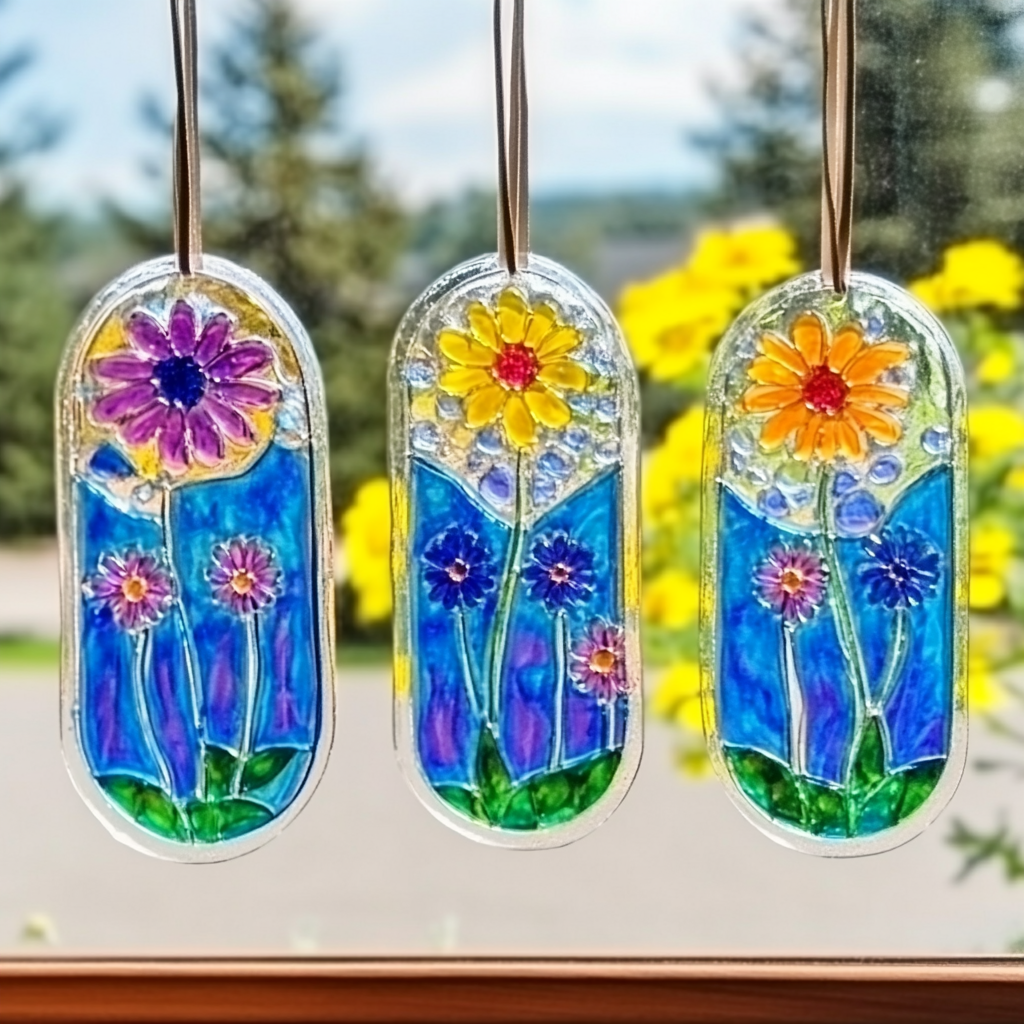
Have you ever walked into a room and felt instantly uplifted by the play of light and color dancing across the walls? That magical feeling can be brought into your own home with a simple and delightful DIY project: Blue Crayon Suncatchers. As you craft these beautiful creations, you’ll not only experience the joy of making something with your own hands but also create a stunning display that fills your space with warmth and cheer. Imagine watching the sunlight filter through vibrant blue hues, casting a serene glow that makes you feel cozy and content.
Why You’ll Love DIY Blue Crayon Suncatchers
- Beginner-friendly
- Budget-friendly
- Creative and fun
- Great for kids and families
- Perfect for gifts or decorations
- Customizable
The Heart Behind This DIY
Crafting Blue Crayon Suncatchers is not just about creating a beautiful decoration; it’s about the experience of being present in the moment. As you grate the crayons and watch them melt together, you’ll find yourself engaged in a soothing sensory activity that encourages mindfulness. This project is perfect for families, as it fosters creativity and collaboration, allowing you to bond over shared moments of joy and inspiration. Plus, there’s something magical about transforming simple materials into a colorful work of art that you can proudly display in your home or gift to a loved one.
A Gentle Look at the Process
When you embark on this crafting journey, you can expect a delightful array of colors and textures at your fingertips. The process begins with the satisfying sound of crayons being grated, followed by the warm, inviting scent of melting wax. As you layer the different elements, you will feel a sense of calm wash over you, reminding you to embrace the joy of creation. Each step is simple yet rewarding, and before you know it, you’ll have a stunning suncatcher that radiates light and happiness.
Materials You’ll Need
- Blue crayons – for that vibrant color that brightens your space.
- Wax paper – to create the canvas for your suncatcher.
- Grater or sharpener – to shave the crayons into colorful bits.
- Iron – to melt the crayon shavings together.
- Parchment paper – to protect your workspace while you melt the crayons.
- Scissors – for cutting your suncatchers into fun shapes.
- String or ribbon – for hanging your beautiful creations in the window.
Step-by-Step Directions
Step 1
Preheat your iron to a low setting. It’s essential to keep the heat gentle to avoid burning the wax paper.
Step 2
Using a grater or sharpener, carefully shave the blue crayons into small pieces. Feel free to mix different shades of blue for a stunning effect!
Step 3
Cut two pieces of wax paper to your desired size for the suncatcher. Think about the perfect spot to hang it and create a size that fits well in that space.
Step 4
Place one piece of wax paper on a flat surface. This is your base for the colorful crayon shavings.
Step 5
Evenly spread the crayon shavings over the wax paper. Let your creativity flow and arrange them in any pattern that makes you smile.
Step 6
Cover the crayon shavings with the second piece of wax paper, pressing down gently to hold the shavings in place.
Step 7
Place a piece of parchment paper over the wax paper sandwich. This step protects your iron and ensures an even melt.
Step 8
Gently press the iron on top of the parchment paper for a few seconds until the crayons melt and adhere to the wax paper. You will see the vibrant colors blend beautifully!
Step 9
Allow it to cool for a moment, then carefully remove the parchment paper, revealing your stunning creation.
Step 10
Cut the wax paper into your desired shapes. You can create hearts, stars, or any fun design that sparks joy!
Step 11
Use string or ribbon to hang your suncatchers in a sunny window. Watch as the light transforms your home with beautiful colors!
Creative Ways to Use DIY Blue Crayon Suncatchers
Once your suncatchers are complete, the possibilities for displaying them are endless! Hang them in a sunny window to create a dazzling light display, or use them as unique decorations for a child’s room. They also make thoughtful gifts for friends and family, especially when paired with a heartfelt note. You can even string them together to create a colorful garland for parties or special occasions. Each time sunlight streams through, you’ll be reminded of the joy of creating something beautiful with your own hands.
How to Store, Preserve, or Reuse DIY Blue Crayon Suncatchers
To keep your suncatchers looking vibrant, store them flat in a cool, dry place. If they get dusty, gently wipe them with a soft cloth. If you ever want to change things up, you can easily reuse the wax paper by melting new crayon shavings and creating fresh designs!
Creative Variations and Customizations
- Color variations – experiment with different hues like green, purple, or even a rainbow mix.
- Theme ideas – create seasonal themes, such as fall leaves or winter snowflakes.
- Seasonal adaptations – design suncatchers that celebrate holidays like Halloween or Christmas.
- Kid-friendly modifications – let kids use cookie cutters to create fun shapes.
- Advanced creative upgrades – try layering different colors or adding glitter for a magical touch.
Tips for Success
- Common mistakes to avoid – be careful not to overheat the iron, as it can scorch the wax paper.
- Safety tips if applicable – supervise children during the ironing process to ensure safety.
- Preparation suggestions – gather all your materials beforehand for a smoother crafting experience.
- Cleanup recommendations – keep a damp cloth nearby to wipe up any crayon bits that may spill.
- Expert crafting tips – have fun with the process and don’t stress about perfection; embrace the imperfections!
FAQs About DIY Blue Crayon Suncatchers
Can beginners make this?
Absolutely! This project is perfect for beginners and requires minimal materials and skills.
Can children participate?
Yes! Kids can help with grating the crayons and assembling the suncatchers, but adult supervision is recommended during the ironing step.
How long does it last?
With proper care, your suncatchers can last for years, adding charm and color to your home.
Can I customize it?
Definitely! Feel free to experiment with different colors, shapes, and themes to make it uniquely yours.
A Final Creative Note
As you wrap up your crafting session, take a moment to appreciate the beautiful suncatchers you’ve created. Each piece is a reflection of your creativity and a reminder of the joy found in making something with your own hands. Embrace the spirit of crafting, and remember that every project is an opportunity to express yourself and connect with others. For more delicious recipes, check out family-friendly meals or treats you will love! And for even more DIY inspiration, be sure to follow our Pinterest for endless creative ideas.
DIY Blue Crayon Suncatchers
Ingredients
Equipment
Method
- Step 1: Cover your work surface with newspaper or a protective cloth. Gather the crayons, wax paper, scissors, iron, and optional decorations.
- Step 2: Remove the crayon wrappers and carefully create small shavings using a pencil sharpener or another suitable shaving tool. Use several shades of blue for added depth.
- Step 3: Place wax paper on the protected work surface and scatter the blue crayon shavings over one half. Arrange the shavings into gradients, patterns, or clusters. Add a small amount of suitable craft glitter if desired.
- Step 4: Fold the empty half of the wax paper over the shavings. An adult should use an iron on low heat to gently press the folded wax paper for a few seconds at a time until the crayons melt and blend together.
- Step 5: Move the project to a safe location and allow the melted wax to cool completely before unfolding or handling it.
- Step 6: Once cool, unfold the wax paper and use scissors to cut the melted artwork into your desired shape, such as a heart, star, flower, leaf, circle, or geometric design.
- Step 7: Attach the finished suncatcher to a sunny window using a small piece of removable tape or another suitable hanging method.