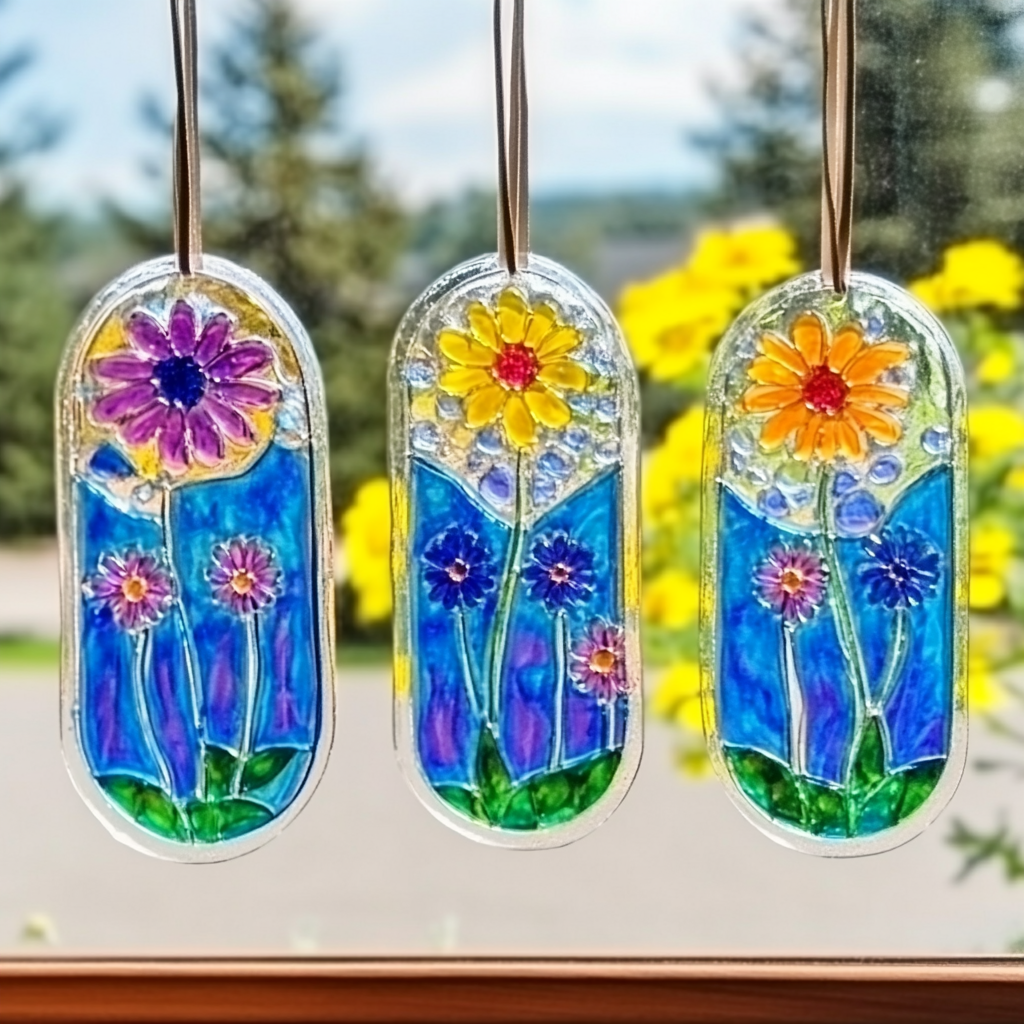
Ingredients
Equipment
Method
- Step 1: Cover your work surface with newspaper or a protective cloth. Gather the crayons, wax paper, scissors, iron, and optional decorations.
- Step 2: Remove the crayon wrappers and carefully create small shavings using a pencil sharpener or another suitable shaving tool. Use several shades of blue for added depth.
- Step 3: Place wax paper on the protected work surface and scatter the blue crayon shavings over one half. Arrange the shavings into gradients, patterns, or clusters. Add a small amount of suitable craft glitter if desired.
- Step 4: Fold the empty half of the wax paper over the shavings. An adult should use an iron on low heat to gently press the folded wax paper for a few seconds at a time until the crayons melt and blend together.
- Step 5: Move the project to a safe location and allow the melted wax to cool completely before unfolding or handling it.
- Step 6: Once cool, unfold the wax paper and use scissors to cut the melted artwork into your desired shape, such as a heart, star, flower, leaf, circle, or geometric design.
- Step 7: Attach the finished suncatcher to a sunny window using a small piece of removable tape or another suitable hanging method.
Notes
Experiment with different crayon colors, shades, patterns, and shapes. Blue can be combined with turquoise, purple, green, pink, or other colors for vibrant effects. Always have an adult handle the iron and supervise children throughout the melting process. Never touch the hot iron or freshly melted wax.