
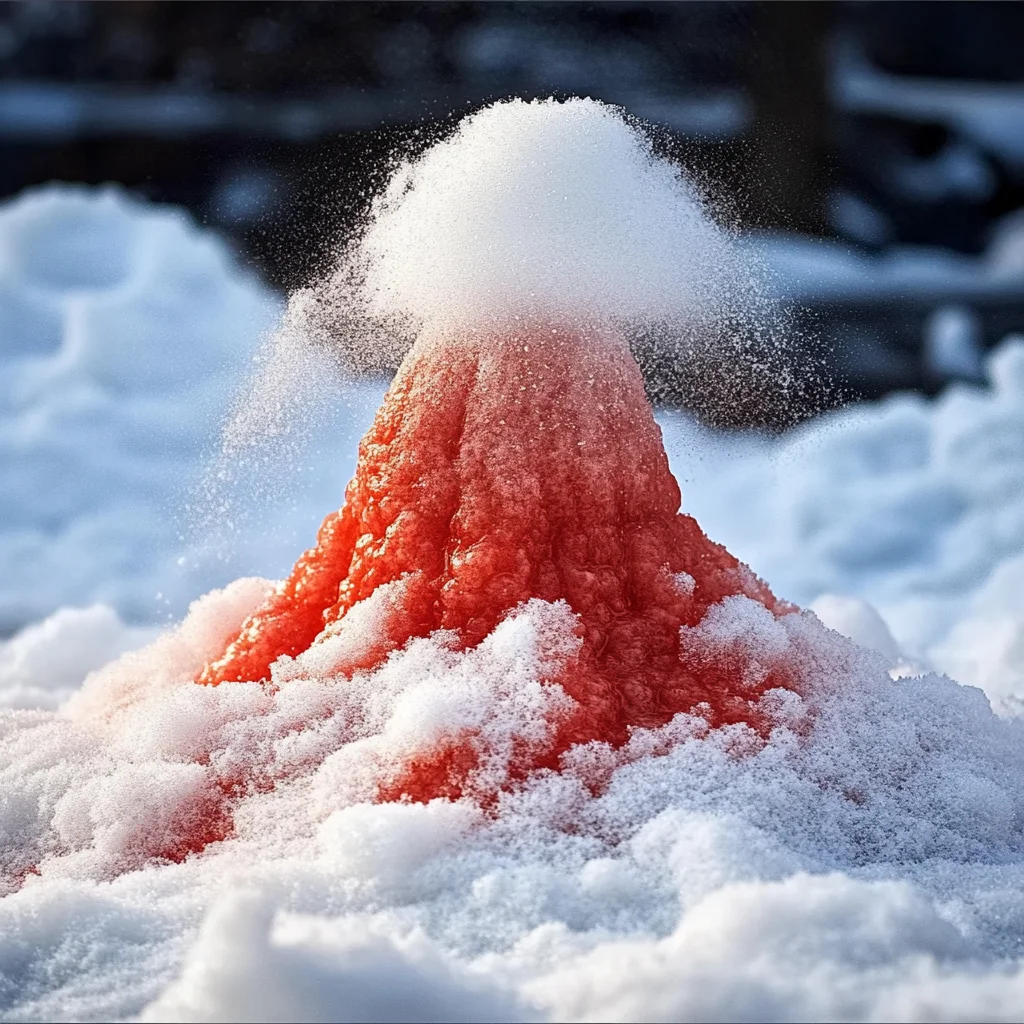
Imagine the thrill of watching a mini volcano erupt right in your living room, all while being surrounded by a fluffy blanket of snow! The DIY Snow Volcano Eruption is not just a project; it’s a magical experience that sparks joy and curiosity in everyone, young and old. As you gather around the table with family or friends, the excitement in the air is palpable. You can almost feel the anticipation as you prepare to create something extraordinary with your own hands. The vibrant colors, the fizzing sounds, and the wonder that comes from watching your creation come to life are simply unforgettable.
Why You’ll Love DIY Snow Volcano Eruption Recipe
- Beginner-friendly
- Budget-friendly
- Creative and fun
- Great for kids and families
- Perfect for gifts or decorations
- Customizable
The Heart Behind This DIY
Crafting is a beautiful way to foster connection and creativity. When you engage in a project like the Snow Volcano Eruption, you’re not just creating a visual spectacle; you’re also nurturing mindfulness and encouraging curiosity. The process of mixing ingredients and watching them transform can be incredibly relaxing and educational. Plus, it instills confidence in children as they see their efforts lead to something magical. As I’ve experienced through my own crafting journeys, there’s something wonderfully grounding about getting your hands a little messy and letting creativity flow.
A Gentle Look at the Process
As you embark on this fun project, you can expect a delightful mix of science and art. You’ll start with a mound of snow, which sets the stage for your volcano, and then layer in baking soda and vinegar for that spectacular eruption. The process is simple, yet each step carries the joy of anticipation. Watching the colors swirl and the fizz erupting will remind you of sunny summer days, even in the coldest winter. So, grab your supplies and let’s get started on this captivating adventure!
Materials You’ll Need
- Baking soda: The main ingredient that creates the fizzing reaction.
- White vinegar: This is the magic potion that triggers your volcano’s eruption.
- Dish soap: Adds some bubbles to your eruption for a fun twist.
- Food coloring (optional): For a vibrant lava effect that delights the eyes.
- Small container or cup: This will hold your baking soda and vinegar.
- Tray or large dish: To catch the overflow from your erupting volcano.
- Snow (or crushed ice): The snowy base for your volcano masterpiece.
Step-by-Step Directions
Step 1
Begin by creating a mound of snow in a tray or large dish. This will be the base of your volcano, so make it as tall and wide as you like!
Step 2
Next, take a small container or cup and place it right in the center of your snow mound. This is where all the exciting action will happen.
Step 3
In the container, add 1 cup of baking soda. If you’re feeling adventurous, add a few drops of food coloring to the baking soda for a colorful surprise when the eruption happens!
Step 4
Now, grab a separate bowl and mix together 1/2 cup of white vinegar and 1 tablespoon of dish soap. This mixture will create the bubbling action.
Step 5
Pour the vinegar mixture into the container with the baking soda, and then step back! Watch in awe as the mixture fizzes and overflows, creating a spectacular volcanic effect. Enjoy the moment and let the joy of creation wash over you!
Creative Ways to Use DIY Snow Volcano Eruption Recipe
Once your Snow Volcano has erupted, the fun doesn’t stop there! You can use it as a centerpiece for a winter-themed party, or even as a fun science demonstration for family and friends. It also makes for a unique gift for children, providing them with an exciting experience they can recreate. After the eruption, let the kids play with the leftover snow—it’s a wonderful way to engage their imaginations!
How to Store, Preserve, or Reuse DIY Snow Volcano Eruption Recipe
While the eruption itself is a one-time spectacle, you can store the leftover snow in a container in your freezer for future use. Just remember that the baking soda and vinegar reaction is best when fresh, so plan to recreate the eruption when the excitement strikes again!
Creative Variations and Customizations
- Color variations: Use different food coloring for various lava colors.
- Theme ideas: Create a Halloween volcano with orange and black colors, or a holiday volcano with red and green.
- Seasonal adaptations: Experiment with crushed ice for a summer version.
- Kid-friendly modifications: Use smaller containers for mini eruptions.
- Advanced creative upgrades: Add glitter or small toys inside the volcano for extra surprise elements.
Tips for Success
- Common mistakes to avoid: Don’t use too much vinegar; it can create a mess.
- Safety tips: Always supervise young children during the eruption.
- Preparation suggestions: Have all your materials ready before beginning.
- Cleanup recommendations: Use a towel to wipe up any spills promptly.
- Expert crafting tips: Experiment with ratios for unique eruption effects!
FAQs About DIY Snow Volcano Eruption Recipe
Can beginners make this?
Absolutely! This project is perfect for beginners and requires minimal materials.
Can children participate?
Yes! This is a fantastic family activity. Just be sure to supervise younger children during the vinegar pouring.
How long does it last?
The eruption itself is quick, but the fun can continue by playing with the leftover snow!
Can I customize it?
Definitely! Feel free to experiment with colors, themes, and even additional ingredients for new effects!
A Final Creative Note
Crafting is a journey of self-expression and creativity, and I hope this DIY Snow Volcano Eruption Recipe inspires you to dive into your next project with joy and enthusiasm. Remember, every creation is a masterpiece in its own right! For more delicious recipes, check out sweet treats or savory delights that will spark your culinary creativity! Let’s continue crafting and making beautiful memories together.
For more DIY inspiration, be sure to follow Pinterest!
DIY Snow Volcano Eruption
Ingredients
Equipment
Method
- Step 1: Begin by creating a mound of snow in a tray or large dish. This will be the base of your volcano.
- Step 2: Place a small container or cup in the center of your snow mound.
- Step 3: Add 1 cup of baking soda to the container and, if desired, a few drops of food coloring.
- Step 4: In a separate bowl, mix 1/2 cup of white vinegar and 1 tablespoon of dish soap.
- Step 5: Pour the vinegar mixture into the container with the baking soda and watch the eruption!
Finally found a place where all the APKs are updated and work perfectly. The installation was a breeze and the games run without any lag. Highly recommend luckygameallapk
I’ve tried many platforms but this one is really smooth. The games load fast and the payouts are fair. Highly recommend ph365jili to everyone!
I’ve tried a few sites this month but this one is definitely the smoothest. Fast payouts and the interface is super easy to navigate. Highly recommend pkbet2888 for anyone looking for a reliable spot.