
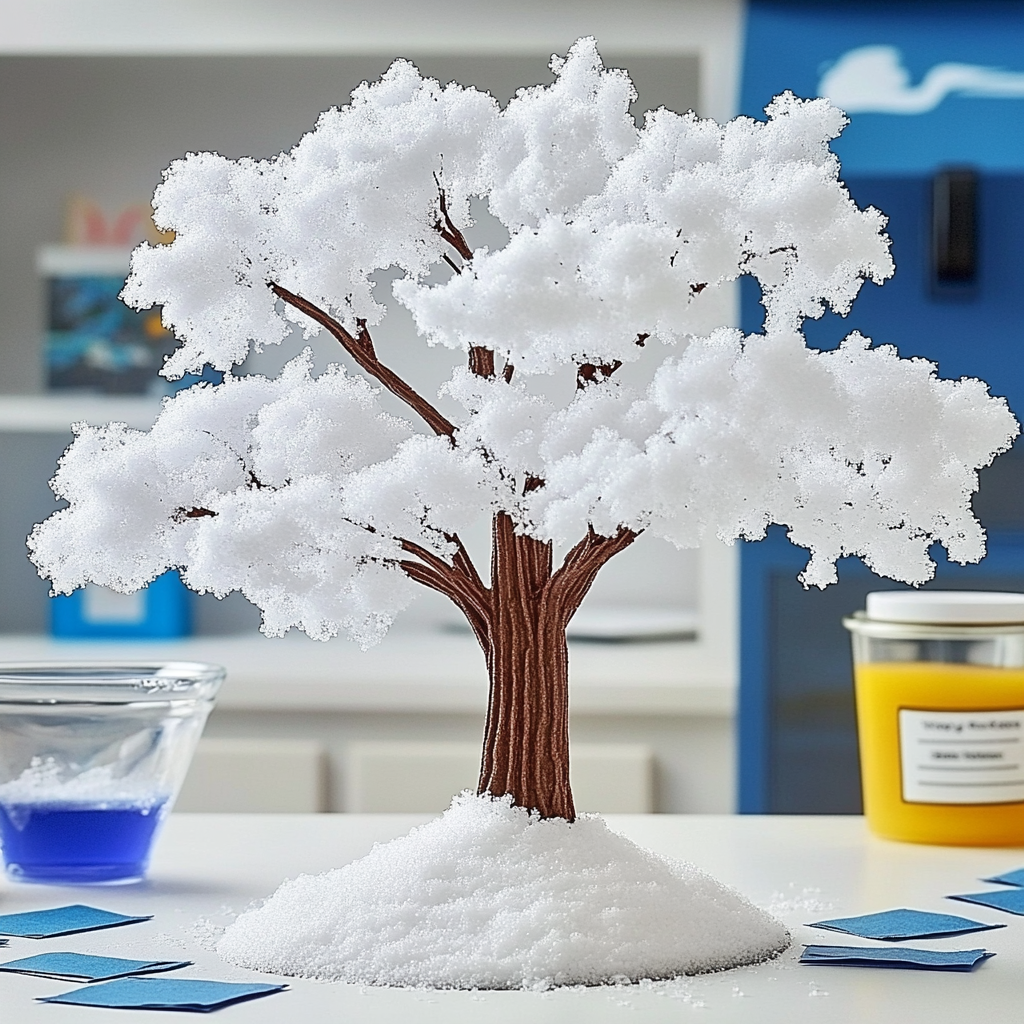
Have you ever found yourself longing for a touch of winter magic, even in the warmest months? Picture this: a charming little snow-covered tree, sparkling with creativity, right in your home. This delightful DIY project, the Baking Soda Growing Snow Tree, brings the wonder of a snowy landscape to life, all while being incredibly easy and fun to make! It’s a wonderful way to engage your senses, spark your imagination, and create something beautiful with your own hands. You’ll feel the joy of crafting as you watch your creation come to life right before your eyes.
Why You’ll Love Baking Soda Growing Snow Tree
- Beginner-friendly
- Budget-friendly
- Creative and fun
- Great for kids and families
- Perfect for gifts or decorations
- Customizable
The Heart Behind This DIY
Why do we love creating together? This project is not just about making a snowy tree; it’s about the joy of spending time with loved ones, sharing laughter, and creating lasting memories. As you mix the ingredients, feel the textures between your fingers, and watch the reaction unfold, you’ll find yourself in a state of mindfulness. Crafting encourages creativity and self-expression, nurturing confidence as you see your unique design take shape. It’s a soothing activity that allows you to escape into a world of imagination and connection.
A Gentle Look at the Process
As you embark on this delightful DIY journey, you can expect a relaxing experience filled with laughter and wonder. You’ll mix simple ingredients, shape them into a whimsical tree, and then witness a magical transformation as the vinegar brings your creation to life. Each step is filled with anticipation and excitement, making it a perfect project for both kids and adults alike. Just imagine the joy of watching the snow tree “grow” before your eyes!
Materials You’ll Need
- Baking soda: This is the foundation of your snow tree, allowing it to create that fluffy, snowy texture.
- Water: Helps to form the paste you’ll shape into your tree.
- White vinegar: The magical ingredient that triggers the “growing” reaction!
- Food coloring (optional): Add a splash of color to your snowy creation if you desire.
- A shallow tray or plate: To display your beautiful snow tree as it grows.
Step-by-Step Directions
Step 1
In a mixing bowl, combine 1 cup of baking soda with 1/4 cup of water. Stir until you create a thick paste that feels soft and malleable to the touch. It’s like building a fluffy snowball!
Step 2
If you want to add a pop of color, drop in a few drops of food coloring and mix until well combined. Feel free to get creative with colors; maybe a bright blue tree or a festive red one?
Step 3
Now, it’s time to shape your tree! Use your hands to mold the baking soda mixture into a tree shape directly on your shallow tray or plate. Don’t worry about making it perfect; every tree is unique!
Step 4
In a separate small bowl, mix 1 tablespoon of white vinegar with a few drops of food coloring if you’re using it. This step adds a layer of excitement to the process!
Step 5
Slowly pour the vinegar mixture over your baking soda tree. Watch closely as the magic happens—the tree will begin to bubble and expand, resembling a snowy wonderland right before your eyes!
Step 6
Take a moment to enjoy the spectacle. The effervescence will create a snowy effect, and you’ll feel a sense of joy as you witness your creation come alive. Don’t forget to capture the moment with pictures!
Creative Ways to Use Baking Soda Growing Snow Tree
Once your snow tree is complete, the possibilities are endless! Consider incorporating it into your holiday decorations, using it as a centerpiece for a winter-themed party, or gifting it to a friend to spread some cheer. You could even create a mini winter scene with cotton balls and other small figurines around your tree. It’s a fun way to spark imagination and storytelling!
How to Store, Preserve, or Reuse Baking Soda Growing Snow Tree
While your Baking Soda Growing Snow Tree is a temporary creation, it can be preserved for a short time. If you want to keep it, let it dry completely and store it in a cool, dry place. However, remember that the magic is in the reaction, so it’s best enjoyed fresh!
Creative Variations and Customizations
- Color variations: Experiment with different food coloring to create unique effects.
- Theme ideas: Create trees for various holidays or celebrations, like Halloween or Christmas.
- Seasonal adaptations: How about a spring blossom tree with pastel colors?
- Kid-friendly modifications: Let children shape their trees and choose colors to make it their own.
- Advanced creative upgrades: Add glitter or small ornaments for a more festive look!
Tips for Success
- Common mistakes to avoid: Make sure the paste is thick enough to hold its shape.
- Safety tips: Always supervise children, especially with vinegar, to ensure safety.
- Preparation suggestions: Gather all materials beforehand to make the process smooth and enjoyable.
- Cleanup recommendations: The mixture can be a bit messy, so have a damp cloth handy for easy cleanup!
- Expert crafting tips: Don’t be afraid to experiment; every creation is a chance to learn something new!
FAQs About Baking Soda Growing Snow Tree
Can beginners make this?
Absolutely! This project is perfect for beginners, and it’s easy to follow along.
Can children participate?
Yes! It’s a fantastic activity for kids, allowing them to express their creativity under supervision.
How long does it last?
While the reaction is temporary, the tree can be dried and stored for a short period if desired.
Can I customize it?
Definitely! Feel free to add colors and shapes to make your snow tree unique.
A Final Creative Note
As we wrap up this enchanting DIY adventure, I hope you feel inspired to gather your materials and create your very own Baking Soda Growing Snow Tree. Remember, crafting is all about embracing creativity, learning, and enjoying the process. Each project is a chance to express yourself and connect with those around you. For more delightful recipes, check out Lana’s collection of appetizers and snacks or baking treats you will love! Now, let your imagination soar and happy crafting!
For more DIY inspiration, follow me on Pinterest!
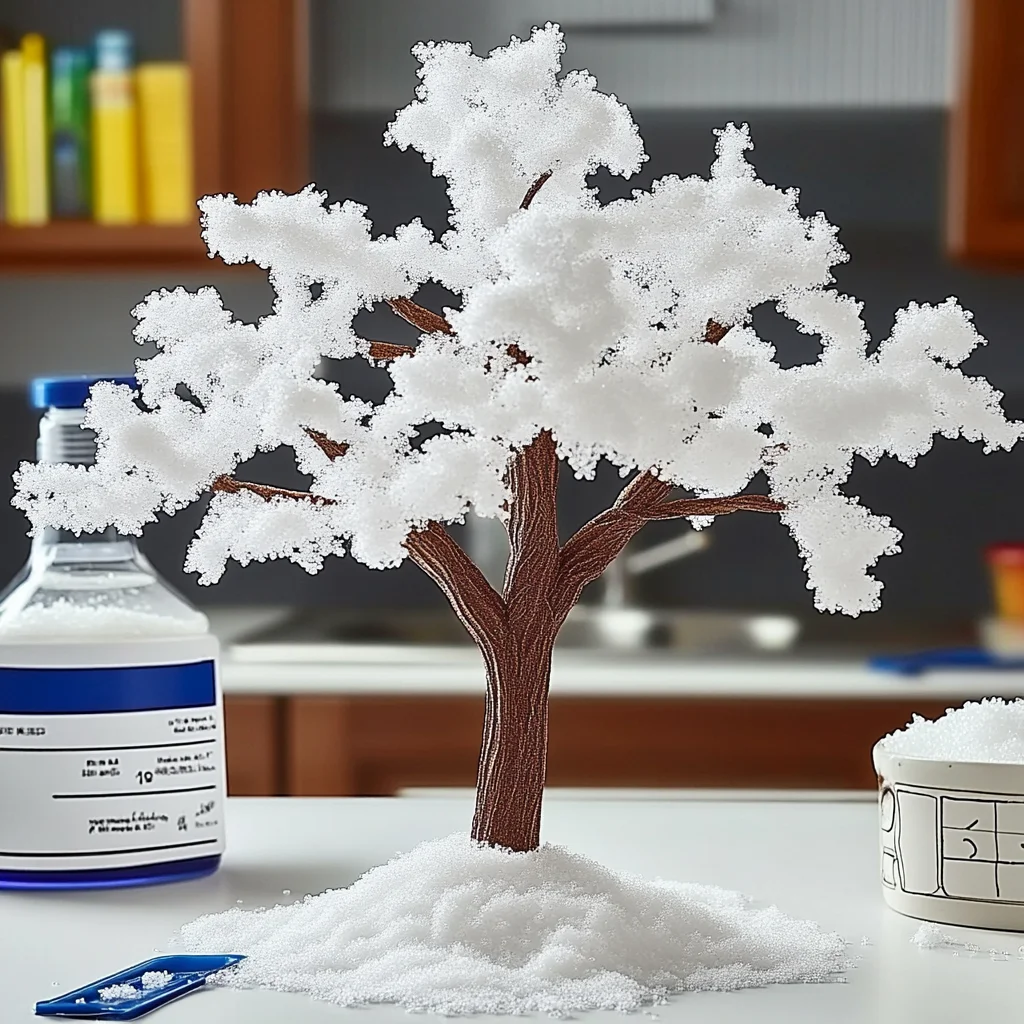
Baking Soda Growing Snow Tree
Ingredients
Equipment
Method
- Step 1: In a mixing bowl, combine 1 cup of baking soda with 1/4 cup of water. Stir until you create a thick paste that feels soft and malleable to the touch.
- Step 2: If you want to add a pop of color, drop in a few drops of food coloring and mix until well combined.
- Step 3: Shape your tree using your hands to mold the baking soda mixture into a tree shape directly on your shallow tray or plate.
- Step 4: In a separate small bowl, mix 1 tablespoon of white vinegar with a few drops of food coloring if you’re using it.
- Step 5: Slowly pour the vinegar mixture over your baking soda tree and watch it bubble and expand!
- Step 6: Take a moment to enjoy the spectacle, and capture the moment with pictures!
[2511]Xsdng – Đăng nhập và tải app chơi nổ hũ đổi thưởng,Truy cập xsdng để trải nghiệm game nổ hũ đổi thưởng hấp dẫn. Hướng dẫn cách chơi baccarat online và nạp tiền casino qua momo nhanh chóng. Đăng nhập ngay! visit: xsdng