
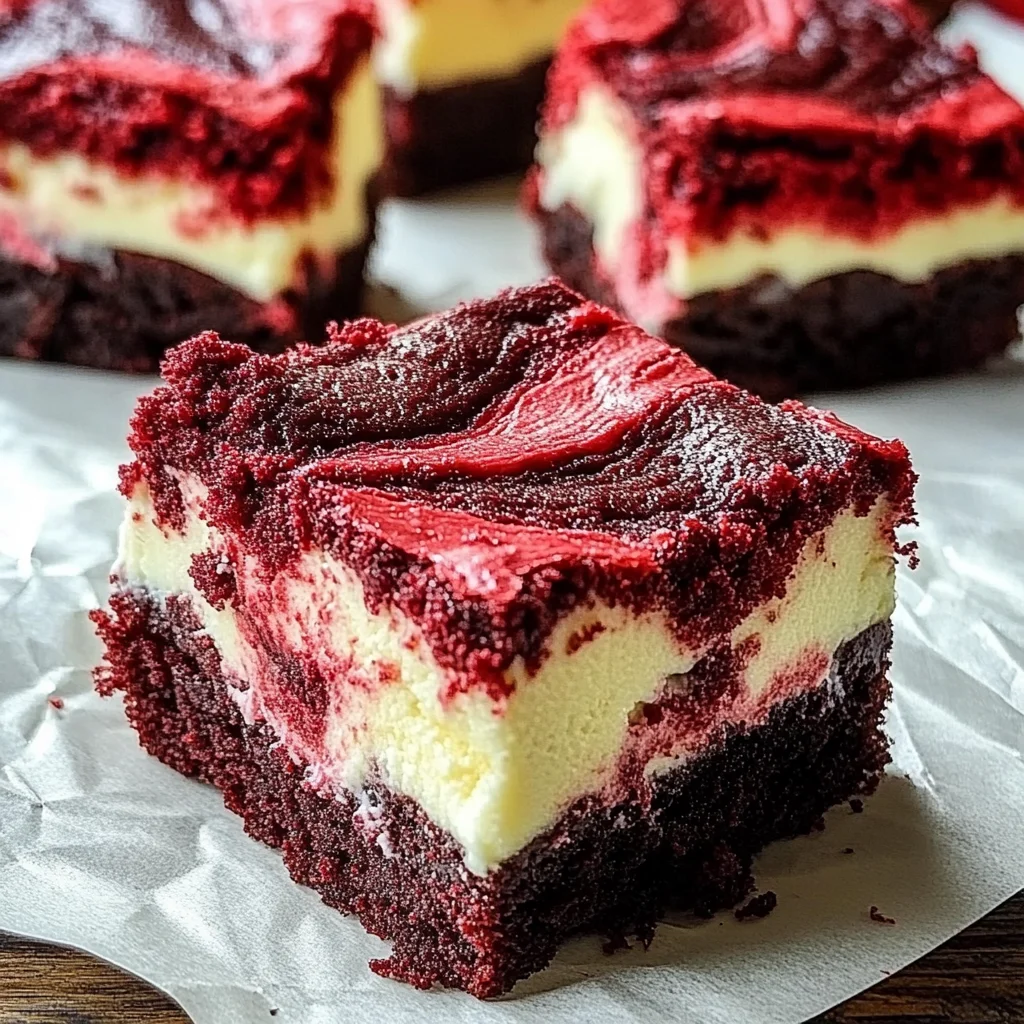
There’s something magical about the combination of chocolatey brownies and creamy cheesecake, and when you add that stunning red velvet twist, you create a dessert that is both visually striking and deliciously indulgent. These Red Velvet Cheesecake Brownies are easy to whip up, making them perfect for any occasion, whether it’s a cozy night in or a festive gathering with friends. Trust me, once you make these, they will become a cherished recipe in your collection!
Why You’ll Love Red Velvet Cheesecake Brownies
- Fast: You can have the main components prepped and in the oven in about 20 minutes.
- Easy: It’s a simple “brown and bake” method that even beginner cooks can master.
- Giftable: This is a sturdy dish that travels well, making it perfect for potlucks or as a “get well soon” meal.
- Crowd-pleasing: Even people who think they don’t like red velvet usually fall in love with this creamy, cheesy version!
Ingredients
- 1/2 cup unsalted butter: This will give your brownies that rich, fudgy texture.
- 1 cup granulated sugar: Sweetness is key, and sugar helps create that perfect crust.
- 2 large eggs: They bind everything together and add moisture.
- 1 teaspoon vanilla extract: A must for that warm, inviting flavor.
- 1 cup all-purpose flour: The foundation of your brownie layer.
- 1 tablespoon unsweetened cocoa powder: This adds depth and enhances the chocolate flavor.
- 1 teaspoon red food coloring: Essential for that classic red velvet look.
- 1/2 teaspoon salt: A pinch to balance out the sweetness.
- 8 oz cream cheese, softened: The star of the cheesecake layer, providing that luscious creaminess.
- 1/3 cup granulated sugar: To sweeten the cheesecake layer just right.
- 1 large egg: To help set the cheesecake.
- 1 teaspoon vanilla extract: Adds flavor to the cheesecake layer, too!
How to Make Red Velvet Cheesecake Brownies
Ready to dive in? Let’s get started!
- Preheat your oven to 350°F (175°C). Grease and line an 8×8 inch baking pan with parchment paper for easy removal.
- In a medium saucepan, melt the butter over low heat. Once melted, remove from heat and stir in the sugar, eggs, and vanilla until everything is well combined.
- In a separate bowl, whisk together the flour, cocoa powder, and salt. Gradually add this dry mixture to the butter mixture, mixing until just combined. Then, stir in the red food coloring until the batter is a beautiful, even shade.
- Spread half of the brownie batter into your prepared baking pan, smoothing it out into an even layer with a spatula.
- In another bowl, beat the softened cream cheese until smooth. Add the sugar, egg, and vanilla, mixing until all ingredients are well combined and creamy.
- Pour the cheesecake mixture over the brownie layer in the pan. Drop spoonfuls of the remaining brownie batter on top of the cheesecake layer. Using a knife, gently swirl the two layers together for a marbled effect.
- Bake for 30-35 minutes, or until a toothpick inserted into the center comes out with a few moist crumbs. You want them to be fudgy, not dry!
- Allow the brownies to cool completely in the pan before cutting them into squares and serving. Enjoy!
Substitutions & Additions
Want to switch things up? Here are some ideas:
- For a gluten-free version, substitute the all-purpose flour with a 1:1 gluten-free baking flour.
- Add chocolate chips or white chocolate chips for an extra indulgent touch!
- Try swirling in some raspberry or strawberry puree into the cheesecake layer for a fruity twist.
Tips for Success
Here are some tips to ensure your brownies turn out perfect:
- Don’t overmix the brownie batter once you add the flour. Mix just until combined for the best texture.
- Make sure your cream cheese is softened for a smooth cheesecake layer. If it’s cold, it can become lumpy.
- Let the brownies cool completely before slicing to avoid crumbling.
How to Store Red Velvet Cheesecake Brownies
These brownies keep well! Store them in an airtight container at room temperature for up to 3 days. For longer storage, you can refrigerate them for up to a week or freeze them for up to 3 months. Just make sure to wrap them tightly!
FAQs
- Can I make these brownies ahead of time? Absolutely! They can be made a day in advance and stored in the fridge.
- Can I use a different food coloring? Yes, feel free to experiment with other colors, but red is the classic choice for that signature look!
- What if I don’t have cream cheese? You can substitute with mascarpone cheese for a similar creamy texture.
Enjoy making these delightful Red Velvet Cheesecake Brownies, and don’t forget to share your creations! For more delicious recipes and inspiration, follow me on Pinterest!
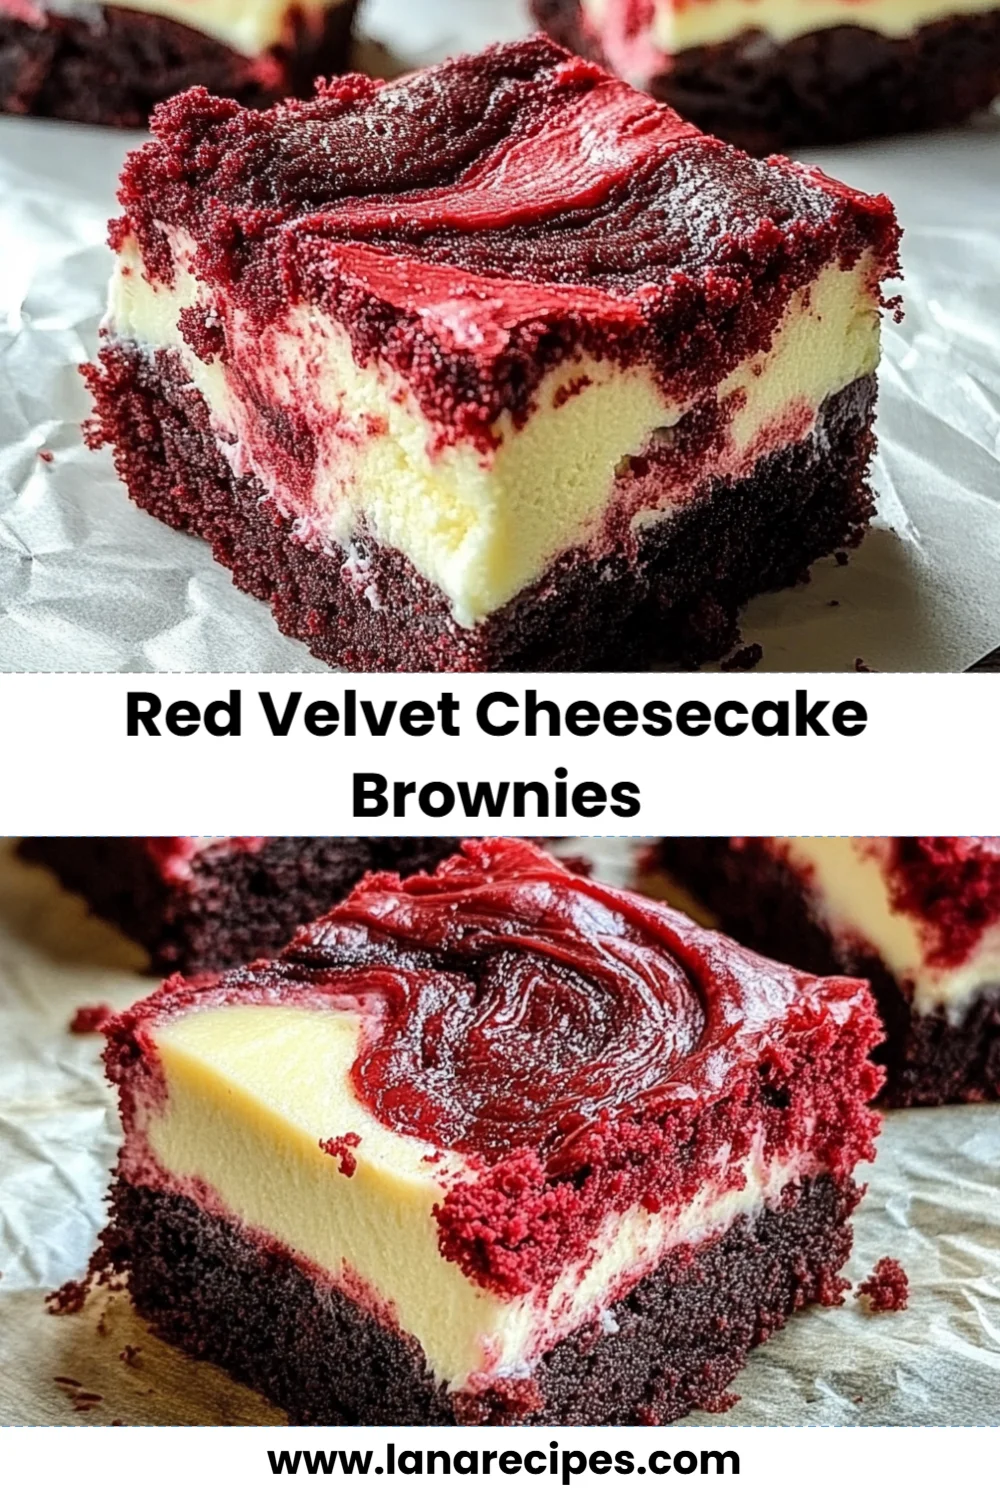
Red Velvet Cheesecake Brownies
Ingredients
Equipment
Method
- Step 1: Preheat your oven to 350°F (175°C). Grease and line an 8x8 inch baking pan with parchment paper for easy removal.
- Step 2: In a medium saucepan, melt the butter over low heat. Once melted, remove from heat and stir in the sugar, eggs, and vanilla until everything is well combined.
- Step 3: In a separate bowl, whisk together the flour, cocoa powder, and salt. Gradually add this dry mixture to the butter mixture, mixing until just combined. Then, stir in the red food coloring until the batter is a beautiful, even shade.
- Step 4: Spread half of the brownie batter into your prepared baking pan, smoothing it out into an even layer with a spatula.
- Step 5: In another bowl, beat the softened cream cheese until smooth. Add the sugar, egg, and vanilla, mixing until all ingredients are well combined and creamy.
- Step 6: Pour the cheesecake mixture over the brownie layer in the pan. Drop spoonfuls of the remaining brownie batter on top of the cheesecake layer. Using a knife, gently swirl the two layers together for a marbled effect.
- Step 7: Bake for 30-35 minutes, or until a toothpick inserted into the center comes out with a few moist crumbs. You want them to be fudgy, not dry!
- Step 8: Allow the brownies to cool completely in the pan before cutting them into squares and serving. Enjoy!
[8603]123jili Official Login | Best GCash Online Casino in Philippines,123jili offers legit slots and the latest app download for seamless gaming. Enjoy secure GCash transactions and learn how to play baccarat. Join now for the action! visit: 123jili
The speed of the site is amazing, just like the name suggests. No glitches and the graphics are sharp. I am really enjoying my time at idturbo88.
The app is super responsive and doesn’t lag at all. It makes gaming so much easier on the go. Highly recommend downloading betjiliapk