Ingredients
Equipment
Method
- Step 1: Prep your station: Lay down some paper towels on your work surface. This is your first line of defense against runaway colors!
- Step 2: Draw your design: Grab your white school glue and a piece of dark cardstock. You can draw anything you like – squiggly lines, stars, flowers, letters, or even a fun design inspired by your favorite treats, like a slice of Reese's Peanut Butter Cup pie!
- Step 3: Salt it up: While the glue is still wet, generously sprinkle table salt over every glue line. You want to make sure the glue is completely covered. Gently tilt the paper to shake off any excess salt. It’s like a sparkly blanket for your design!
- Step 4: Mix your colors: In your small cups, mix your watercolor paints or liquid food coloring with just a tiny bit of water. You want a concentrated color that will spread well. If you’re using food coloring, a drop or two is usually plenty.
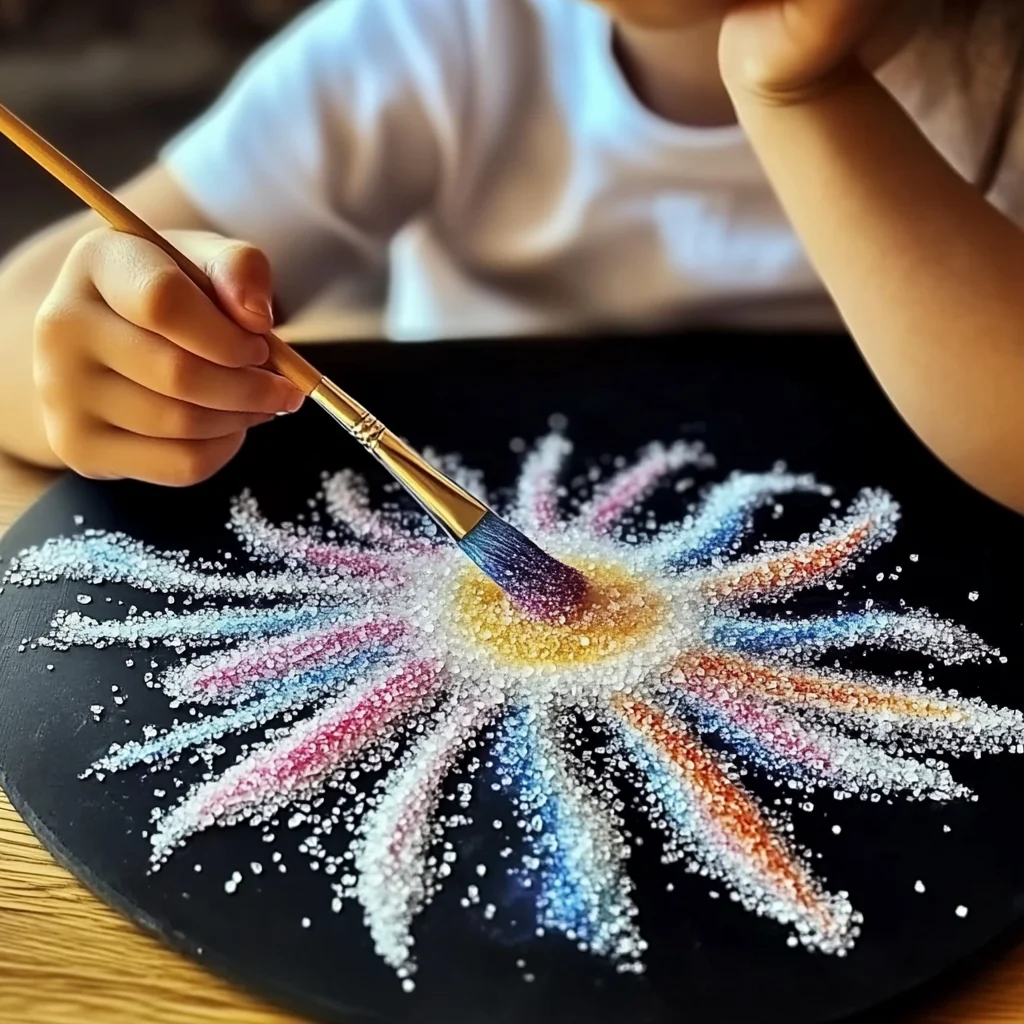
- Step 5: Paint with magic: Now for the fun part! Dip a paintbrush or a pipette into your first color. Gently touch the tip to the salt-covered glue lines. Watch as the color magically travels along the salt crystals, spreading and creating beautiful, textured patterns.
- Step 6: Layer and blend: Continue adding different colors, letting them touch and blend together. Don't be afraid to experiment! The salt acts as a wick, pulling the color and creating an almost watercolor-like effect. It’s like a mini science experiment meets art project!
- Step 7: Let it dry: Once you’re happy with your creation, set it aside to air dry completely. This might take a few hours, depending on how much liquid you used. Patience is key here!
- Step 8: Admire your masterpiece: When it's fully dry, you'll have a stunning piece of art with a unique, sparkly, textured finish. It’s truly mesmerizing!
Notes
If you don’t have watercolors or food coloring, even diluted acrylic paints can work, though they might not spread as fluidly. You can also try using different types of salt – Epsom salt can give a chunkier sparkle, or you can even use colored sand for a different effect.
Tips for Success: Don't over-thin your paint: Too much water will make the colors run too much and can wash away the salt effect. Work on a flat surface: This helps the glue and salt stay put until you’re ready to paint. Gentle touch is key: When applying the paint, don't scrub. Just touch the brush or pipette to the salt.