Ingredients
Equipment
Method
- Step 1: Cover a flat work surface with newspaper or another protective covering. Gather the shaving cream, food coloring, paper, craft sticks, and optional decorations.
- Step 2: Squeeze a generous amount of non-gel shaving cream into a bowl. Add a few drops of green food coloring and gently mix until the color is distributed. Avoid overmixing if you want visible swirls.
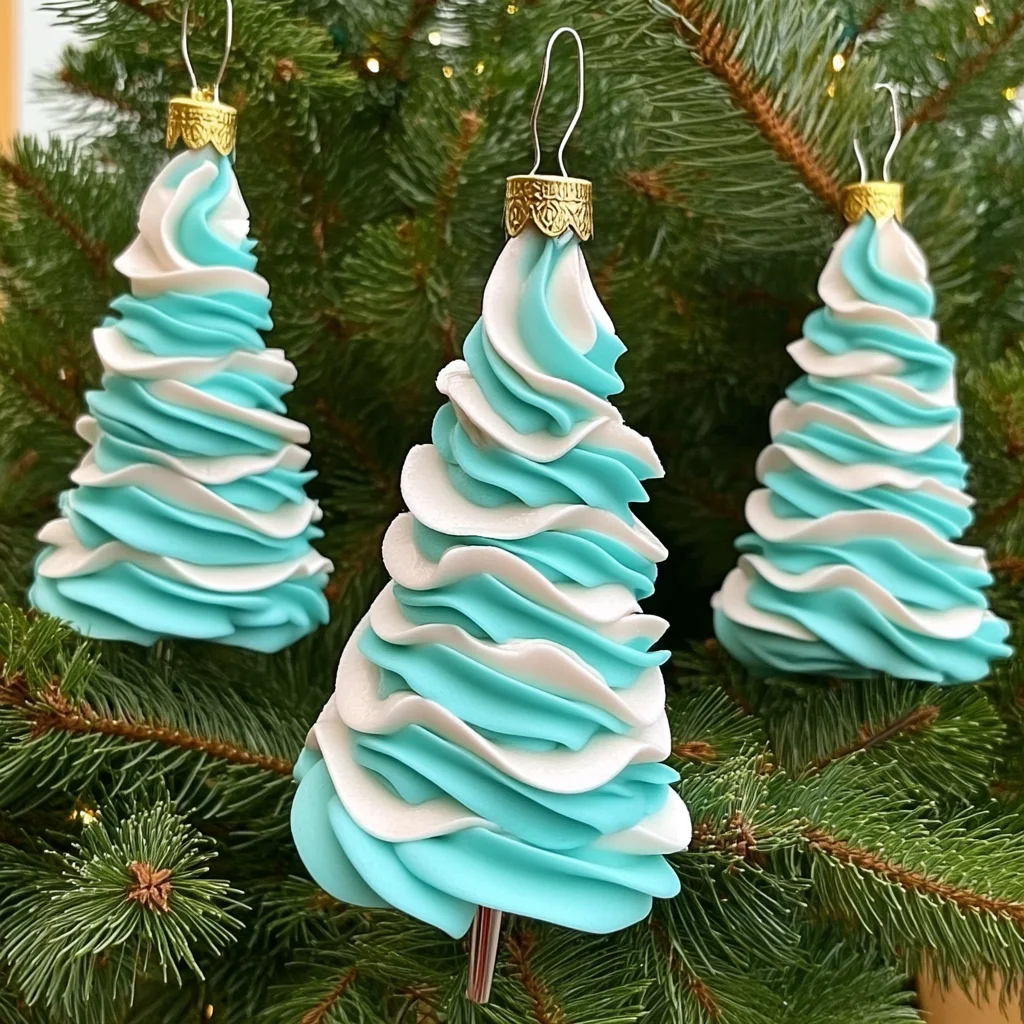
- Step 3: Scoop the colored shaving cream onto paper or cardstock and use your hands or a spoon to form it into a triangular Christmas tree shape. Build the tree gradually for a fuller, fluffy appearance.
- Step 4: Use small amounts of other food coloring shades to create ornaments and decorative patterns. Sprinkle glitter, sequins, or other lightweight decorations over the tree if desired.
- Step 5: Carefully insert a toothpick or small craft stick into the bottom of the tree to represent the trunk. Adjust the shaving cream around the base to help keep it upright.
- Step 6: Leave the finished trees undisturbed for a few hours in a safe, dry location. Enjoy them as temporary sensory and holiday decorations while the shaving cream remains attractive.
Notes
Use non-gel shaving cream for the best fluffy texture. Experiment with green, pastel, white, blue, purple, or other festive colors. These are temporary crafts and will gradually dry out and change texture. Young children should be supervised, especially when using small decorations, and shaving cream should be kept away from eyes and mouths.