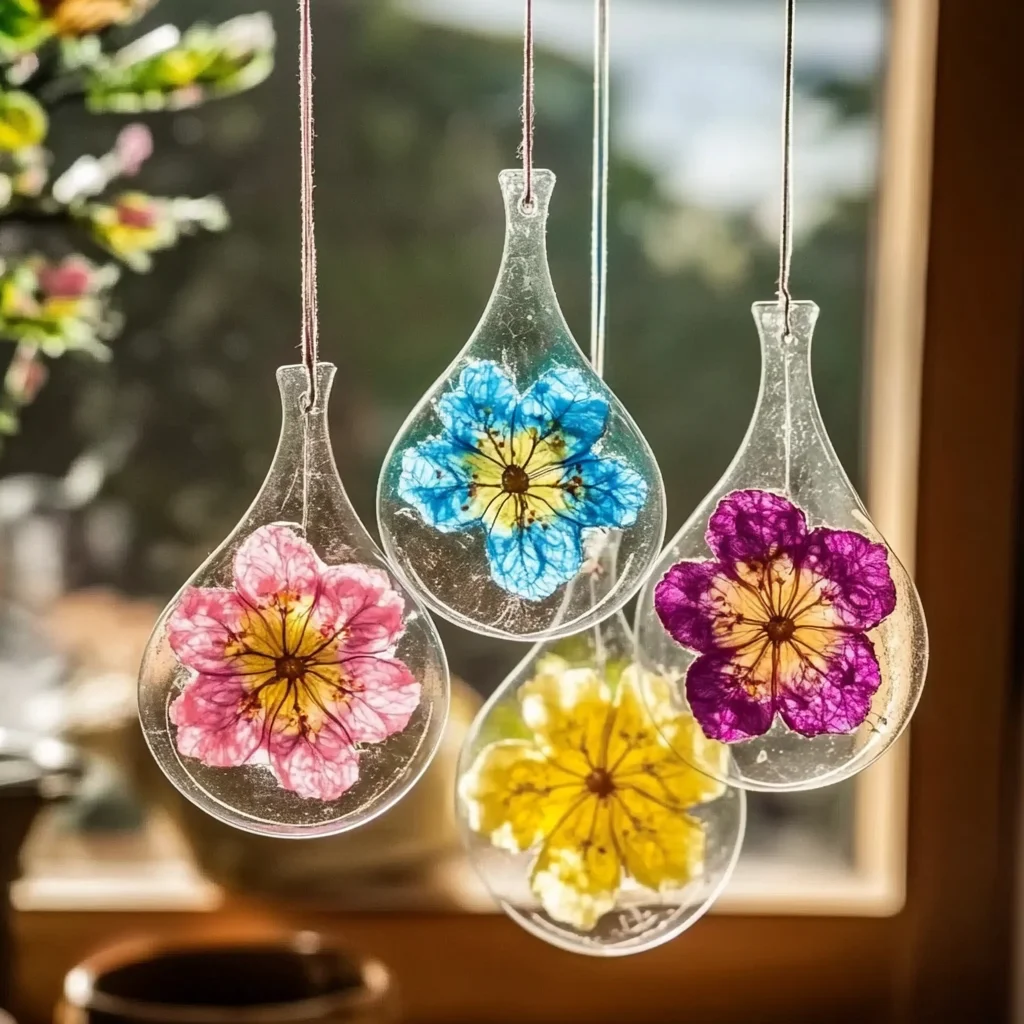
Ingredients
Equipment
Method
- Step 1: Set up a clean, flat crafting surface and gather the clear sheets, colorful tissue paper or cellophane, scissors, glue, and other supplies. Protect the work area from spills if needed.
- Step 2: Cut colorful tissue paper or cellophane into flower shapes. Experiment with different sizes, petal styles, and botanical designs.
- Step 3: Place one clear sheet or piece of wax paper on your work surface and arrange the flower pieces. Overlap transparent colors to create additional shades and depth.
- Step 4: Apply clear-drying glue and carefully attach the flower pieces. Gently smooth the pieces into position so they adhere evenly.
- Step 5: Place another clear sheet or piece of wax paper over the design and gently press from the center toward the edges to remove air bubbles and seal the layers.
- Step 6: If the chosen materials are suitable for oven heating, place the assembled design on a baking sheet and warm it at approximately 200°F for a few minutes while monitoring continuously. Alternatively, allow the suncatcher to air dry completely while flat.
- Step 7: Once completely cool and set, carefully cut around the flower shapes. Create a small hole near the top and thread ribbon or string through it for hanging.
Notes
Experiment with seasonal color palettes, layered transparent pieces, botanical shapes, and suitable recycled materials. For a no-heat version, simply allow the finished suncatcher to air dry flat. Adult supervision is recommended when using scissors or an oven, and materials should only be heated when they are specifically suitable for the chosen temperature.