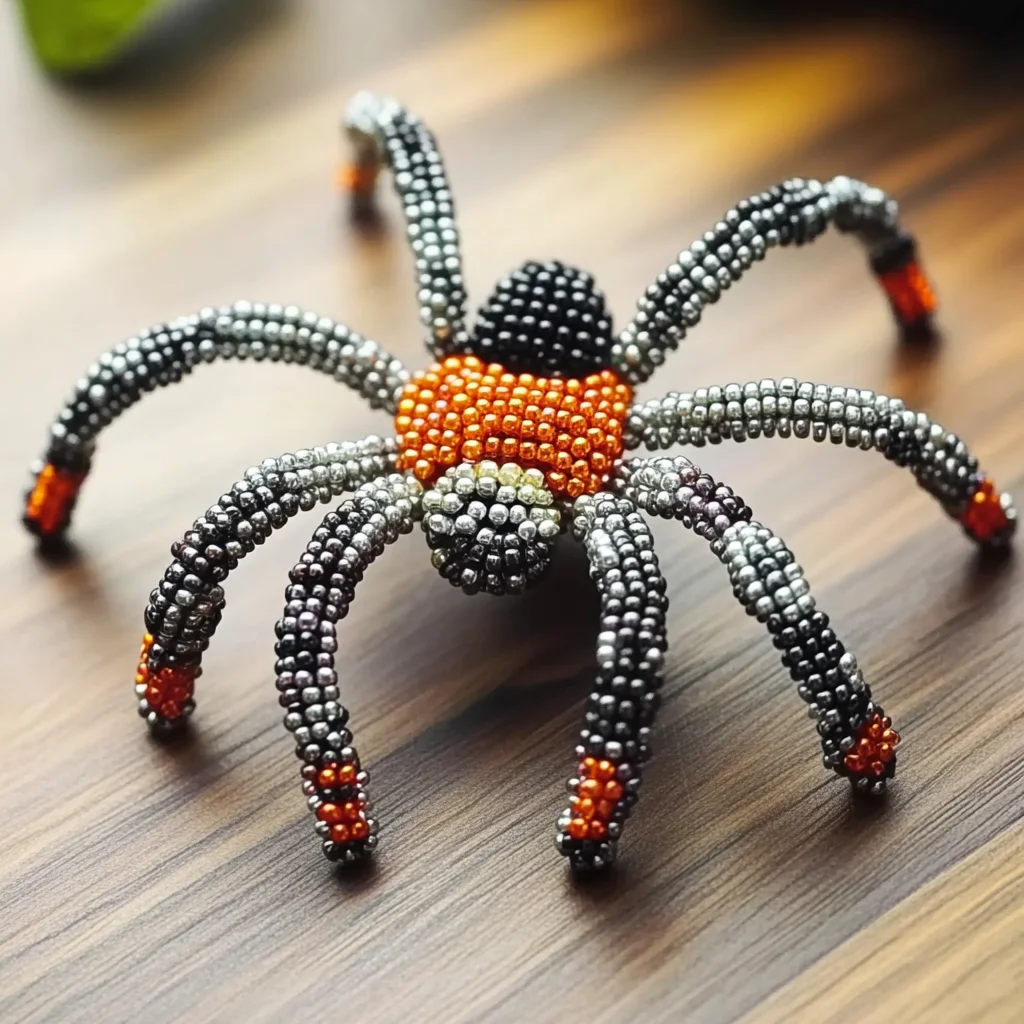
Ingredients
Equipment
Method
- Step 1: Start by cutting a piece of black wire approximately 24 inches long.
- Step 2: Thread four black beads onto the wire, leaving about a 5-inch tail on one end.
- Step 3: Create the spider's body by bending the wire into a loop and threading the end back through the first bead.
- Step 4: Add two red beads for the eyes by threading them onto the wire next to the body.
- Step 5: For the legs, cut four additional pieces of wire, each about 8 inches long.
- Step 6: Take one piece of wire, thread it through the first black bead on the body, and bend it to form a leg.
- Step 7: Shape the legs into a spider-like appearance by bending them at the joints.
- Step 8: Trim any excess wire and secure all beads tightly.
- Step 9: Adjust the positioning of the legs and body as desired.
Notes
Store your beaded spider in a dry place away from direct sunlight to keep it looking its best.