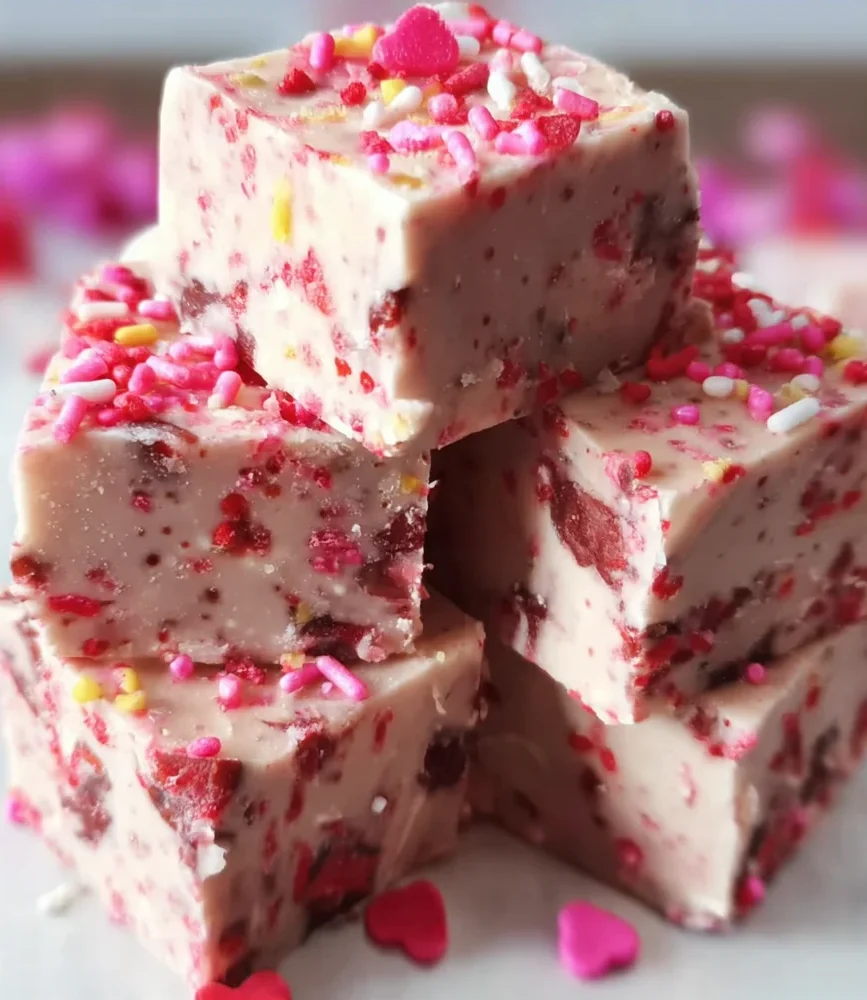
There’s something so comforting and nostalgic about fudge, isn’t there? I remember making it with my family during special occasions, carefully stirring the chocolate until it was silky smooth, then eagerly waiting for it to set. This Valentine’s Day fudge brings back that warm feeling of sharing sweet moments with loved ones, and the best part? It’s incredibly easy and quick to whip up, even if you’re not usually a dessert pro.
This festive treat is perfect for gifting, sharing, or simply savoring yourself with a cozy cup of tea. Plus, it’s loaded with adorable Valentine’s sprinkles that make every bite feel like a little celebration.
Why You’ll Love Valentine’s Day Fudge
- Fast: Ready to mix and melt in just minutes.
- Easy: No complicated steps or fancy equipment needed.
- Giftable: Makes a charming homemade gift that everyone will adore.
- Crowd-pleasing: Sweet, creamy, and colorful—the perfect combo for any party or get-together.
Ingredients
- 3 cups white chocolate chips – The star of the fudge, giving it a rich, creamy sweetness.
- 14 oz (1 can) sweetened condensed milk – Adds luscious smoothness and binds everything together.
- 4 tablespoons salted butter – Brings a buttery depth that balances the sweetness.
- 1 teaspoon pure vanilla extract – A splash of vanilla enhances all the flavors beautifully.
- 2 cups Valentine’s Day sprinkles – For that festive pop of color and fun texture.
How to Make Valentine’s Day Fudge
Let me walk you through this simple recipe step-by-step. Trust me, it’s easier than you think!
- First, line an 8″ x 8″ square baking pan with parchment paper. This makes removing your fudge a breeze once it’s set.
- Next, grab a medium saucepan and set it over medium heat. Combine your white chocolate chips, sweetened condensed milk, and salted butter. Stir continuously—this part is key—to make sure everything melts smoothly and blends together without sticking or burning.
- Once your mixture is silky and fully melted, remove the pan from heat. Stir in the pure vanilla extract for that lovely warm flavor.
- Now, gently fold 1¼ cups of the Valentine’s Day sprinkles right into the fudge mixture. This gives the fudge little bursts of festive color inside.
- Pour the fudge into your prepared pan, spreading it out evenly. Then sprinkle the remaining sprinkles on top, and lightly press them into the surface so they stick as the fudge sets.
- Pop the pan in the refrigerator and let it chill overnight. This patience pays off with a firm, perfect fudge texture.
- When the fudge is fully set, lift it out using the parchment paper and cut it into 2-inch squares. Serve and enjoy!
Substitutions & Additions
Want to switch things up or make this recipe your own? Here are some fun ideas:
- Chocolate swaps: Use milk or dark chocolate chips instead of white chocolate for a richer or more classic flavor.
- Dairy-free option: Try dairy-free white chocolate and coconut milk condensed milk alternatives to make it vegan-friendly.
- Add nuts or dried fruit: Fold in chopped pecans, almonds, or dried cranberries for extra texture and flavor.
- Flavor twists: Add a teaspoon of peppermint extract or orange zest for a seasonal flair—perfect if you love festive flavors like in our no-bake orange creamsicle cheesecake.
- Decorate creatively: Swap Valentine’s sprinkles for edible glitter, crushed candy canes, or mini heart-shaped chocolates.
Tips for Success
- Stir constantly: When melting the chocolate mixture, keep stirring to avoid burning or clumping — this is the secret to smooth fudge.
- Don’t skip the parchment paper: It makes cleanup easier and lets you lift the fudge out of the pan without breaking it.
- Chill overnight: While it’s tempting to cut into the fudge early, letting it set fully in the fridge helps it firm up perfectly.
- Prep ahead: You can make this fudge a day or two before Valentine’s Day. Just keep it covered in the fridge until ready to serve or gift.
- Cut cleanly: Warm your knife under hot water and dry it before slicing to get neat squares without sticking.
How to Store Valentine’s Day Fudge
Once your fudge is cut, store the pieces in an airtight container. You can keep it in the refrigerator for up to two weeks—just make sure it’s well covered to prevent it from drying out or absorbing other fridge smells.
If you want to store it longer, you can freeze the fudge for up to 2 months. Wrap individual pieces in plastic wrap and place them in a freezer-safe container. When ready to enjoy, thaw in the fridge overnight.
FAQs
- Can I use a different size pan? Absolutely! Just remember that a larger pan will make thinner fudge, and a smaller pan will make it thicker. Adjust chilling time as needed.
- Can I skip the sprinkles? Yes! The sprinkles add color and fun, but the fudge will still taste amazing without them.
- Why is my fudge grainy? This usually happens if the mixture gets too hot or isn’t stirred enough. To avoid this, melt the ingredients gently and stir constantly.
- Can I make this fudge without a stove? You can melt the ingredients in a microwave-safe bowl in short bursts, stirring between, but watch carefully to avoid overheating.
For more sweet and simple no-bake treats, you might love trying the no-bake marshmallow slice—another perfect dessert for when you want something quick and crowd-pleasing.
And if you enjoy easy, indulgent chocolatey recipes, be sure to check out the hot fudge brownie bread, a decadent treat that’s just as fun to make as it is to eat.
Happy Valentine’s Day and happy fudge making! Don’t forget to share this sweet love with your friends and family—they’ll thank you for it.
For more tasty inspiration and cozy recipes, follow me on Pinterest.
Valentine’s Day Fudge
Ingredients
Equipment
Method
- Step 1: Line an 8″ x 8″ square baking pan with parchment paper to make removing the fudge easier once set.
- Step 2: In a medium saucepan over medium heat, combine white chocolate chips, sweetened condensed milk, and salted butter. Stir constantly to melt smoothly without burning.
- Step 3: Remove from heat and stir in pure vanilla extract for warm flavor.
- Step 4: Gently fold 1¼ cups of Valentine’s Day sprinkles into the fudge mixture for bursts of festive color inside.
- Step 5: Pour the fudge into the prepared pan, spread evenly, then sprinkle the remaining sprinkles on top. Lightly press them into the surface so they stick as the fudge sets.
- Step 6: Refrigerate overnight until firm.
- Step 7: Lift the fudge out using the parchment paper and cut into 2-inch squares. Serve and enjoy!