
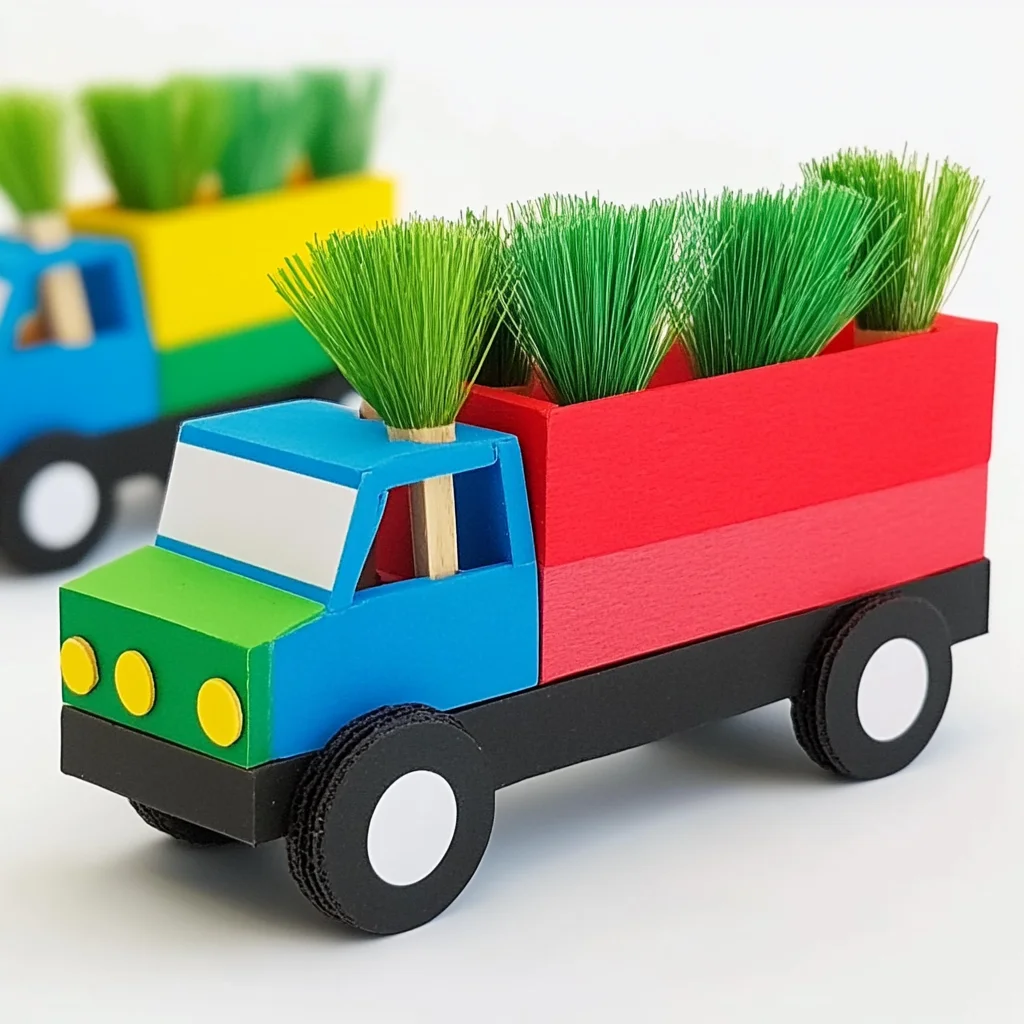
Imagine the joy of making something truly special with your own hands. Crafting can transport us back to our childhood, bringing back memories of playtime and creativity. Today, I invite you to join me in creating a delightful Popsicle Stick Truck. This project is not just about building; it’s about the experience of creating—where each stick you glue together sparks joy and imagination.
Why You’ll Love Popsicle Stick Truck
- Beginner-friendly
- Budget-friendly
- Creative and fun
- Great for kids and families
- Perfect for gifts or decorations
- Customizable
The Heart Behind This DIY
Crafting a Popsicle Stick Truck is not just a fun activity; it is an opportunity to connect with your inner child and explore your creativity. As you gather your materials and start building, you may find a sense of mindfulness washing over you. The simple act of gluing those sticks together can be incredibly relaxing, allowing you to focus on the moment. Plus, it’s a wonderful way to bond with family or friends, sharing laughter and ideas as you create together.
A Gentle Look at the Process
As you delve into this project, you will find that each step is an invitation to express yourself. From arranging the popsicle sticks to creating the truck bed, the process is as enjoyable as the final product. You’ll experience the satisfaction of watching your creation come to life, while the scent of glue fills the air, and perhaps even a splash of paint adds a pop of color. Are you ready to get started?
Materials You’ll Need
- 10 popsicle sticks – these will form the body of your truck.
- 2 small plastic bottle caps – perfect for the wheels.
- 1 medium-sized popsicle stick – this will be the truck bed.
- Glue (craft or hot glue) – to hold everything together.
- Paint (optional for decoration) – to personalize your truck.
- Scissors (if needed) – for any adjustments.
Step-by-Step Directions
Step 1
Begin by taking 6 popsicle sticks and aligning them side by side to form the base of your truck. Use your glue to secure them together, ensuring they are firmly attached. This will be the foundation of your creation, so feel free to press down gently and watch the magic happen!
Step 2
Next, take 2 popsicle sticks to create the sides of your truck bed. Glue them perpendicularly to the base, one at each end. This step allows your truck to start taking shape, and you might even feel a sense of excitement building as you see your design come to life.
Step 3
Now, attach the medium-sized popsicle stick across the top of the side sticks to complete the truck bed. This will give your truck a sturdy look, and it’s an important step that will support any creative additions you might want to make later.
Step 4
For the front of the truck, use 2 more popsicle sticks to create a vertical structure. Glue them upright at the front of the base. This is where your truck will start to resemble a real vehicle, so take a moment to admire your handiwork!
Step 5
Attach the remaining popsicle stick horizontally at the top of the vertical sticks to form the front of your truck. As you do this, imagine the adventure your truck will embark on once it’s complete.
Step 6
Now it’s time to add some wheels! Glue the plastic bottle caps to the bottom of the base, ensuring they are evenly spaced. You can even give them a little spin to test your creation!
Step 7
Allow the glue to dry completely. While you wait, consider how you might want to decorate your truck. Once your glue has set, you can paint the truck in your desired colors, adding a personal touch that reflects your style.
Creative Ways to Use Popsicle Stick Truck
Once your Popsicle Stick Truck is complete, the possibilities are endless! You can use it as a charming decoration for a child’s room, a unique gift for a friend, or even a playful toy. Consider adding small figurines for a delightful scene or using it as part of a centerpiece during a family gathering. The joy of crafting is in the creativity that follows your creation!
How to Store, Preserve, or Reuse Popsicle Stick Truck
To keep your truck looking its best, store it in a dry place away from direct sunlight to prevent fading. If you want to preserve it for a longer time, consider applying a clear sealant over the paint. If your truck gets a bit worn, you can always give it a fresh coat of paint or repurpose the popsicle sticks for another project. The magic of crafting is that nothing is ever truly wasted!
Creative Variations and Customizations
- Color variations – experiment with bright colors or even a rustic finish.
- Theme ideas – create a fire truck, a delivery truck, or a farm vehicle.
- Seasonal adaptations – decorate for holidays with themed colors or accessories.
- Kid-friendly modifications – simplify the design for younger children.
- Advanced creative upgrades – incorporate other materials like beads or felt for added texture.
Tips for Success
- Avoid common mistakes by ensuring your glue is dry before moving on to the next step.
- Safety tips: if using hot glue, be cautious and supervise young ones closely.
- Preparation suggestions: gather all materials before starting to keep your workspace organized.
- Cleanup recommendations: have a damp cloth handy for any glue spills.
- Expert crafting tips: take your time and enjoy the process; there is no rush!
FAQs About Popsicle Stick Truck
Can beginners make this?
Absolutely! This project is beginner-friendly and perfect for all ages.
Can children participate?
Yes! Kids will love getting involved, especially with supervision and guidance.
How long does it last?
With proper care and storage, your Popsicle Stick Truck can last for years.
Can I customize it?
Of course! Feel free to add your personal touch with paint or additional decorations.
A Final Creative Note
As you complete your Popsicle Stick Truck, take a moment to appreciate the creativity and effort you’ve poured into your project. Each piece tells a story, and every truck can be a reflection of your unique style. Remember, crafting is not just about the finished product but also about the joy of creating. So gather your supplies and let your imagination take the wheel! For more delightful DIY ideas, check out seasonal craft ideas or family-friendly projects that will inspire your next crafting adventure! Don’t forget to follow our Pinterest for more DIY inspiration!
Craft Your Own Popsicle Stick Truck
Ingredients
Equipment
Method
- Step 1: Begin by taking 6 popsicle sticks and aligning them side by side to form the base of your truck. Use your glue to secure them together, ensuring they are firmly attached.
- Step 2: Next, take 2 popsicle sticks to create the sides of your truck bed. Glue them perpendicularly to the base, one at each end.
- Step 3: Now, attach the medium-sized popsicle stick across the top of the side sticks to complete the truck bed.
- Step 4: For the front of the truck, use 2 more popsicle sticks to create a vertical structure. Glue them upright at the front of the base.
- Step 5: Attach the remaining popsicle stick horizontally at the top of the vertical sticks to form the front of your truck.
- Step 6: Now it's time to add some wheels! Glue the plastic bottle caps to the bottom of the base.
- Step 7: Allow the glue to dry completely. Once your glue has set, you can paint the truck in your desired colors.