
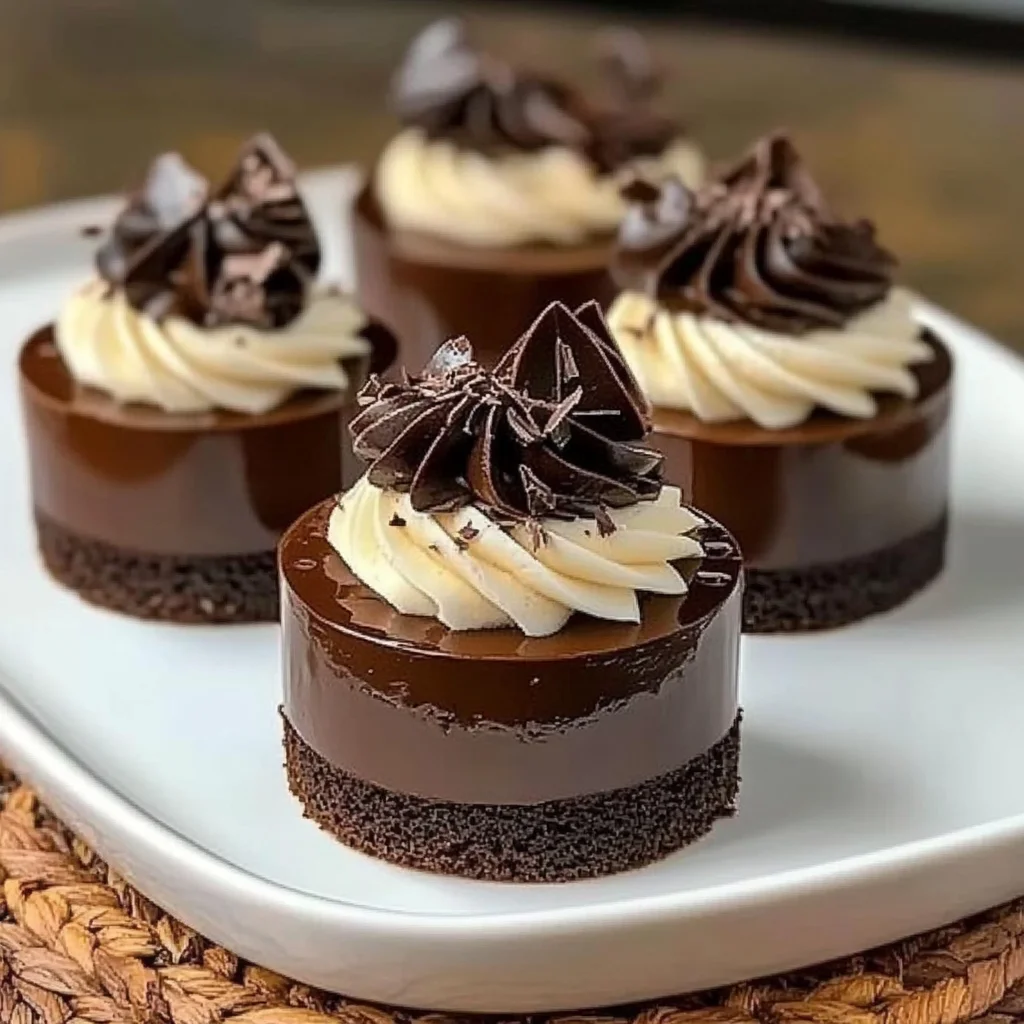
There’s something incredibly special about a dessert that brings back memories of cozy family gatherings and sweet celebrations. Mini Chocolate Mousse Cakes do just that! These delightful little treats are not only easy to whip up but also promise to impress anyone who takes a bite. Perfect for any occasion, they blend the rich creaminess of chocolate mousse with the fluffiness of cake, creating a dessert that’s sure to be remembered.
Why You’ll Love Mini Chocolate Mousse Cakes
- Fast: You can have the main components prepped and in the oven in about 20 minutes.
- Easy: It’s a simple “brown and bake” method that even beginner cooks can master.
- Giftable: These mini cakes are perfect for sharing, whether at a potluck or as a sweet surprise for a friend.
- Crowd-pleasing: Even those who think they don’t like chocolate will likely fall in love with these dreamy bites!
Ingredients
- 4 ounces dark chocolate, chopped: Choose a good quality chocolate for the best flavor.
- 2 tablespoons unsalted butter: Adds richness to the mousse.
- 2 large eggs, separated: Helps create a light texture in the mousse.
- 2 tablespoons granulated sugar: Sweetens the chocolate mixture.
- 1 cup heavy cream: Whipped to perfection for that luscious mousse texture.
- 1 cup all-purpose flour: The base for our cake.
- 1/2 cup granulated sugar: For sweetness in the cake.
- 1/4 cup unsweetened cocoa powder: Intensifies the chocolate flavor.
- 1 teaspoon baking powder: Helps the cake rise.
- 1/2 teaspoon salt: Enhances the flavors.
- 1/2 cup milk: Adds moisture to the cake.
- 1/4 cup vegetable oil: Keeps the cake tender.
- 1 teaspoon vanilla extract: A must for adding depth to the flavor.
- 2 large eggs: Provide structure and stability to the cake.
How to Make Mini Chocolate Mousse Cakes
Now, let’s dive into the fun part! Making these mini cakes is easier than you might think. Follow these simple steps:
- Preheat the oven to 350°F (175°C). Grease and flour a muffin tin to ensure your cakes pop out easily.
- In a heatproof bowl, combine the chopped dark chocolate and butter. Melt them together over a pot of simmering water, stirring until smooth. Remove from heat and let cool slightly.
- In a separate bowl, whisk the egg yolks and sugar until pale and thick. Gradually add the melted chocolate mixture, mixing until well combined.
- In another bowl, whip the heavy cream to soft peaks. Gently fold the whipped cream into the chocolate mixture, being careful not to deflate it.
- For the cake, combine the flour, sugar, cocoa powder, baking powder, and salt in a mixing bowl. In another bowl, mix the milk, vegetable oil, vanilla extract, and eggs. Combine the wet and dry ingredients, stirring until just blended.
- Pour a small amount of cake batter into each muffin cup, filling about one-third full. Top with a spoonful of chocolate mousse, then fill with more cake batter until the cups are about two-thirds full.
- Bake for 15-18 minutes or until a toothpick inserted into the center comes out clean. Allow to cool in the pan for 5 minutes before transferring to a wire rack.
- Once cooled, serve the mini cakes topped with additional whipped cream or chocolate shavings, if desired. Enjoy!
Substitutions & Additions
If you’re looking to mix things up, here are some fun ideas:
- Use milk chocolate if you’re a fan of a sweeter taste.
- For a gluten-free version, substitute the all-purpose flour with a gluten-free blend.
- Add a splash of espresso to enhance the chocolate flavor.
- Top with fresh berries for a fruity twist.
Tips for Success
Here are some common mistakes to avoid and a few prep-ahead ideas:
- Don’t overmix the batter; it should be just combined for the best texture.
- Ensure your chocolate is fully melted and cooled slightly before adding to the egg yolks.
- You can make the mousse a day ahead and refrigerate it until you’re ready to assemble the cakes.
- Test your cakes with a toothpick; a few moist crumbs are okay, but it shouldn’t be wet.
How to Store Mini Chocolate Mousse Cakes
These delightful treats can be stored in an airtight container in the refrigerator for up to 3 days. If you have leftovers (which is rare!), just make sure they are well covered to maintain their freshness. You can also freeze them for up to a month; just thaw them in the fridge before serving.
FAQs
- Can I make these cakes ahead of time? Yes! You can prepare the mousse and cake batter a day in advance.
- What should I serve with mini chocolate mousse cakes? They are delicious on their own, but a dollop of whipped cream or a scoop of vanilla ice cream pairs wonderfully!
- Can I use a different type of chocolate? Absolutely! Feel free to experiment with milk or white chocolate for a different flavor profile.
- How do I know when the cakes are done? They should be set around the edges but still a little soft in the center.
If you enjoyed this recipe, be sure to check out my Pinterest for more sweet inspirations and delicious ideas!
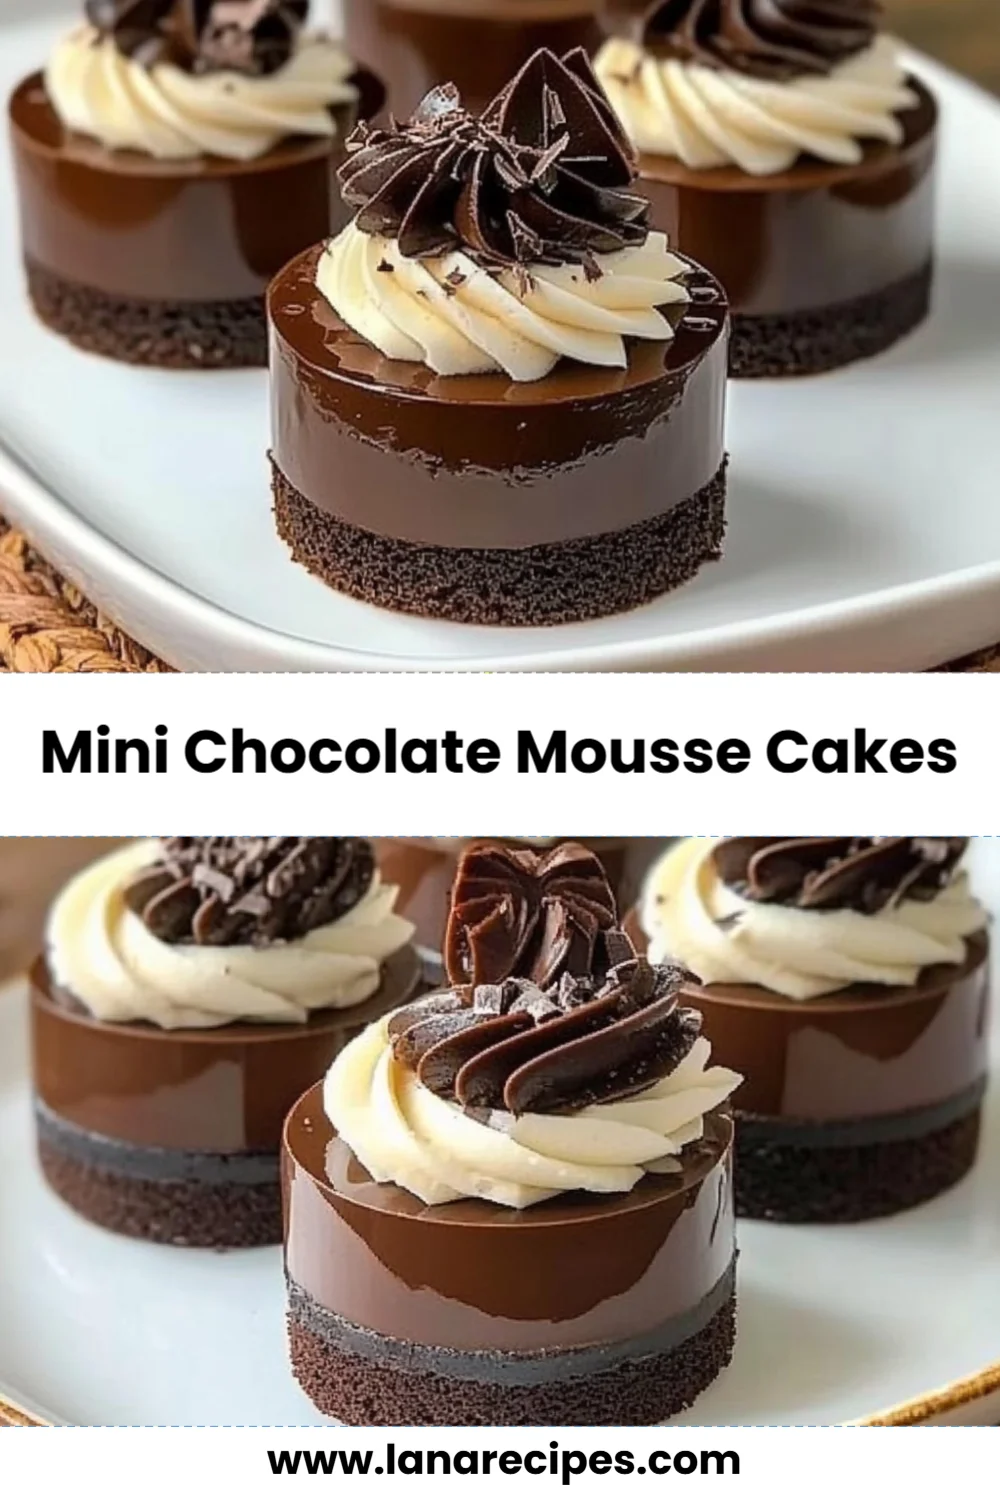
Mini Chocolate Mousse Cakes
Ingredients
Equipment
Method
- Step 1: Preheat the oven to 350°F (175°C). Grease and flour a muffin tin to ensure your cakes pop out easily.
- Step 2: In a heatproof bowl, combine the chopped dark chocolate and butter. Melt them together over a pot of simmering water, stirring until smooth. Remove from heat and let cool slightly.
- Step 3: In a separate bowl, whisk the egg yolks and sugar until pale and thick. Gradually add the melted chocolate mixture, mixing until well combined.
- Step 4: In another bowl, whip the heavy cream to soft peaks. Gently fold the whipped cream into the chocolate mixture, being careful not to deflate it.
- Step 5: For the cake, combine the flour, sugar, cocoa powder, baking powder, and salt in a mixing bowl. In another bowl, mix the milk, vegetable oil, vanilla extract, and eggs. Combine the wet and dry ingredients, stirring until just blended.
- Step 6: Pour a small amount of cake batter into each muffin cup, filling about one-third full. Top with a spoonful of chocolate mousse, then fill with more cake batter until the cups are about two-thirds full.
- Step 7: Bake for 15-18 minutes or until a toothpick inserted into the center comes out clean. Allow to cool in the pan for 5 minutes before transferring to a wire rack.
- Step 8: Once cooled, serve the mini cakes topped with additional whipped cream or chocolate shavings, if desired. Enjoy!