
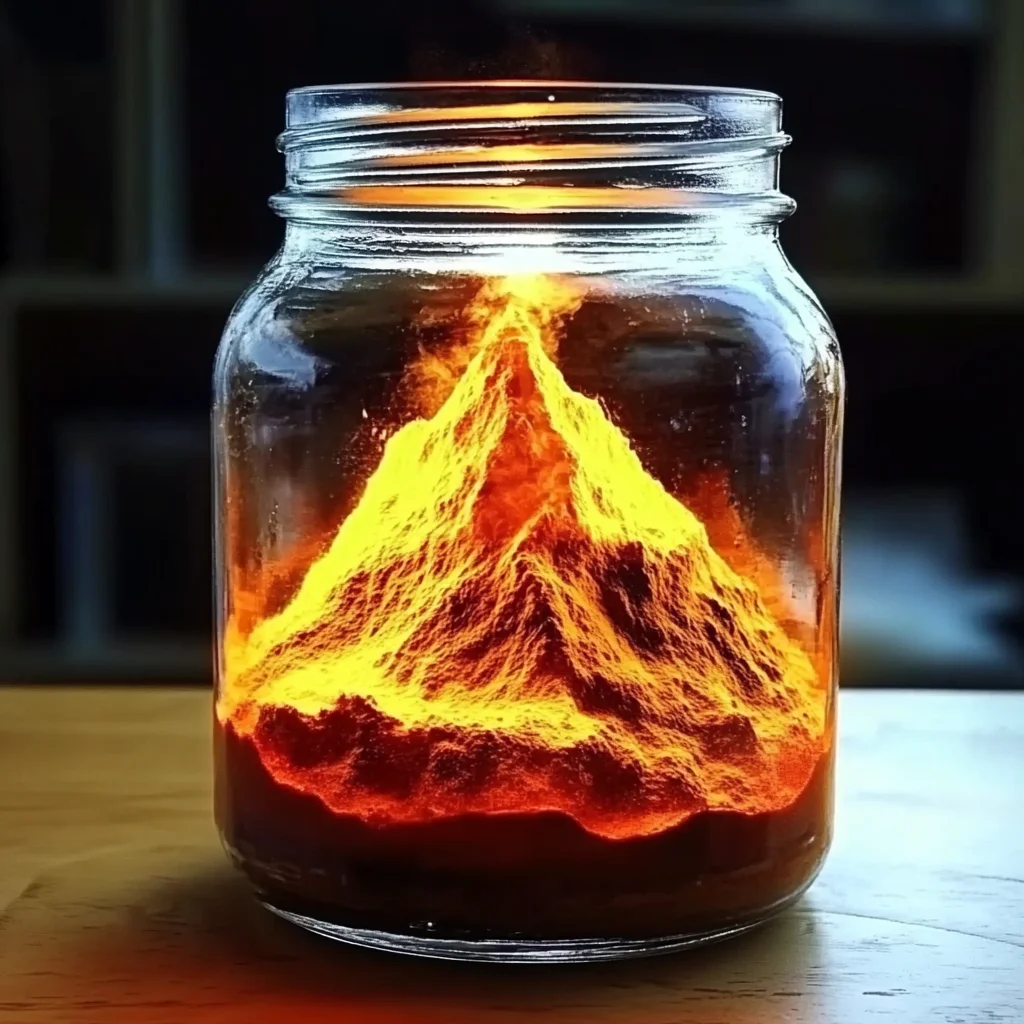
Remember those awesome science experiments you did as a kid? The ones that made you feel like a real scientist, with bubbling concoctions and exciting reactions? Well, get ready to relive some of that magic because today we’re making a Mini Volcano in a Jar! This isn’t just a fun activity; it’s a super simple, surprisingly satisfying project that brings a little bit of excitement right into your kitchen. Whether you’re looking for a rainy day activity, a cool science lesson for the kids, or just a moment of bubbly fun for yourself, this recipe is a winner.
What I love most about this Mini Volcano in a Jar is just how easy it is. Seriously, you probably have most of the ingredients sitting in your pantry right now. It’s a fantastic way to spark curiosity and enjoy a little bit of chemistry without any fuss. Plus, the visual payoff is instant and so much fun!
Why You’ll Love Mini Volcano in a Jar
- Fast: Ready to erupt in just minutes!
- Easy: Simple steps that anyone can follow.
- Giftable: Package the ingredients in a cute jar with instructions for a fun science gift.
- Crowd-pleasing: Always a hit with kids and adults alike.
Ingredients
Gather these simple items, and you’ll be ready for your volcanic adventure:
- 1 small jar or plastic bottle: A clean glass jar (like a mason jar or baby food jar) or a small plastic bottle works perfectly. Make sure it has a narrow opening for a more dramatic eruption!
- 2 tablespoons baking soda: Our key reactant! This powdery white stuff is the base for our volcano’s explosion.
- 1/4 cup vinegar: The acid that will react with the baking soda. White vinegar is common and works great.
- Food coloring (optional): Want a lava-like eruption? A few drops of red, orange, or yellow food coloring will make your volcano erupt with vibrant color!
How to Make Mini Volcano in a Jar
Alright, let’s get down to the bubbly business! It’s as easy as 1, 2, 3…
- Prep Your Station: First things first, grab a tray, a baking sheet, or even a shallow pan. This is your volcano’s containment zone, ready to catch any overflow from the eruption. It makes cleanup a breeze!
- Add the Baking Soda: Carefully spoon about 2 tablespoons of baking soda into your clean jar or bottle. Try to get it towards the bottom.
- Color the “Lava”: If you’re using food coloring, now’s the time to add a few drops to your vinegar. Give it a gentle swirl to mix the color evenly. Red or orange is classic for lava!
- Pour and Watch!: This is the exciting part! Slowly and steadily, pour the colored vinegar into the jar with the baking soda.
- Eruption Time!: Stand back and watch the magic happen! Your mini volcano will start to bubble and fizz, erupting like a real volcano. Isn’t that neat?
Substitutions & Additions
Feeling creative? You can totally customize your volcano experience!
- Sparkle Lava: Add a pinch of glitter to your baking soda for a sparkly eruption!
- Different Containers: Experiment with different sized jars or bottles to see how it affects the eruption.
- Vinegar Alternatives: While vinegar is standard, you could also try lemon juice for a slightly different scent and reaction.
- Baking Soda Boost: For an even more dramatic eruption, you can try a tiny bit more baking soda, but be careful not to add too much, or it might not react as well.
Tips for Success
Here are a few little secrets to ensure your volcano experience is as epic as possible:
- Use a Narrow Opening: A jar or bottle with a smaller opening will help concentrate the eruption upwards, making it look more like a true volcano.
- Room Temperature Ingredients: While not critical, using ingredients at room temperature can sometimes lead to a slightly better reaction than very cold ingredients.
- Don’t Stir Too Much: Once you add the vinegar, let the reaction happen naturally. Stirring too much can disrupt the fizz.
- Have Fun with Decorations: Once your volcano has erupted, you can even decorate the outside of the jar to make it look more like a mountain!
How to Store Mini Volcano in a Jar
This is more of a “do it and enjoy the moment” kind of experiment rather than something you store. Once the reaction is complete, the ingredients are simply mixed together. You can rinse out the jar and reuse it for another eruption or for everyday purposes. If you wanted to gift the ingredients, store the baking soda in a small sealed bag or container and the vinegar in a small bottle, perhaps with a cute label explaining how to make the “mini volcano in a jar” science experiment. It’s a fantastic alternative to some of the more complex baking projects like [banana bread cake with cream cheese frosting](https://lanarecipes.com/banana-bread-cake-with-cream-cheese-frosting/) and offers a different kind of creative outlet.
FAQs
Q: What causes the volcano to erupt?
A: It’s a chemical reaction! Baking soda (a base) reacts with vinegar (an acid) to create carbon dioxide gas. This gas builds up pressure and forces its way out of the container, creating the eruption!
Q: Can I make this mess-free?
A: The tray or baking sheet is your best friend here! It will catch most of the overflow. Doing it outside is also a great way to minimize indoor mess.
Q: Is this safe for kids?
A: Yes, this is a very safe science experiment! However, adult supervision is always recommended, especially when handling the jar and vinegar.
Whether you’re looking for a quick science lesson or just some bubbly fun, this Mini Volcano in a Jar is sure to be a hit. It’s a delightful little experiment that reminds us of the simple joys and wonders of science. If you enjoyed this fun activity, you might also love exploring other hands-on creations, like our [mini-blueberry cobbler cups](https://lanarecipes.com/mini-blueberry-cobbler-cups-recipe/) or even dabbling in some [DIY bioplastic suncatchers](https://lanarecipes.com/diy-bioplastic-suncatchers/).
Don’t forget to follow us on Pinterest for more fun recipes and creative ideas!
Mini Volcano in a Jar
Ingredients
Equipment
Method
- Step 1: Prep Your Station: First things first, grab a tray, a baking sheet, or even a shallow pan. This is your volcano's containment zone, ready to catch any overflow from the eruption. It makes cleanup a breeze!
- Step 2: Add the Baking Soda: Carefully spoon about 2 tablespoons of baking soda into your clean jar or bottle. Try to get it towards the bottom.
- Step 3: Color the "Lava": If you're using food coloring, now’s the time to add a few drops to your vinegar. Give it a gentle swirl to mix the color evenly. Red or orange is classic for lava!
- Step 4: Pour and Watch!: This is the exciting part! Slowly and steadily, pour the colored vinegar into the jar with the baking soda.
- Step 5: Eruption Time!: Stand back and watch the magic happen! Your mini volcano will start to bubble and fizz, erupting like a real volcano. Isn't that neat?