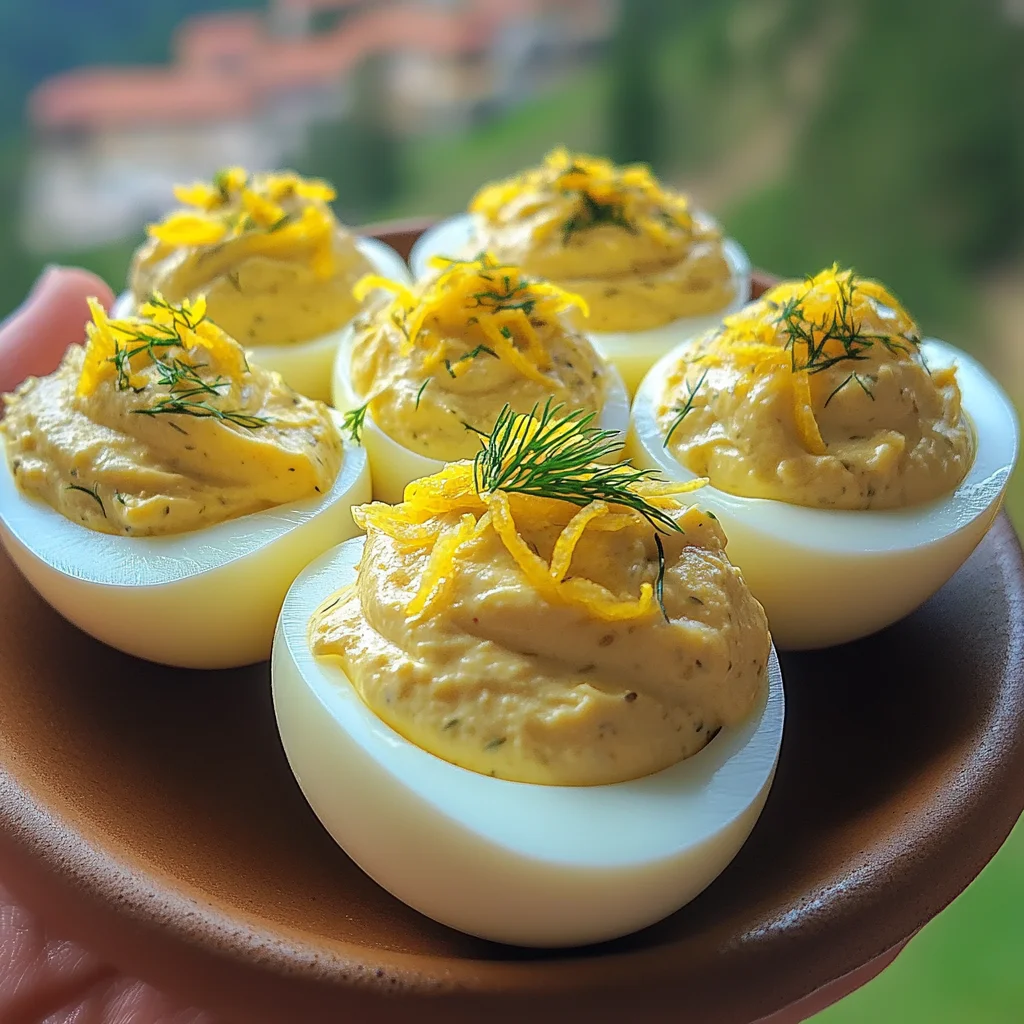
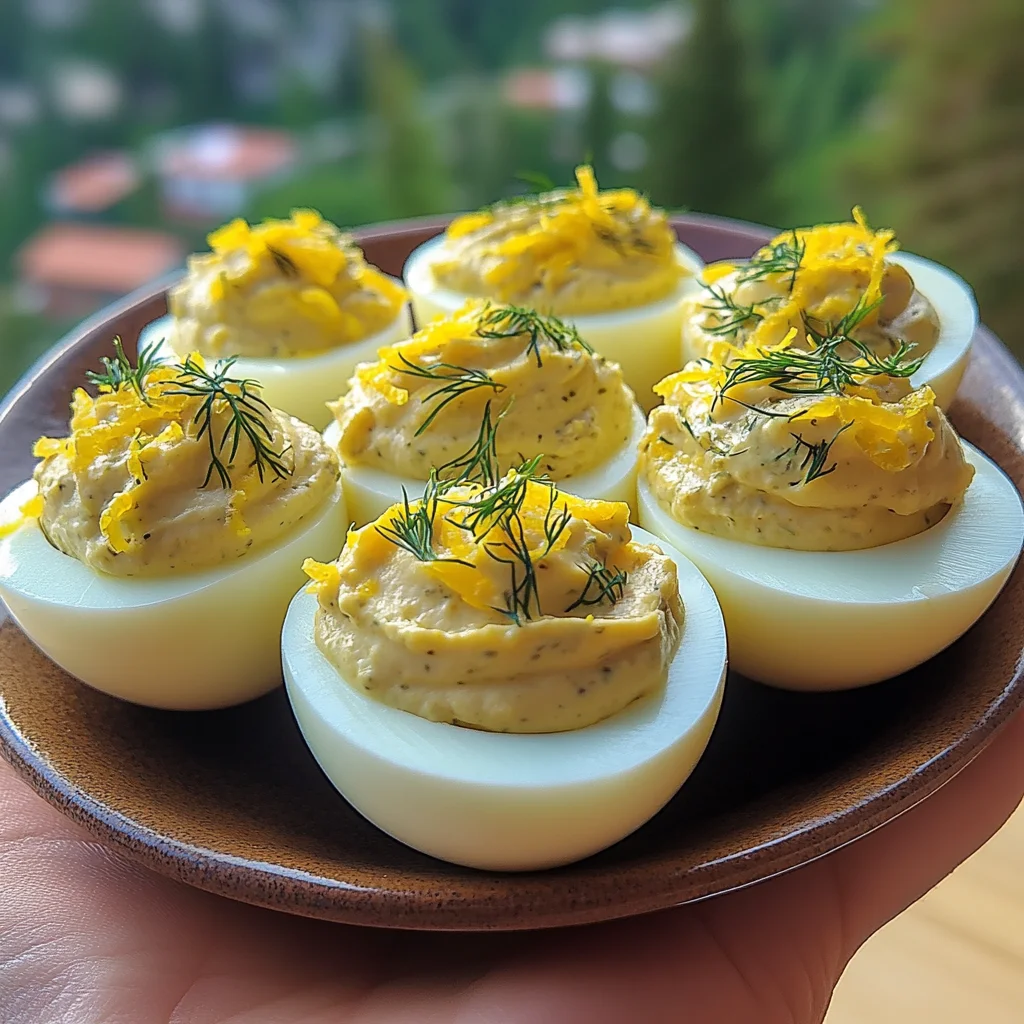
Oh, deviled eggs. Just saying the words brings back so many happy memories, doesn’t it? Picnics, potlucks, holiday tables overflowing with good food and even better company. There’s something so wonderfully classic and comforting about them. But sometimes, you want to give a beloved favorite a little extra sparkle! That’s exactly what these Lemon and Dill Deviled Eggs do. They take that familiar creamy bite and elevate it with a burst of fresh lemon and fragrant dill. They’re incredibly easy to whip up, ready in minutes (especially if your eggs are already boiled!), and trust me, they disappear just as fast. This is a recipe that’s not just delicious, it’s memorable.
Why You’ll Love Lemon and Dill Deviled Eggs
- Fast
- Easy
- Giftable
- Crowd-pleasing
Ingredients
Ready to make some sunshine in egg form? Here’s what you’ll need:
- 6 large hard-boiled eggs: The star of the show! Make sure they’re perfectly cooked and cooled for easy peeling.
- 3 tablespoons mayonnaise: The creamy binder. Use your favorite kind – I usually go for a good quality, full-fat mayo for the best texture.
- 1 teaspoon Dijon mustard: Adds a little tang and depth of flavor. Don’t skip this!
- 1 tablespoon freshly squeezed lemon juice: This is where that bright, zesty flavor comes from. Fresh is key!
- 1 teaspoon finely grated lemon zest: Don’t just use the juice, the zest is packed with essential oils and intense lemon aroma.
- 1 tablespoon finely chopped fresh dill: The other star flavor. Fresh dill is a must here; dried just won’t give you that vibrant taste.
- ¼ teaspoon salt: To enhance all those lovely flavors.
- ¼ teaspoon black pepper: A little warmth and spice.
- Paprika (optional, for garnish): Classic deviled egg sprinkle!
- Capers (optional, for garnish): Adds a little briny pop, perfect with the lemon and dill.
- Thin lemon slices (optional, for garnish): Makes them look extra fancy!
How to Make Lemon and Dill Deviled Eggs
Making these zesty beauties is super simple! Just follow these steps:
- First things first, grab your beautifully hard-boiled eggs. Slice each one carefully in half lengthwise. I find a sharp knife works best for a clean cut. Gently scoop out those bright yellow yolks and pop them into a mixing bowl. Arrange the egg white halves on your serving platter, cut-side up, ready to be filled.
- Now for the magic filling! Use a fork to mash the yolks until they’re nice and smooth. Don’t worry about getting every single lump out, a little texture is fine, but aim for mostly creamy. Add the mayonnaise, Dijon mustard, fresh lemon juice, fragrant lemon zest, chopped fresh dill, salt, and black pepper to the bowl with the mashed yolks.
- Time to mix! Stir everything together until it’s completely combined and wonderfully creamy. Give it a little taste and adjust salt or pepper if you like. I sometimes add a tiny pinch more salt if I feel it needs it.
- Now, get that delicious filling back into the egg white halves. You can simply spoon the mixture in, which gives them a lovely rustic look. Or, for a prettier, more polished presentation, you can transfer the filling to a piping bag fitted with your favorite tip and pipe it into the hollows, mounding it up nicely.
- Finally, the fun part – garnishing! Sprinkle with a little paprika for that classic look, add a few capers for a briny kick, a tiny sprig of dill, or even a sliver of thin lemon slice. They’re already delicious, but a little garnish makes them extra special. Serve them right away or pop them in the fridge until you’re ready!
Substitutions & Additions
This recipe is wonderfully flexible! Here are a few ways you can mix things up:
- Mayo Swap: You can substitute some or all of the mayonnaise with plain Greek yogurt or sour cream for a tangier, slightly lighter filling.
- Herb It Up: Don’t have dill? Or want to add more herbs? Chives, parsley, or even a little fresh tarragon would be lovely here.
- Add Spice: Want a little heat? A pinch of cayenne pepper or a dash of hot sauce in the filling would be fantastic.
- Crunch Factor: Finely chopped celery or red onion can add a nice little crunch to the filling.
- Make it Cheesy: A tiny amount of finely grated Parmesan cheese mixed into the filling adds a savory depth. Speaking of cheesy delights, you might enjoy making some easy cheesy broccoli cornbread alongside these for a perfect spread!
Tips for Success
Making perfect deviled eggs is pretty simple, but here are a few pointers to make sure yours are top-notch:
- Perfectly Hard-Boiled Eggs: This is half the battle! There are tons of methods, but I like bringing eggs in cold water to a boil, then turning off the heat, covering, and letting them sit for 12-14 minutes before transferring them to an ice bath. This usually results in easy-to-peel eggs.
- Don’t Overmix: Once the filling is creamy, stop mixing. Overmixing can make it gluey.
- Taste and Adjust: Always taste the filling before piping or spooning. Does it need more salt? More lemon? A little more dill? Trust your taste buds!
- Prep Ahead: You can hard boil and peel the eggs up to 2 days in advance. You can also make the filling a few hours ahead and keep it covered in the fridge. Wait to fill the egg whites and garnish until just before serving for the freshest look.
- Piping Bag Trick: If you don’t have a piping bag, you can use a Ziploc bag! Just spoon the filling into one corner, snip off the tip, and squeeze. Easy peasy! Planning a party? Deviled eggs are always a hit, just like marinated cheese, salami, and pickles are fantastic appetizer options.
How to Store Lemon and Dill Deviled Eggs
Deviled eggs are best enjoyed fresh, but if you have leftovers or need to make them slightly ahead, proper storage is key.
Store filled deviled eggs in a single layer in an airtight container in the refrigerator. If you need to stack them, place a layer of parchment paper between the layers. They will keep well for 2-3 days, but the quality is best within the first 24 hours. The filling might weep slightly over time, but they’ll still be safe to eat.
FAQs
Got questions? I’ve got answers!
Can I make the filling ahead of time?
Yes, you can make the filling a few hours ahead of time and store it, covered, in the refrigerator. It’s best to wait to fill the egg white halves until just before serving.
How do I prevent the yolks from being chalky?
Proper cooking time and an ice bath are crucial for tender yolks. Don’t overcook your eggs!
What’s the best way to peel hard-boiled eggs?
Using eggs that aren’t super fresh (a week or two old is ideal), cooking them correctly, and immediately plunging them into an ice bath helps the shell separate more easily.
Looking for more delicious ideas for your next gathering or just some inspiration for your kitchen? You can find a wide variety of recipes on Lana Recipes, from easy weeknight dinners to show-stopping desserts!
For more recipe ideas and inspiration, follow along on Pinterest.
Bright & Zesty Lemon and Dill Deviled Eggs
Ingredients
Equipment
Method
- Step 1: Grab your beautifully hard-boiled eggs. Slice each one carefully in half lengthwise. Gently scoop out those bright yellow yolks and pop them into a mixing bowl. Arrange the egg white halves on your serving platter, cut-side up, ready to be filled.
- Step 2: Mash the yolks until they’re nice and smooth. Add the mayonnaise, Dijon mustard, fresh lemon juice, fragrant lemon zest, chopped fresh dill, salt, and black pepper to the bowl with the mashed yolks.
- Step 3: Stir everything together until it’s completely combined and wonderfully creamy. Give it a little taste and adjust salt or pepper if you like.
- Step 4: Get that delicious filling back into the egg white halves. You can simply spoon the mixture in, which gives them a lovely rustic look. Or, for a prettier presentation, transfer the filling to a piping bag fitted with your favorite tip and pipe it into the hollows, mounding it up nicely.
- Step 5: Garnish! Sprinkle with a little paprika for that classic look, add a few capers for a briny kick, a tiny sprig of dill, or even a sliver of thin lemon slice. Serve them right away or pop in the fridge until you’re ready!