
Oh, there’s just something magical about maple syrup, isn’t there? It conjures up images of crisp autumn days, cozy cabins, stacks of pancakes, and maybe even a trip to a sugar shack. But did you know that liquid gold can be transformed into something even more delightful? Something solid, sweet, and utterly irresistible?
This recipe for homemade maple syrup candy is pure simplicity, pure joy, and pure maple goodness. It’s one of those nostalgic treats that feels fancy but is surprisingly easy to make right in your own kitchen. It uses just one ingredient (yes, really!) and a little bit of patience. Get ready to create little bites of sweet, maple-flavored heaven that will have everyone asking, “How did you make these?!”
Why You’ll Love This Recipe
- Fast: Ready in under 30 minutes (plus cooling time!).
- Easy: Only one ingredient and simple steps make this a beginner-friendly candy.
- Giftable: Package these up in cute bags or tins for a perfect homemade present.
- Crowd-pleasing: Who can resist the rich, unique flavor of pure maple?
Ingredients
This is where the magic begins, and honestly, it couldn’t be simpler.
- 2 cups pure maple syrup: And I mean pure. This isn’t the time for pancake syrup or blends. You need the real deal, straight from the tree (or at least a good quality jug from the store!). The flavor is unparalleled, and importantly, only pure maple syrup will crystallize correctly to give you that perfect melt-in-your-mouth texture. Don’t skimp on quality here!
How to Make It
Okay, let’s turn that liquid sunshine into solid sweetness! Follow these steps carefully, and you’ll be enjoying homemade maple candy in no time.
- First thing’s first, grab a large, heavy-bottomed saucepan. A heavy bottom helps prevent scorching. Clip your trusty candy thermometer onto the side, making sure the bulb is submerged in the syrup but not touching the bottom of the pan. This is crucial for accurate temperature readings!
- Pour the 2 cups of pure maple syrup into your prepared saucepan. Place the pan over medium-high heat. Bring the syrup to a boil. As it heats up, you can stir it occasionally just to make sure everything is heating evenly. Keep an eye on that thermometer. You’re looking for it to reach exactly 235°F (110°C). This temperature is key for soft, pliable candy.
- Once it hits 235°F (110°C), immediately remove the pan from the heat. Now, this is the hard part – resist the urge to stir! Just let it sit there quietly and cool down. You want the temperature to drop to 175°F (80°C) without any disturbance. Patience is a virtue in candy making, especially right now!
- Okay, now comes the fun part, where the magic happens! Once it has cooled to 175°F (80°C), grab a wooden spoon and start stirring. And I mean rapidly. Stir, stir, stir! You’ll notice the syrup will start to become cloudy, then thicker, and eventually, it will change color, becoming lighter and taking on a creamy, almost fudgy consistency. This stirring encourages the sugar crystals to form properly, giving you that smooth, not-too-hard texture. Keep stirring until it looks thick and creamy. It might feel like a workout, but it’s worth it!
- As soon as it reaches that thick, creamy stage, it’s time to move fast! Carefully pour the mixture into your candy molds. Silicone molds or small, lightly greased metal molds work great. Work quickly, as the mixture will start to set as it cools.
- Once you’ve poured the candy into the molds, you might have a little excess on top or between cavities. Use a knife or an offset spatula to gently scrape the excess off the surface, creating nice, clean edges on your candies.
- Now, just let those beautiful candies sit undisturbed at room temperature. They need time to cool completely and set up firm. Don’t rush this part by putting them in the fridge; slow cooling helps with the texture.
- Once they are completely cool and solid, it’s time to unmold them! If you used silicone molds, they should pop out easily. For metal molds, you might need to gently loosen the edges.
- Voila! You’ve made homemade maple syrup candy! Store your finished candies in an airtight container. They should keep well at room temperature for up to a month, though I doubt they’ll last that long!
Substitutions & Additions
Since this recipe is all about the pure, unadulterated flavor of maple, there aren’t many substitutions you’d want to make for the syrup itself. But you can certainly add a little twist!
- A Pinch of Salt: A tiny pinch of sea salt added during the stirring stage (Step 4) can really enhance the maple flavor and balance the sweetness. We’re talking maybe ⅛ to ¼ teaspoon for this batch.
- A Drop of Vanilla: A small drop (literally just a few drops) of pure vanilla extract added during the stirring can add another layer of warmth. Be careful not to add too much liquid.
- Nuts or Seeds: If you’re not using shaped molds, you could pour the mixture onto a parchment-lined baking sheet and sprinkle finely chopped nuts (like walnuts or pecans) or seeds (like pumpkin seeds) over the top while it’s still warm but starting to thicken. Score it before it fully hardens if you want squares.
Tips for Success
Making candy can feel a little intimidating, but with a few key tips, you’ll nail it every time!
- Use a Candy Thermometer: This isn’t a recipe where eyeballing works well. Temperature is critical for the right texture. Make sure your thermometer is accurate.
- Be Patient with Cooling: Don’t stir the syrup while it’s cooling in Step 3. This rest period is important for the sugar crystals to align themselves before you break them up with stirring in Step 4.
- Stir Vigorously in Step 4: Don’t be shy! The rapid stirring is what turns the clear liquid into that creamy, solid candy. It takes a few minutes, so keep going until you see that color and texture change.
- Work Quickly When Pouring: Once the mixture is stirred and ready, it starts to set fast. Have your molds ready to go before you even start heating the syrup.
- Humidity Matters: Candy making can be tricky on humid days. If it’s really damp outside, your candy might take longer to set or might end up a bit softer. Try to make this on a dry day if possible!
How to Store It
Proper storage is key to keeping your beautiful maple candies fresh and non-sticky.
Once the candies are completely cool and firm, store them in a single layer or with parchment paper between layers in an airtight container at room temperature. Keep them away from direct sunlight and humidity. Stored correctly, they will maintain their texture and delicious flavor for up to a month.
FAQs
Got questions? Here are a few common ones about making maple candy:
Why did my candy turn grainy?
Grainy candy, often called “sugar sand,” usually happens if the temperature wasn’t reached correctly (either undercooked or overheated slightly) or if you stirred the syrup too early (before it cooled enough in Step 3). Getting the temperatures just right and following the ‘no-stir’ rule for cooling are the best ways to prevent this.
Can I use imitation maple syrup or pancake syrup?
No, definitely not for this recipe! Imitation syrups and pancake syrups are primarily made from corn syrup and artificial flavorings. They don’t have the natural sugar composition of pure maple syrup required to crystalize into this specific type of candy. You need 100% pure maple syrup for this to work correctly.
What if I don’t have candy molds?
No problem! You can line a small baking sheet or a heat-safe dish with parchment paper. Once you’ve completed the stirring step (Step 4), pour the creamy maple mixture directly onto the parchment paper. Let it cool and set completely, then break or cut it into pieces.
Enjoy making and sharing these delightful little bites of pure maple goodness!
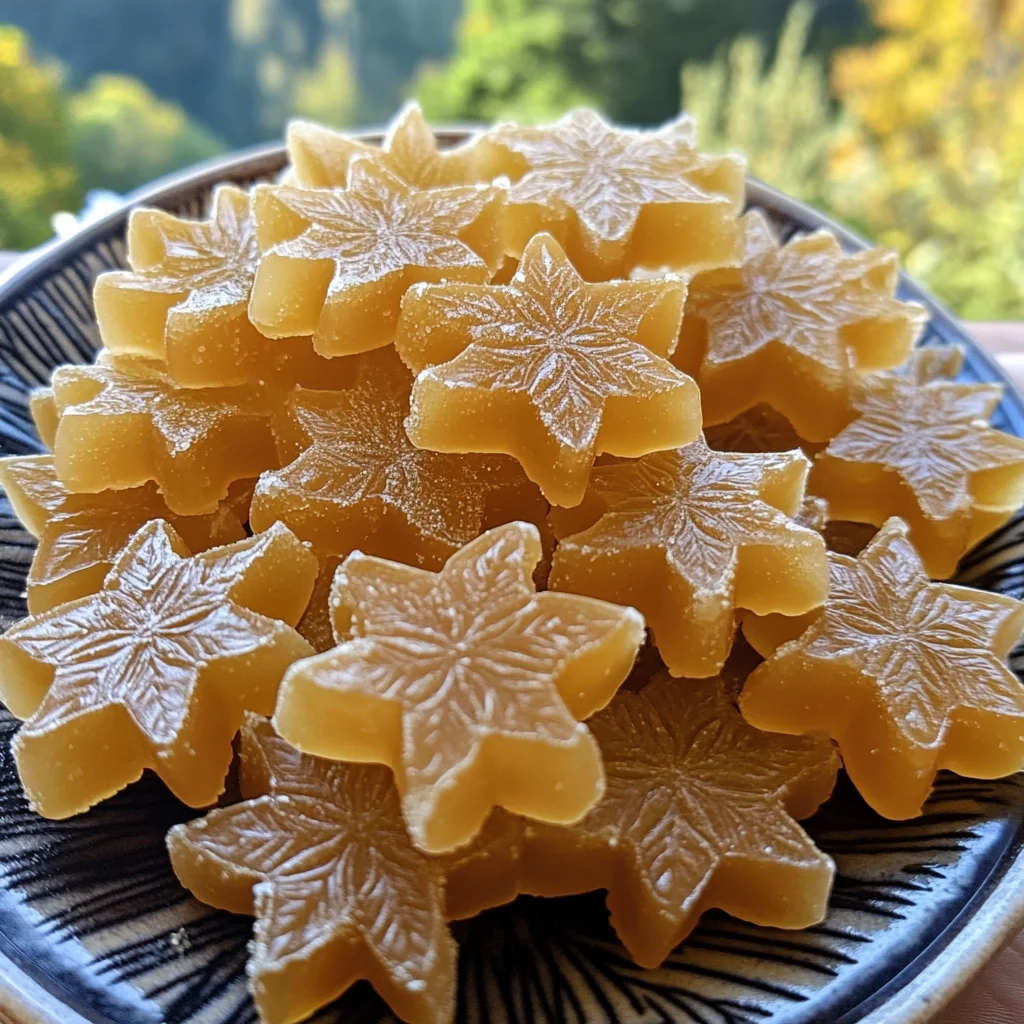
Melt-in-Your-Mouth Homemade Maple Syrup Candy
Ingredients
Equipment
Method
- Step 1: Grab a large, heavy-bottomed saucepan and clip a candy thermometer onto the side, ensuring the bulb is submerged but not touching the bottom.
- Step 2: Pour the 2 cups of pure maple syrup into the saucepan. Place over medium-high heat and bring to a boil, stirring occasionally. Heat until the thermometer reaches exactly 235°F (110°C).
- Step 3: Immediately remove the pan from the heat. Let it sit undisturbed and cool until the temperature drops to 175°F (80°C). Do not stir during this cooling phase.
- Step 4: Once it cools to 175°F (80°C), grab a wooden spoon and start stirring rapidly. Continue stirring vigorously until the syrup becomes cloudy, thickens, changes color to lighter, and reaches a creamy, almost fudgy consistency. This takes a few minutes.
- Step 5: As soon as it reaches the thick, creamy stage, work quickly! Carefully pour the mixture into candy molds (silicone or lightly greased metal) or onto a parchment-lined baking sheet/dish.
- Step 6: If using molds, use a knife or offset spatula to scrape off any excess from the top for clean edges. If using a sheet, you can sprinkle optional nuts or seeds now.
- Step 7: Let the candies sit undisturbed at room temperature until completely cool and set up firm. Do not refrigerate during this time.
- Step 8: Once completely cool and solid, unmold the candies. They should pop out easily from silicone molds. For metal molds, gently loosen edges if needed.
1 thought on “Melt-in-Your-Mouth Homemade Maple Syrup Candy Recipe”