
Oh, those crunchy, cheesy squares of pure happiness! Remember the joy of shaking that iconic red box? Well, get ready to recapture that nostalgic magic, but this time, right in your own kitchen, with a batch of homemade Cheez-Its that are even better. Seriously, these little flavor bombs are so incredibly simple to make, and the satisfaction of pulling a tray of golden, cheesy goodness from the oven is just… chef’s kiss! Whether you’re looking for a fun weekend project, a way to impress guests, or just a really, really good snack, you’ve found your new go-to recipe.
Why You’ll Love Homemade Cheez-Its
- Fast: From start to finish, you can have these cheesy delights ready in under an hour.
- Easy: No fancy techniques needed! If you can shred cheese and roll dough, you’ve got this.
- Giftable: Pack them in cute little bags with a ribbon – the perfect homemade treat for friends and family.
- Crowd-pleasing: These are guaranteed to disappear fast at parties, movie nights, or any get-together.
Ingredients
Gathering your ingredients is the first step to cheesy success! Here’s what you’ll need:
- 8 oz sharp cheddar cheese, shredded (Go for the good stuff, it makes a difference!)
- 4 tbsp unsalted butter, softened (Let it sit out for a bit to get nice and pliable.)
- 1 cup all-purpose flour (The perfect base for our cheesy crackers.)
- 1/2 tsp salt (Just a little boost to enhance all that cheesy flavor.)
- 2 tbsp cold water (We’ll add this slowly to bring the dough together.)
- Flaky sea salt, for topping (This adds a delightful little crunch and sparkle!)
How to Make Homemade Cheez-Its
Alright, let’s get our hands a little doughy and create some magic! It’s easier than you think.
- The Cheesy Base: Grab your food processor. Toss in the shredded cheddar cheese, softened butter, all-purpose flour, and salt. Pulse it all together until it looks like coarse, crumbly sand. This is our flavorful foundation!
- Dough Formation: Now, add the cold water, but do it one tablespoon at a time. Pulse after each addition. You’re looking for the mixture to start coming together and forming a dough. Don’t over-process it; we just want it to hold its shape.
- Chill Out Time: Gently gather the dough, flatten it into a disc (this makes it easier to roll later), wrap it up super tight in plastic wrap, and pop it into the fridge for at least 30 minutes. This chilling step is key for a crispier cracker.
- Preheat for Perfection: While your dough is chilling, preheat your oven to 375°F (190°C). Get everything ready for baking!
- Prep Your Pan: Line a baking sheet with parchment paper. This prevents sticking and makes cleanup a breeze.
- Roll ‘Em Out: Lightly flour your work surface. Take your chilled dough and roll it out until it’s about 1/8 inch thick. Aim for an even thickness so they bake up uniformly.
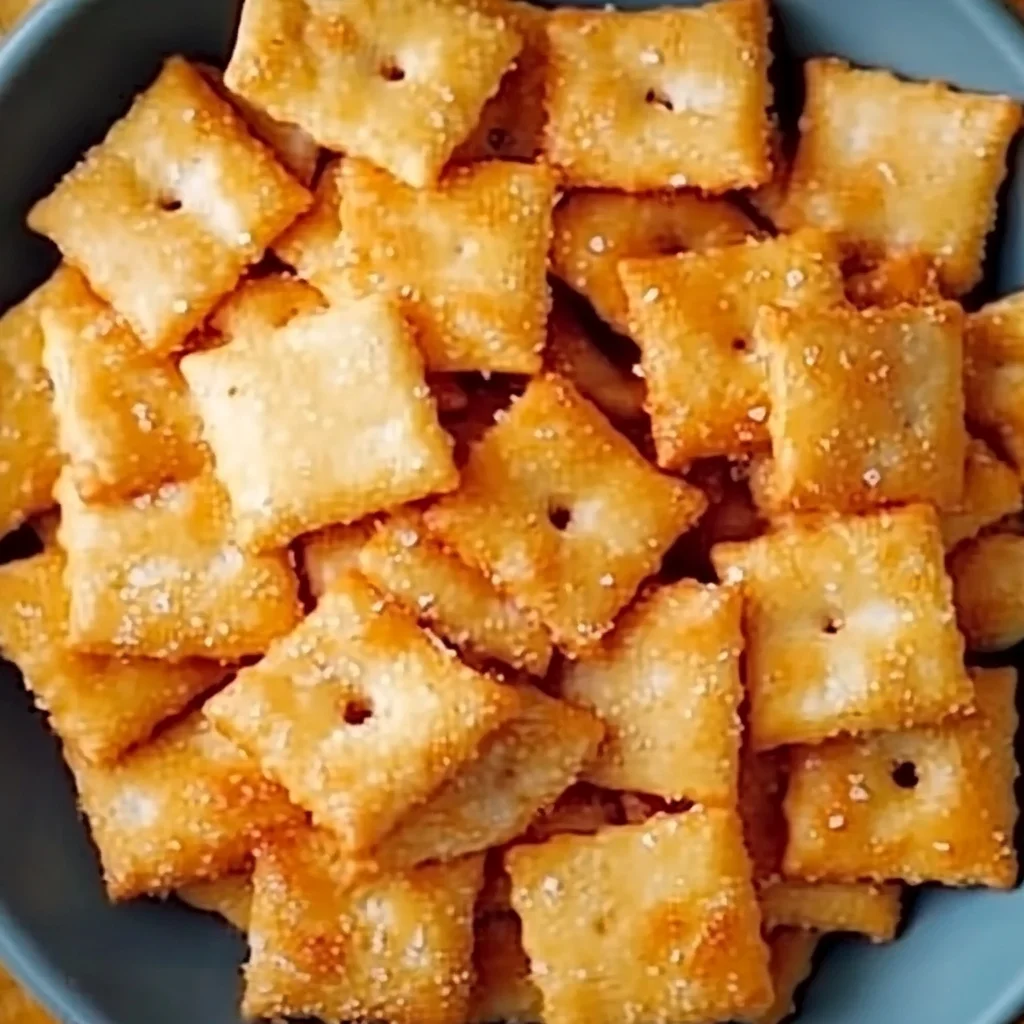
- Cut to Size: Use a knife or a pastry wheel to cut the dough into little 1-inch squares. This is where they start looking like our beloved store-bought versions!
- The Signature Poke: Grab a skewer or a toothpick and gently poke a hole in the center of each square. It’s these little details that make them feel authentic.
- Salt ‘Em Up: Carefully transfer the squares onto your prepared baking sheet. Now for the finishing touch: sprinkle them generously with flaky sea salt. Trust me, this adds a wonderful texture.
- Bake to Golden: Pop the baking sheet into your preheated oven and bake for about 13–15 minutes. You want them to be puffed up and have those lovely golden edges. Keep an eye on them, as ovens can vary!
- Cool Completely: Once they’re out of the oven and looking perfectly golden, let them cool completely on the baking sheet. This is crucial for getting that satisfying crunch. Resist the urge to sneak one too early – patience is a virtue (and leads to crispier crackers!).
Substitutions & Additions
Feeling adventurous? You can totally customize these cheesy crackers to your heart’s content!
- Cheese Power: While sharp cheddar is classic, feel free to experiment with other cheeses like Colby Jack, Monterey Jack, or even a bit of Parmesan for an extra salty kick.
- Spice It Up: Add a pinch of cayenne pepper or a dash of smoked paprika to the dough for a little heat or smoky flavor.
- Herbalicious: Mix in some dried herbs like rosemary or Italian seasoning for a more complex flavor profile.
- Garlic Lovers: A little garlic powder mixed into the dough is always a good idea, just like in my homemade Italian compound butter!
Tips for Success
A few little tricks can make these homemade Cheez-Its even more spectacular:
- Don’t Overwork the Dough: Overworking the dough can lead to tough crackers. Mix just until it comes together.
- Even Rolling is Key: Try your best to roll the dough to an even thickness so all your crackers bake at the same rate.
- Chill, Chill, Chill: Don’t skip the chilling step! It makes the dough easier to handle and results in a crisper cracker.
- Prep Ahead: You can make the dough a day in advance and keep it chilled in the refrigerator. Just let it sit at room temperature for about 10-15 minutes before rolling.
How to Store Homemade Cheez-Its
Once your delicious homemade Cheez-Its have cooled completely, store them in an airtight container at room temperature. They’ll stay wonderfully crispy for up to a week, though I doubt they’ll last that long!
FAQs
- Can I make these gluten-free? You sure can! Try substituting a good quality gluten-free all-purpose flour blend for the all-purpose flour. You might need to adjust the water slightly.
- What if I don’t have a food processor? No problem! You can achieve the same result by rubbing the butter into the flour mixture with your fingertips or a pastry blender until crumbly, then mixing in the cheese and salt. Add the water gradually until a dough forms.
- Can I make them in an air fryer? Yes, you can! Air fry at around 350°F (175°C) for 8-10 minutes, checking frequently, until golden and crispy. You’ll likely need to do them in batches.
I hope you have as much fun making and devouring these homemade Cheez-Its as I do! They’re a testament to how simple ingredients can create something truly special. If you try them, let me know what you think! And if you’re always on the hunt for more delicious recipes, be sure to check out all the goodies here at Lana Recipes. We’ve got everything from comforting pasta dishes like our Garlic Butter Steak Bites with Creamy Parmesan Shells to delightful desserts like our Sweet Potato Cheesecake Cookies!
Don’t forget to follow us on Pinterest for even more recipe inspiration!
Homemade Cheez-Its
Ingredients
Equipment
Method
- Step 1: Grab your food processor. Toss in the shredded cheddar cheese, softened butter, all-purpose flour, and salt. Pulse it all together until it looks like coarse, crumbly sand. This is our flavorful foundation!
- Step 2: Now, add the cold water, but do it one tablespoon at a time. Pulse after each addition. You're looking for the mixture to start coming together and forming a dough. Don't over-process it; we just want it to hold its shape.
- Step 3: Gently gather the dough, flatten it into a disc (this makes it easier to roll later), wrap it up super tight in plastic wrap, and pop it into the fridge for at least 30 minutes. This chilling step is key for a crispier cracker.
- Step 4: While your dough is chilling, preheat your oven to 375°F (190°C). Get everything ready for baking!
- Step 5: Line a baking sheet with parchment paper. This prevents sticking and makes cleanup a breeze.
- Step 6: Lightly flour your work surface. Take your chilled dough and roll it out until it's about 1/8 inch thick. Aim for an even thickness so they bake up uniformly.
- Step 7: Use a knife or a pastry wheel to cut the dough into little 1-inch squares. This is where they start looking like our beloved store-bought versions!
- Step 8: Grab a skewer or a toothpick and gently poke a hole in the center of each square. It’s these little details that make them feel authentic.
- Step 9: Carefully transfer the squares onto your prepared baking sheet. Now for the finishing touch: sprinkle them generously with flaky sea salt. Trust me, this adds a wonderful texture.
- Step 10: Pop the baking sheet into your preheated oven and bake for about 13–15 minutes. You want them to be puffed up and have those lovely golden edges. Keep an eye on them, as ovens can vary!
- Step 11: Once they're out of the oven and looking perfectly golden, let them cool completely on the baking sheet. This is crucial for getting that satisfying crunch. Resist the urge to sneak one too early – patience is a virtue (and leads to crispier crackers!).
Notes
- Cheese Power: While sharp cheddar is classic, feel free to experiment with other cheeses like Colby Jack, Monterey Jack, or even a bit of Parmesan for an extra salty kick.
- Spice It Up: Add a pinch of cayenne pepper or a dash of smoked paprika to the dough for a little heat or smoky flavor.
- Herbalicious: Mix in some dried herbs like rosemary or Italian seasoning for a more complex flavor profile.
- Garlic Lovers: A little garlic powder mixed into the dough is always a good idea.
- Don't Overwork the Dough: Overworking the dough can lead to tough crackers. Mix just until it comes together.
- Even Rolling is Key: Try your best to roll the dough to an even thickness so all your crackers bake at the same rate.
- Chill, Chill, Chill: Don't skip the chilling step! It makes the dough easier to handle and results in a crisper cracker.
- Prep Ahead: You can make the dough a day in advance and keep it chilled in the refrigerator. Just let it sit at room temperature for about 10-15 minutes before rolling.