
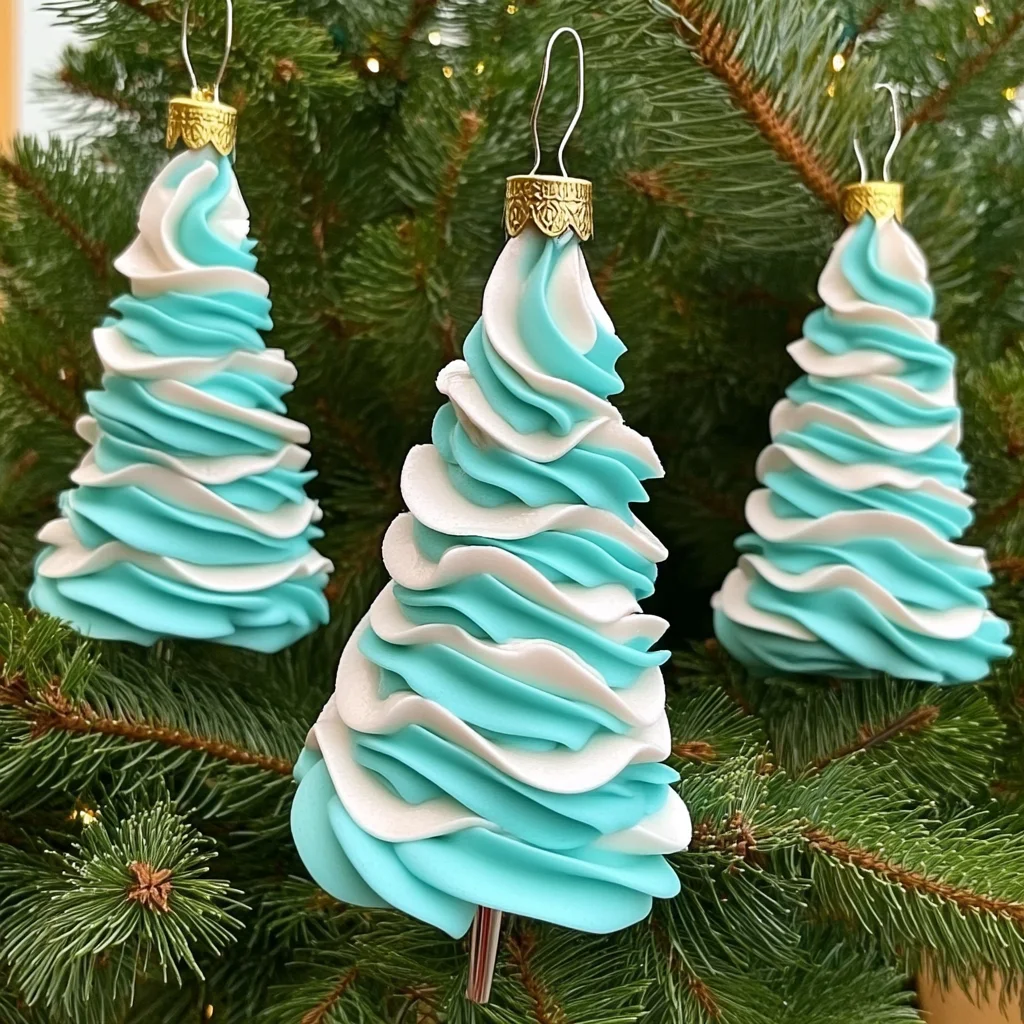
There’s something undeniably magical about the holiday season. The air is filled with the scent of pine, the twinkling of lights dances in our eyes, and the joy of crafting brings warmth to our hearts. Today, I invite you to join me in creating a delightful and colorful DIY project: Shaving Cream Christmas Trees. This project is not only simple and fun, but it also allows you to explore your creativity while making memories with your loved ones. Imagine the joy of seeing those vibrant, marbled trees on display, each one unique and bursting with color, just like the holiday spirit itself!
Why You’ll Love Shaving Cream Christmas Trees
- Beginner-friendly
- Budget-friendly
- Creative and fun
- Great for kids and families
- Perfect for gifts or decorations
- Customizable
The Heart Behind This DIY
Crafting is more than just a way to pass the time; it’s an experience that nourishes our souls. This DIY project, with its playful colors and textures, encourages mindfulness and self-expression. As you swirl the colors into the shaving cream, you’ll find yourself lost in the moment, letting go of worries and embracing the joy of creation. Whether you’re crafting with kids or indulging in a solo session, the process fosters connection and creativity, leaving you feeling accomplished and inspired.
A Gentle Look at the Process
As you embark on this crafting adventure, you can expect a sensory delight. The coolness of the shaving cream in your hands, the vibrant colors swirling and mixing, and the satisfaction of creating something beautiful all play a part in this joyful experience. You’ll begin by mixing colors into fluffy clouds of shaving cream and end with charming little trees that will brighten up any space. Ready to dive in? Let’s gather our materials and get started!
Materials You’ll Need
- Shaving cream – This will be our canvas for color and texture.
- Liquid food coloring – Choose your favorite colors to create a vibrant masterpiece.
- Cardstock or thick paper – This will serve as the base for our trees.
- Small paintbrush or toothpick – Perfect for swirling colors into the shaving cream.
- Tray or shallow dish for mixing – A cozy spot to bring your colors to life.
- Scissors – To cut out your beautiful tree shapes.
Step-by-Step Directions
Step 1
Start by squiring a generous amount of shaving cream into your tray or shallow dish. The fluffy texture is not only fun to touch but will also create a wonderful base for our colors.
Step 2
Next, add a few drops of liquid food coloring onto the shaving cream in various areas. Feel free to mix and match different colors to create the perfect palette for your trees.
Step 3
Using your small paintbrush or toothpick, gently swirl the food coloring into the shaving cream. Watch as the colors blend and create beautiful marbled patterns. This part is so satisfying; don’t rush—enjoy the process!
Step 4
Take a piece of cardstock or thick paper and cut it into a tree shape. You can create a simple triangle or get creative with different tree designs. The choice is yours!
Step 5
Dip your cut-out tree shape into the marbled shaving cream, pressing gently to ensure it picks up the color. The shaving cream will cling to the paper, creating a delightful design.
Step 6
Carefully lift the tree out of the shaving cream and scrape off the excess using a flat edge. This will reveal your colorful design, and I promise it will look amazing!
Step 7
Allow your trees to dry completely before displaying or using them as decorations. The anticipation of seeing them finished is part of the joy!
Creative Ways to Use Shaving Cream Christmas Trees
Once your Shaving Cream Christmas Trees are ready, the fun doesn’t stop there! You can display them on your holiday table, use them as unique gift tags, or even hang them on your Christmas tree for a personalized touch. They make wonderful decorations for classrooms or children’s rooms, sparking joy and creativity wherever they are placed. The possibilities are endless!
How to Store, Preserve, or Reuse Shaving Cream Christmas Trees
These colorful creations are best enjoyed fresh, but if you want to keep them for a while, store them in a cool, dry place. If you notice them starting to lose their vibrancy, you can always create new batches and refresh your decorations. They are simple to reuse—just cut new shapes or add more color as the seasons change!
Creative Variations and Customizations
- Color variations – Experiment with different shades for a unique look.
- Theme ideas – Create trees for different holidays or special occasions.
- Seasonal adaptations – Use pastel colors for spring or bold hues for fall.
- Kid-friendly modifications – Let children use their favorite colors and designs.
- Advanced creative upgrades – Add glitter or stickers for an extra touch of sparkle!
Tips for Success
- Common mistakes to avoid – Don’t over-swirly the colors; a little goes a long way!
- Safety tips – Supervise young children during the crafting process.
- Preparation suggestions – Lay down some newspaper for easy cleanup.
- Cleanup recommendations – Wipe down surfaces with a damp cloth to remove any leftover shaving cream.
- Expert crafting tips – Don’t hesitate to experiment with different shapes and sizes for your trees!
FAQs About Shaving Cream Christmas Trees
Can beginners make this?
Absolutely! This project is designed to be simple and enjoyable for crafters of all skill levels.
Can children participate?
Yes! This is a fantastic family project, but be sure to supervise younger children during the process.
How long does it last?
Once dry, your trees can last for several weeks, but they are best enjoyed fresh and colorful!
Can I customize it?
Definitely! Feel free to play with colors, shapes, and decorations to make each tree uniquely yours.
A Final Creative Note
As we wrap up this crafting journey, I hope you feel inspired to dive into your creative side and create your own Shaving Cream Christmas Trees. Remember, crafting is not just about the final product; it is about the joy of making, connecting with loved ones, and expressing yourself. For more delicious recipes, check out Lana Recipes or Lana Recipes for treats you will love! Happy crafting, and may your holidays be filled with warmth and creativity!
For more DIY inspiration, follow Pinterest.