Remember those cozy evenings, the ones where the air was filled with a comforting scent that just made everything feel right? Maybe it was your grandma’s kitchen, or a weekend getaway cabin. Whatever the memory, scent has a powerful way of transporting us back in time and creating that perfect ambiance. Well, guess what? You can recreate that magic right in your own home with these incredibly easy DIY scented wax melts!
Making your own wax melts is such a rewarding little project. It’s super quick, doesn’t require any fancy equipment, and the results are absolutely delightful. Plus, they make the most thoughtful handmade gifts! Imagine gifting a set of beautifully scented melts, lovingly made by you. Who wouldn’t adore that?
Why You’ll Love Scented Wax Melts
- Fast: You can whip up a batch in no time at all.
- Easy: Seriously, if you can melt and pour, you can make these!
- Giftable: They are the perfect little homemade present for any occasion.
- Crowd-pleasing: Everyone loves a home that smells amazing.
Ingredients
- 1/2 cup beeswax: This natural wax is wonderful for holding fragrance and burns cleanly.
- 1/2 cup soy wax: A popular choice for its clean burn and excellent scent throw.
- 2 teaspoons essential oils: Your favorite scents! Think lavender for calm, lemon for freshness, or a blend for something unique.
- Dried rose petals: For a touch of natural beauty and a subtle floral hint.
- Dried cornflowers: These add a beautiful pop of blue and a delicate touch.
How to Make Scented Wax Melts
Alright, let’s get crafting! Grab your apron and let’s get melting.
- Melt the Waxes: Pop your beeswax and soy wax into a double boiler. If you don’t have one, no worries! Just place a heat-safe glass measuring cup on a canning jar ring inside a pot with a little water. The key is to keep the wax from touching the direct heat. Let them melt until they are completely liquid.
- Remove from Heat: Once the waxes have melted into a beautiful liquid state, carefully take your double boiler off the heat. Remember, the equipment will be hot, so use oven mitts or a hot pad!
- Add the Fragrance: Now for the fun part – the scent! Stir in your essential oils. Give it a good minute of stirring to make sure the oils are fully mixed into the warm wax. This is crucial for getting that lovely scent when they melt.
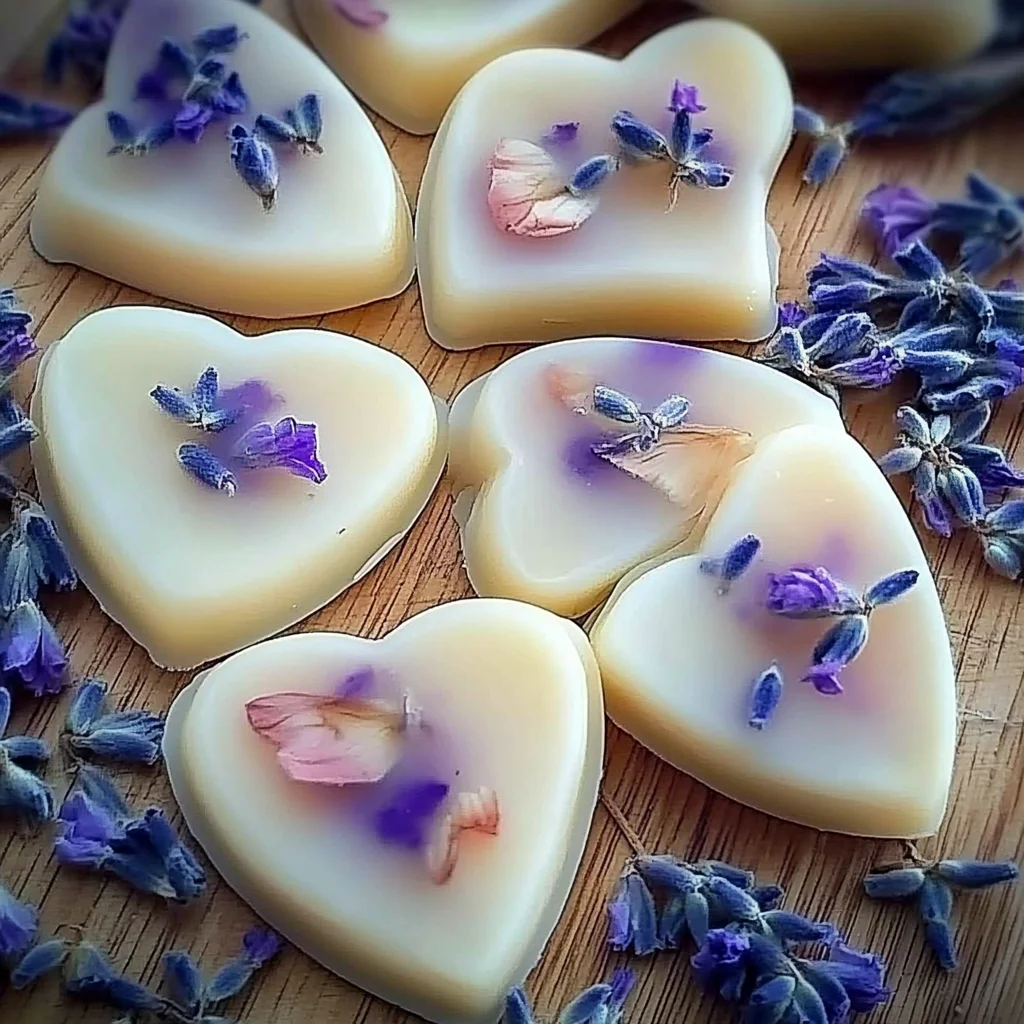
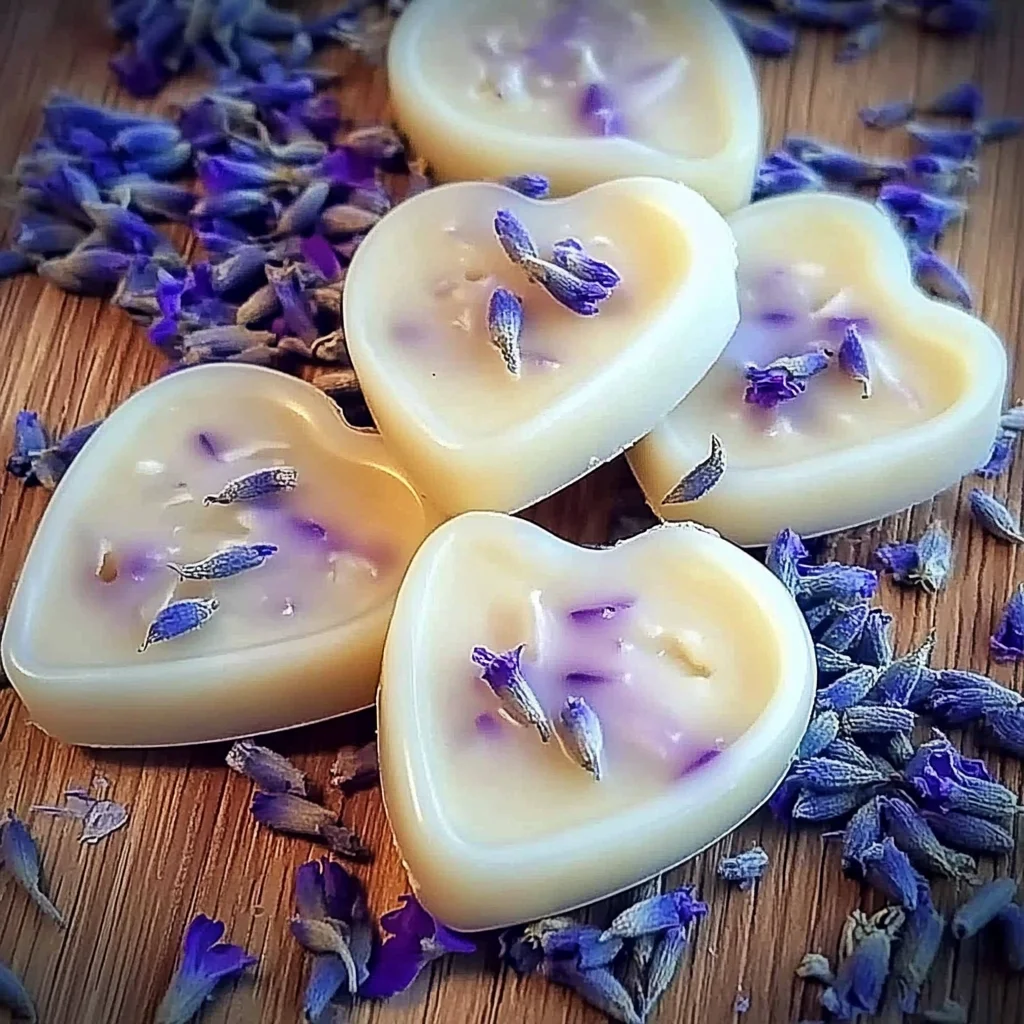
- Pour into Molds: Carefully pour the melted wax into your chosen molds. You want them to be about 1/4 inch deep. If you’re planning to hang these beauties, now’s the time to insert a straw into the wax to create a hole. Just hold it steady until the wax starts to harden around it.
- Decorate with Flowers: Gently arrange your dried rose petals and cornflowers on top of the wax. They’ll settle in nicely as the wax cools. You can get as creative as you like with the placement!
- Cool and Unmold: Let the wax melts cool and harden completely. This usually takes about an hour or so. Once they’re firm to the touch, carefully pop them out of their molds. Be gentle so you don’t break off any delicate flower pieces.
Substitutions & Additions
Want to switch things up or add your own personal flair? You totally can!
- Wax: Feel free to use just soy wax or just beeswax if you prefer. You can also experiment with paraffin wax for a different melt point and scent throw.
- Fragrance: Instead of essential oils, you can use fragrance oils specifically designed for candles and wax melts. Just make sure to use the recommended amount by the manufacturer.
- Decorations: Get creative with other dried botanicals like lavender buds, calendula petals, or even tiny dried fruit slices.
- Color: If you like, you can add a tiny bit of mica powder or candle dye to the melted wax for a pop of color.
Tips for Success
Here are a few little secrets I’ve picked up to make your wax melt-making even better:
- Don’t Overheat: Be careful not to overheat your wax, as this can degrade the fragrance and even be a fire hazard. Melt it gently.
- Consistent Pouring: Try to pour the wax into the molds at a consistent temperature for even melting later on.
- Properly Measure Oils: Too much essential oil can make the wax greasy, while too little won’t give you a strong scent. Stick to the recipe or manufacturer’s guidelines.
- Prep Ahead: You can melt your wax and have everything ready to go before you start. This makes the process even smoother.
- Gift Packaging: If you’re making these as gifts, consider wrapping them in cellophane bags tied with ribbon, or placing them in cute little tins. They look amazing alongside other homemade goodies like our banana bread cake with cream cheese frosting or some easy peach cobbler cookies!
How to Store Scented Wax Melts
Once your beautiful wax melts are made, you’ll want to store them properly to keep them fresh and fragrant.
Keep them in an airtight container in a cool, dry place, away from direct sunlight. This prevents them from melting prematurely or losing their scent. Properly stored, they should retain their fragrance for several months, though they are always best when used within a few weeks.
FAQs
- Q: Can I use regular crayon pieces for color?
A: It’s generally not recommended. Crayons are made with paraffin wax and pigments that aren’t designed for melting in wax warmers and could potentially release harmful fumes. It’s best to stick with dedicated candle dyes or mica powders. - Q: How long does the scent last in wax melts?
A: The scent throw can vary depending on the essential oil or fragrance oil used and the amount. Typically, a good quality wax melt will provide fragrance for about 4-8 hours of burn time in a warmer. - Q: Can I use these in a regular candle warmer?
A: Yes, absolutely! Wax melts are designed to be used in electric wax warmers or tealight warmers. They are not meant to be burned like a traditional candle.
Making your own scented wax melts is such a fun and simple way to bring lovely aromas into your home. It’s a little bit of crafting, a little bit of aromatherapy, and a whole lot of cozy! So go ahead, try this recipe, and fill your space with beautiful, homemade scents. If you’re looking for more delightful DIYs and delicious recipes, be sure to check out all the goodness over at Lana Recipes! You might also enjoy our recipes for easy homemade basil pesto or our comforting slow cooker creamy chicken noodle soup – perfect for those cozy days!
Love these DIYs? Follow us on Pinterest for even more creative ideas and recipes!
DIY Scented Wax Melts
Ingredients
Equipment
Method
- Step 1: Melt the Waxes: Combine beeswax and soy wax in a double boiler (or a heat-safe glass measuring cup placed inside a pot with a little water). Heat gently until completely liquid, ensuring the wax does not touch direct heat.
- Step 2: Remove from Heat: Carefully take the melted waxes off the heat using oven mitts or a hot pad.
- Step 3: Add the Fragrance: Stir in the essential oils thoroughly for about a minute to ensure they are fully incorporated into the warm wax.
- Step 4: Pour into Molds: Carefully pour the melted wax into your chosen molds, aiming for a depth of about 1/4 inch. If creating hanging melts, insert a straw into the wax to create a hole and hold it steady until the wax begins to harden around it.
- Step 5: Decorate with Flowers: Gently arrange dried rose petals and cornflowers on the surface of the wax before it fully hardens.
- Step 6: Cool and Unmold: Allow the wax melts to cool and harden completely, which usually takes about an hour. Once firm, carefully pop them out of their molds.