
Remember those little jars of jelly that used to sit on your desk, giving off a subtle, sweet scent? We’re bringing back that cozy feeling with a DIY twist! Making your own gel air fresheners is incredibly simple, a bit magical, and a fantastic way to fill your home with beautiful fragrances without any harsh chemicals. Whether you want to freshen up your entryway, your office space, or even your car, these little beauties are the perfect solution. Plus, they make for adorable, homemade gifts!
Why You’ll Love Gel Air Fresheners
- Fast: Whip up a batch in just a few minutes.
- Easy: Perfect for beginners and kids (with supervision, of course!).
- Giftable: Package them up for a thoughtful, handmade present.
- Crowd-pleasing: Customize scents to suit everyone’s taste.
Ingredients
Gathering your supplies is a breeze. You probably have most of these in your kitchen right now!
- 1 cup water (divided: 1/2 cup cold, 1/2 cup hot) – Just regular tap water is perfect here.
- 1 packet (0.25 oz) unflavored gelatin – This is the magic ingredient that makes it gel!
- 1 tablespoon salt – This helps preserve the gel and prevent mold.
- 20–30 drops essential oil – Your favorite scent is key! Lavender, lemon, peppermint, eucalyptus – the possibilities are endless.
- Food coloring (optional) – For a pop of color to match your decor or mood.
- Small glass jars or decorative containers – Think little mason jars, old jam jars, or pretty little bowls.
- Optional: Dried flowers, glitter, or herbs – To make your air fresheners extra special and visually appealing.
How to Make Gel Air Fresheners
Alright, let’s get our hands a little creative! This is where the fun really begins.
-
Bloom the Gelatin: In a small bowl, sprinkle the gelatin over 1/2 cup of cold water. Give it a quick stir and then let it stand for about 5 to 10 minutes. You’ll see it get thick and wiggly – that’s exactly what we want!
-
Heat the Water: While the gelatin is blooming, gently heat the remaining 1/2 cup of water. You don’t need it to boil, just get it nice and hot, almost boiling.
-
Dissolve the Gelatin: Now, carefully pour the hot water over the bloomed gelatin. Stir it gently until the gelatin is completely dissolved. Make sure there are no little gelatin clumps left behind!
-
Add the Salt: Stir in 1 tablespoon of salt until it’s all mixed in. This is an important step for keeping your fresheners fresh.
-
Add Scent and Color: This is where you personalize! Add your 20–30 drops of essential oil. If you’re using food coloring, add a few drops now too. Mix everything together really well to distribute the scent and color evenly.
-
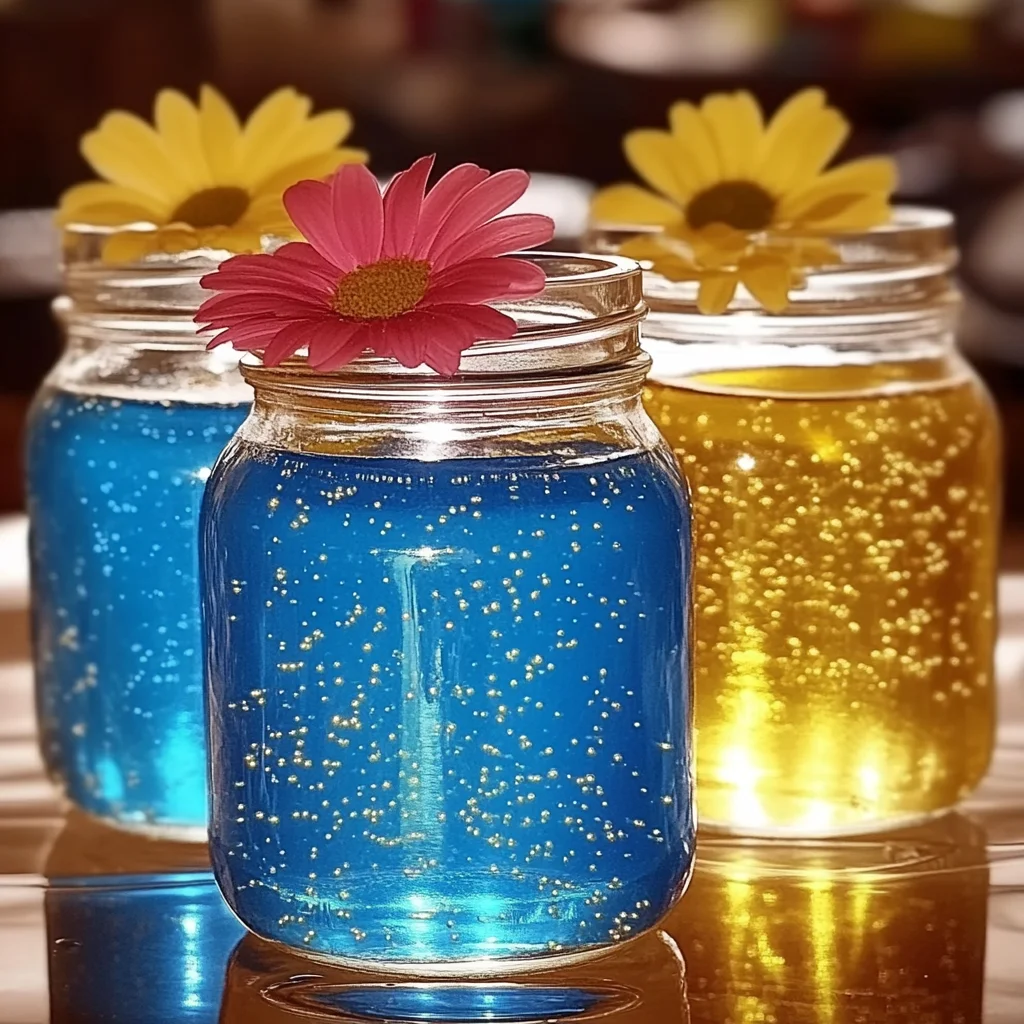
Get Fancy (Optional): If you’re feeling festive, now’s the time to stir in any glitter, dried flowers, or herbs you’ve chosen. This adds a lovely touch and can even enhance the scent!
-
Pour into Containers: Carefully pour the mixture into your chosen glass jars or decorative containers. Try not to spill – hot liquids are no fun!
-
Let it Set: Let the containers sit at room temperature to cool and set. If you’re in a hurry, pop them in the refrigerator for a bit to speed up the process. You’ll know they’re ready when the mixture has turned into a firm gel.
-
Enjoy! Once they’re all set, place your beautiful, homemade gel air fresheners wherever you need a little burst of freshness. They work wonderfully in bathrooms, closets, or even in your car. You’ll know it’s time to replace them when the scent starts to fade away.
Substitutions & Additions
Feeling adventurous? You can totally switch things up!
- Different Essential Oils: Blend scents for a unique aroma! Try citrus blends for energy or floral scents for calm.
- Natural Fragrances: Instead of essential oils, you can try steeping citrus peels or herbs like rosemary in the hot water before adding the gelatin.
- Aesthetics: Use colorful glass jars, add small decorative stones, or even tie a ribbon around the top for a more polished look.
- For a longer-lasting scent: Sometimes adding a tablespoon of rubbing alcohol can help the scent linger a bit longer.
Tips for Success
A few little tricks can make your DIY experience even smoother.
- Don’t Overheat: Be careful not to boil the water too vigorously, as it can affect the gelatin.
- Stir Well: Ensure all ingredients, especially the salt and essential oils, are thoroughly mixed for an even scent distribution.
- Proper Container Size: Smaller jars are usually best so the gel doesn’t dry out too quickly.
- Prep Ahead: You can make a big batch of the scented gel mixture and then pour it into various containers when you’re ready to gift or use them. This is a great way to prepare for holidays or special occasions. Speaking of preparing ahead and having delightful treats ready, if you’re looking for some amazing make-ahead desserts, you might love our collection of no-bake desserts!
How to Store Gel Air Fresheners
These little wonders are best used fresh, but here’s how to keep them looking and smelling great:
- Store unused gel mixtures in airtight containers in the refrigerator for up to a week.
- Once set, gel air fresheners will last at room temperature for several weeks, depending on humidity and temperature.
- As the water evaporates, the gel will shrink. This is normal!
FAQs
Got questions? We’ve got answers!
- Can I use fragrance oils instead of essential oils?
- Yes, you can! Fragrance oils often have a stronger scent and can last longer. Just be sure to use them sparingly, as they can be quite potent.
- How long will the scent last?
- The scent typically lasts for a few weeks. The longevity depends on the type of essential oil used and the ambient temperature and humidity of the room.
- Can I make these without food coloring?
- Absolutely! Food coloring is purely for aesthetics. If you prefer a natural look, just skip it.
- Can I put these in my car?
- Yes, they are great for cars! Just be mindful of extreme temperatures, as very high heat might cause them to soften.
Making these gel air fresheners is a fun, rewarding craft that adds a lovely touch to your home. If you enjoy making things that smell amazing, you might also enjoy creating some delicious baked goods, like our sweet potato cheesecake cookies or a comforting banana bread cake with cream cheese frosting. Happy crafting and happy scenting!
For more inspiring DIY projects and delicious recipes, be sure to follow us on Pinterest!
DIY Gel Air Fresheners
Ingredients
Equipment
Method
- Step 1: In a small bowl, sprinkle the gelatin over 1/2 cup of cold water. Give it a quick stir and then let it stand for about 5 to 10 minutes. You'll see it get thick and wiggly – that's exactly what we want!
- Step 2: While the gelatin is blooming, gently heat the remaining 1/2 cup of water. You don't need it to boil, just get it nice and hot, almost boiling.
- Step 3: Now, carefully pour the hot water over the bloomed gelatin. Stir it gently until the gelatin is completely dissolved. Make sure there are no little gelatin clumps left behind!
- Step 4: Stir in 1 tablespoon of salt until it's all mixed in. This is an important step for keeping your fresheners fresh.
- Step 5: This is where you personalize! Add your 20–30 drops of essential oil. If you're using food coloring, add a few drops now too. Mix everything together really well to distribute the scent and color evenly.
- Step 6: If you're feeling festive, now's the time to stir in any glitter, dried flowers, or herbs you've chosen. This adds a lovely touch and can even enhance the scent!
- Step 7: Carefully pour the mixture into your chosen glass jars or decorative containers. Try not to spill – hot liquids are no fun!
- Step 8: Let the containers sit at room temperature to cool and set. If you're in a hurry, pop them in the refrigerator for a bit to speed up the process. You'll know they're ready when the mixture has turned into a firm gel.
- Step 9: Once they're all set, place your beautiful, homemade gel air fresheners wherever you need a little burst of freshness. They work wonderfully in bathrooms, closets, or even in your car. You'll know it's time to replace them when the scent starts to fade away.