
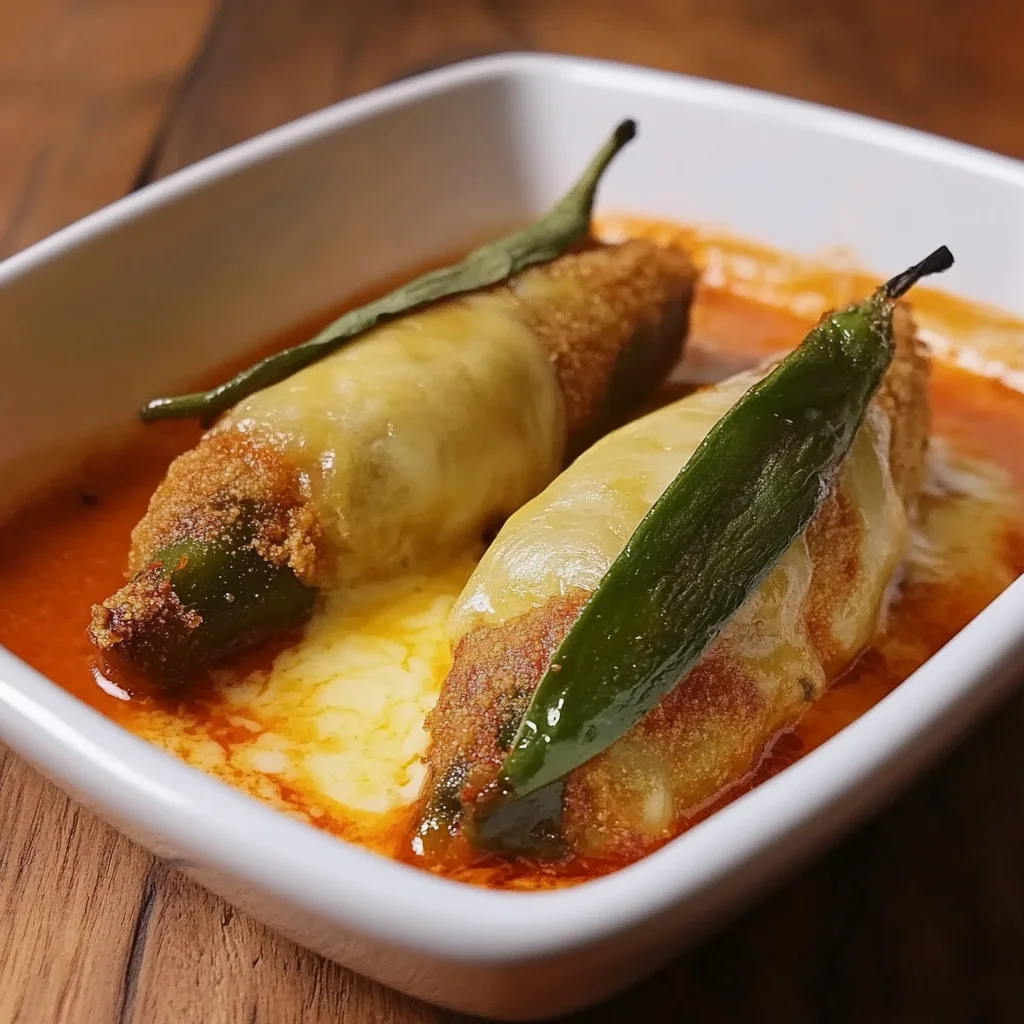
There’s something magical about the smell of roasted chiles wafting through the kitchen, isn’t there? It takes me back to my childhood, where every bite of these cheesy, stuffed wonders felt like a warm hug. Today, I’m excited to share with you my simple and delightful recipe for Hatch Chile Rellenos. This dish is not just easy to make; it’s also a guaranteed crowd-pleaser that will leave your friends and family asking for seconds!
Why You’ll Love Hatch Chile Rellenos
- Fast: You can have the main components prepped and in the oven in about 20 minutes.
- Easy: It’s a simple “brown and bake” method that even beginner cooks can master.
- Giftable: This is a sturdy dish that travels well, making it perfect for potlucks or as a “get well soon” meal.
- Crowd-pleasing: Even people who think they don’t like chiles usually fall in love with this creamy, cheesy version!
Ingredients
- 8 fresh Hatch chiles: These flavorful chiles are the star of the show, bringing a mild heat and smoky flavor.
- 1 cup shredded Monterey Jack cheese: This cheese melts beautifully, adding a creamy texture.
- 1 cup shredded cheddar cheese: For a bit of sharpness and color, cheddar is a fantastic addition.
- 1 cup all-purpose flour: This is the base of our batter, giving it that crispy exterior.
- 4 large eggs: Eggs help bind everything together and add richness.
- 1 cup milk: For a smooth batter, milk is a must.
- 1 teaspoon baking powder: This gives the batter a light and fluffy texture.
- 1 teaspoon salt: Just enough to bring out the flavors.
- Vegetable oil (for frying): You’ll need this for that perfect golden-brown finish.
- Salsa (for serving): A fresh salsa complements the flavors beautifully!
How to Make Hatch Chile Rellenos
- Preheat your oven to 400°F (200°C). This will ensure your chiles are baked to perfection!
- Roast the Hatch chiles over an open flame or under a broiler until the skins are charred. Place them in a plastic bag to steam for about 15 minutes. Once cooled, peel off the skins and carefully remove the seeds.
- In a mixing bowl, combine the Monterey Jack and cheddar cheeses, giving them a good mix.
- Stuff each roasted chile with the cheese mixture, being careful not to overstuff.
- In a separate bowl, whisk together the flour, eggs, milk, baking powder, and salt until smooth.
- Heat vegetable oil in a large skillet over medium heat. You want enough oil to cover the bottom of the pan.
- Dip each stuffed chile into the batter, allowing excess to drip off, and carefully place them in the hot oil.
- Fry until golden brown on all sides, about 4-5 minutes. Remove from the skillet and drain on paper towels.
- Place the fried chiles on a baking sheet and bake in the preheated oven for 10-15 minutes until heated through and the cheese is melted.
- Serve hot with salsa and enjoy the deliciousness!
Substitutions & Additions
If you want to get creative, here are some ideas:
- Cheese: Experiment with different cheeses like pepper jack for a spicy kick.
- Chiles: If Hatch chiles are not available, poblano or jalapeño chiles work beautifully too.
- Filling: Add cooked ground meat or beans to the cheese mixture for extra protein.
Tips for Success
- Common mistake: Make sure to remove all the seeds and skins from the chiles to avoid bitterness.
- Prep-ahead: You can roast and stuff the chiles a day in advance and fry them right before serving.
- Temperature check: Ensure the oil is hot enough before frying by dropping in a small amount of batter; it should sizzle immediately.
How to Store Hatch Chile Rellenos
Any leftovers? No problem! You can store them in an airtight container in the fridge for up to 3 days. Just reheat them in the oven to keep that crispy texture. They can also be frozen for up to 2 months; just make sure to wrap them tightly!
FAQs
- Can I make these ahead of time? Absolutely! You can prepare and stuff the chiles and fry them just before serving.
- Are Hatch chiles spicy? They have a mild to medium heat, which makes them perfect for most palates!
- Can I bake these instead of frying? Yes, you can bake them, but they won’t have that crispy texture. Just brush them lightly with oil before baking.
If you enjoyed this recipe, don’t forget to check out more delicious ideas by following my Pinterest account!

Hatch Chile Rellenos
Equipment
Method
- Step 1: Preheat your oven to 400°F (200°C).
- Step 2: Roast the Hatch chiles over an open flame or under a broiler until the skins are charred. Place them in a plastic bag to steam for about 15 minutes. Once cooled, peel off the skins and remove the seeds.
- Step 3: In a mixing bowl, combine the Monterey Jack and cheddar cheeses.
- Step 4: Stuff each roasted chile with the cheese mixture.
- Step 5: In a separate bowl, whisk together the flour, eggs, milk, baking powder, and salt until smooth.
- Step 6: Heat vegetable oil in a large skillet over medium heat.
- Step 7: Dip each stuffed chile into the batter and place them in the hot oil.
- Step 8: Fry until golden brown on all sides, about 4-5 minutes. Remove and drain on paper towels.
- Step 9: Place the fried chiles on a baking sheet and bake in the preheated oven for 10-15 minutes until heated through and the cheese is melted.
- Step 10: Serve hot with salsa.