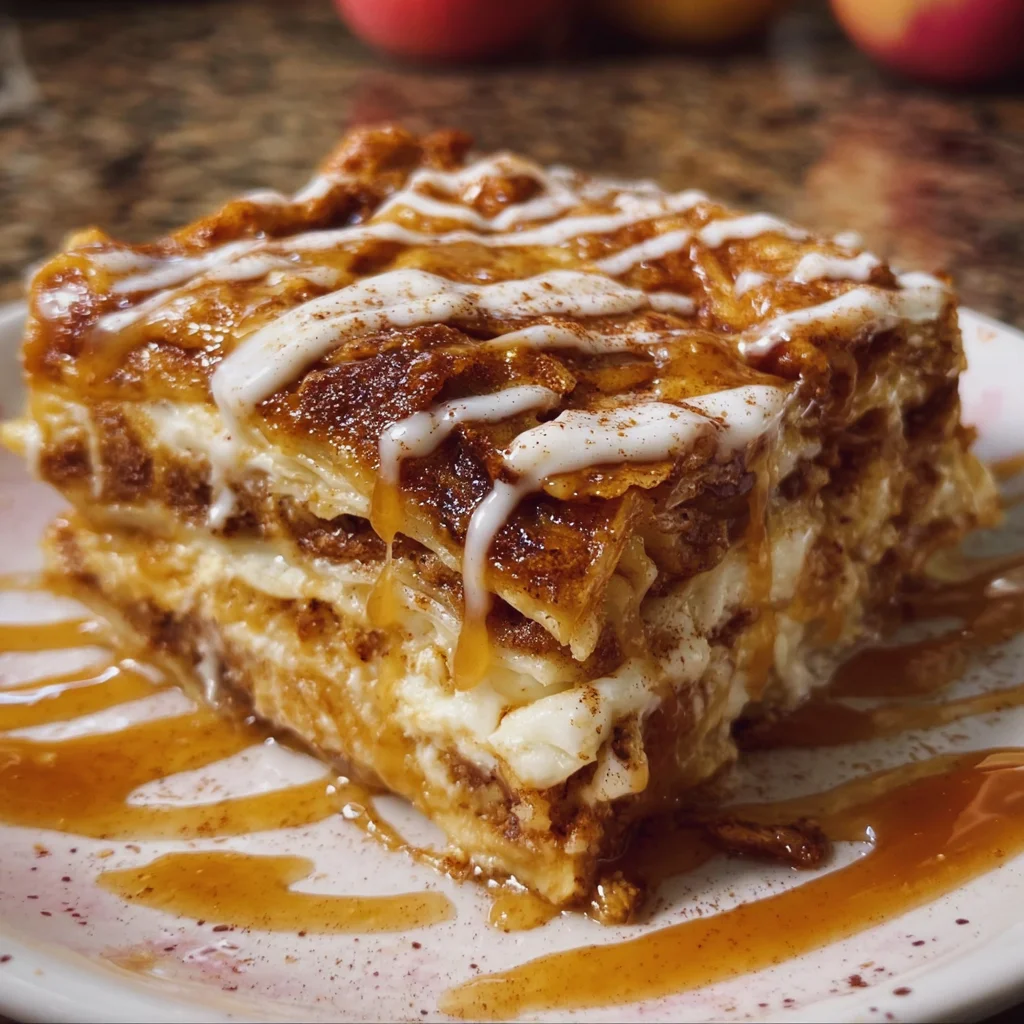
There’s something so comforting about the smell of cinnamon and apples baking together, isn’t there? It instantly takes me back to cozy family mornings and chilly autumn afternoons. This Cinnamon Roll Apple Lasagna brings that nostalgic feeling right to your kitchen, wrapped up in layers of soft cinnamon rolls, warm apple filling, and creamy frosting. The best part? It’s incredibly easy to make, even if you’re not a seasoned baker. Whether you’re looking for a special breakfast, a dessert to impress, or a gift for a loved one, this recipe is a total winner.
Why You’ll Love Cinnamon Roll Apple Lasagna
- Fast: Ready in under an hour, including baking time.
- Easy: Uses simple ingredients and minimal prep.
- Giftable: Perfect for holidays, brunches, or potlucks.
- Crowd-pleasing: Everyone loves the comforting flavors of cinnamon and apples.
Ingredients
Here’s what you’ll need to make this delicious layered dessert:
- 2 cans refrigerated cinnamon rolls (with icing): These form the soft, cinnamon-spiced base and top layers.
- 4 cups apple pie filling: Sweet and tender, it adds that classic apple pie flavor without any fuss.
- 1 tsp cinnamon: To sprinkle and enhance the warm spice notes.
- ½ tsp nutmeg (optional): Just a pinch for a little extra cozy warmth.
- 8 oz cream cheese, fully softened: For the creamy middle layer that balances the sweetness.
- ½ cup powdered sugar: Adds just the right amount of sweetness to the cream cheese mixture.
- 1 tsp vanilla extract: Brings out the flavors beautifully.
- 1 cup whipped topping: Lightens the cream cheese mixture for a fluffy texture.
- Caramel sauce, for drizzling: The perfect finishing touch for a gooey, indulgent bite.
How to Make Cinnamon Roll Apple Lasagna
Let’s walk through this step-by-step so you can enjoy every moment of creating this comforting treat:
- Preheat your oven to 350°F (175°C) and grease a 9×13-inch baking dish. This will keep your cinnamon roll layers from sticking and help everything bake evenly.
- Flatten half of the cinnamon rolls by pressing them gently with your hands or a rolling pin. Press these flattened rolls evenly into the bottom of your baking dish to create a soft, cinnamon-scented crust.
- Spread half of the apple pie filling over your cinnamon roll base. Then sprinkle with cinnamon and nutmeg for that extra layer of spice and warmth.
- Mix the cream cheese layer: In a bowl, beat the softened cream cheese, powdered sugar, and vanilla extract until smooth and creamy. Then gently fold in the whipped topping until it’s light and fluffy — this step makes the texture just perfect.
- Spread half of the cream cheese mixture over the apple layer, smoothing it out gently.
- Repeat the layers: Flatten the remaining cinnamon rolls and press them over the cream cheese layer. Top with the remaining apple filling and sprinkle with cinnamon and nutmeg again. Finish by spreading the remaining cream cheese mixture over the top.
- Bake for 30–35 minutes until the top turns golden and the edges start bubbling. The center should still be a little gooey – that’s exactly how you want it!
- Let it rest for 10–15 minutes once it’s out of the oven. This helps it set up just right for slicing. Drizzle the reserved cinnamon roll icing and caramel sauce over the top before serving warm.
This layered dessert is like a warm hug on a plate, and you’ll find yourself coming back for seconds (or thirds!). For another easy, no-fuss sweet treat, you might also enjoy my No Bake Marshmallow Slice — it’s a breeze to make and just as crowd-pleasing.
Substitutions & Additions
Want to switch things up or add your own twist? Here are some ideas:
- Swap the apple pie filling: Try peach or cherry pie filling to create a fruity variation.
- Add nuts: Sprinkle chopped pecans or walnuts between layers for a delightful crunch.
- Use homemade cinnamon rolls: If you’re feeling adventurous, homemade cinnamon rolls add an extra special touch.
- Whipped cream alternative: Use homemade whipped cream or even a dairy-free whipped topping for a lighter or allergy-friendly version.
- Spice it up: Add a dash of ground cloves or allspice for a deeper autumnal flavor.
Tips for Success
- Make sure your cream cheese is fully softened before mixing to avoid lumps in your cream layer.
- Don’t skimp on the resting time after baking — it helps the layers firm up for cleaner slices.
- If you want to prep ahead, you can assemble the lasagna the night before and refrigerate it, then bake it fresh the next day.
- Keep an eye on the edges while baking; if they brown too quickly, cover loosely with foil to prevent burning.
- For a lighter version, try folding in some homemade cream cheese or a whipped topping alternative.
How to Store Cinnamon Roll Apple Lasagna
This cinnamon roll apple lasagna keeps beautifully in the fridge for up to 3 days. Just cover it tightly with plastic wrap or transfer to an airtight container. When you’re ready to enjoy it again, warm up individual slices in the microwave for 20-30 seconds — it tastes just as comforting as fresh from the oven!
If you want to freeze it, I recommend freezing before baking. Wrap the assembled dish tightly in foil and plastic wrap, and freeze for up to 2 months. Thaw overnight in the fridge, then bake as directed.
FAQs
- Can I use fresh apples instead of apple pie filling?
Yes! Just peel and slice about 4 cups of apples, then cook them gently with sugar and cinnamon until soft before layering. - Do I have to use canned cinnamon rolls?
No, homemade or bakery-bought cinnamon rolls work great too, just make sure they’re soft and unbaked. - Can I make this dairy-free?
Absolutely! Use dairy-free cream cheese and whipped topping alternatives to make it allergy-friendly. - What’s the best way to serve it?
Serve warm with a drizzle of caramel sauce or a scoop of vanilla ice cream for an extra indulgent treat.
If you love cozy, easy desserts like this, be sure to also check out my Moist Cinnamon Applesauce Bread — it’s another perfect way to enjoy those classic fall flavors.
Thanks for stopping by the kitchen today! If you try this recipe, I’d love to hear how it turned out. And for more tasty inspiration, don’t forget to follow me on Pinterest!
Cinnamon Roll Apple Lasagna
Ingredients
Equipment
Method
- Step 1: Preheat your oven to 350°F (175°C) and grease a 9×13-inch baking dish.
- Step 2: Flatten half of the cinnamon rolls by pressing them gently with your hands or a rolling pin. Press evenly into the bottom of the baking dish to create a crust.
- Step 3: Spread half of the apple pie filling over the cinnamon roll base. Sprinkle with cinnamon and nutmeg.
- Step 4: In a bowl, beat the softened cream cheese, powdered sugar, and vanilla extract until smooth. Gently fold in the whipped topping until light and fluffy.
- Step 5: Spread half of the cream cheese mixture over the apple layer, smoothing gently.
- Step 6: Repeat layers: flatten remaining cinnamon rolls and press over cream cheese layer. Top with remaining apple filling and sprinkle cinnamon and nutmeg. Spread remaining cream cheese mixture on top.
- Step 7: Bake for 30–35 minutes until top is golden and edges bubble. Center should be slightly gooey.
- Step 8: Let rest for 10–15 minutes. Drizzle reserved icing and caramel sauce over top before serving warm.