
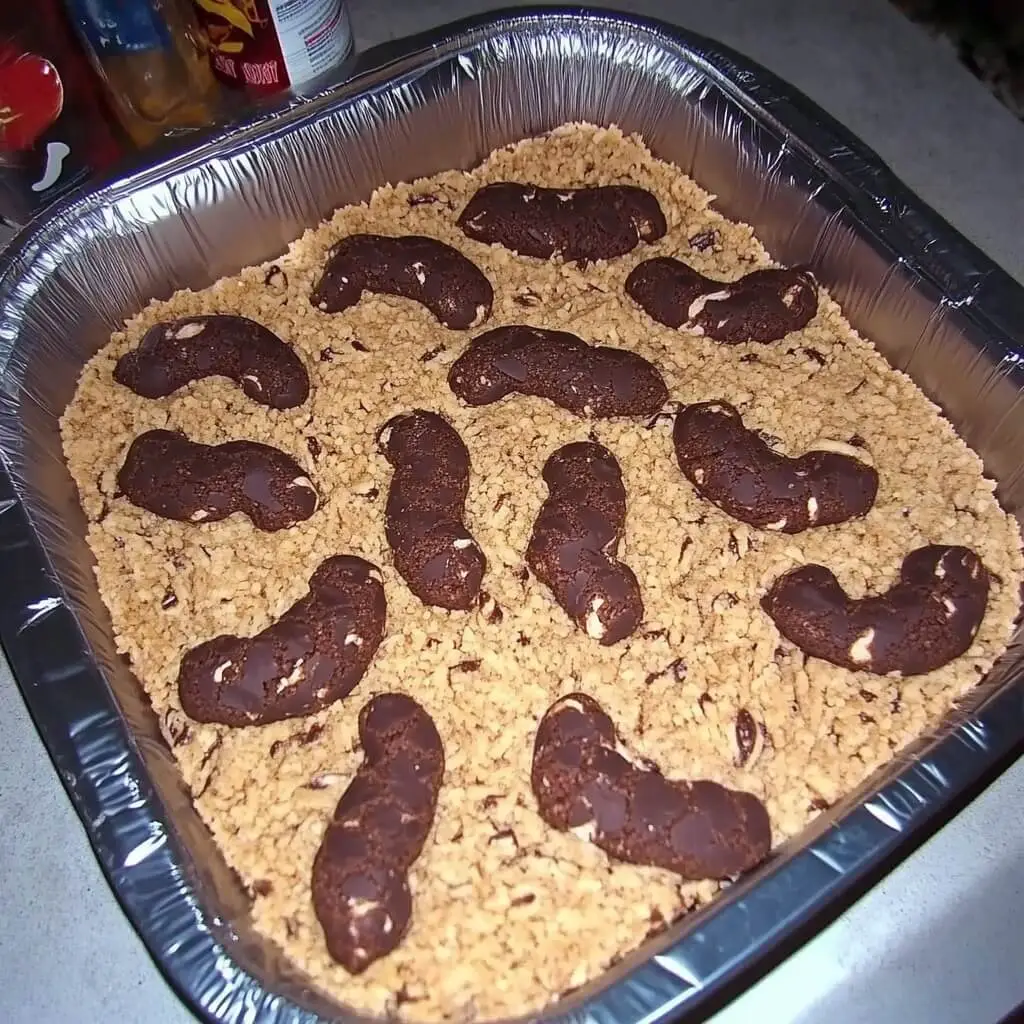
Oh, remember those days of silly cookie names that just made you giggle? This recipe for Cat Poop Cookies II is one of those nostalgic gems that brings back fond memories and a whole lot of fun to the kitchen. They might have a funny name, but trust me, the taste is anything but! These cookies are surprisingly simple to whip up, making them perfect for a quick baking session or a fun activity with the kids.
Why You’ll Love Cat Poop Cookies II
- Fast: Whip up a batch without spending hours in the kitchen.
- Easy: Perfect for beginner bakers or anyone who loves simple recipes.
- Giftable: Package them up for a unique and humorous treat for friends and family.
- Crowd-pleasing: Despite the name, these cookies are a hit with almost everyone!
Ingredients
Gather ’round, bakers! Here’s what you’ll need to create these delightfully quirky cookies:
- ¼ cup honey: For that lovely natural sweetness and binding.
- ¼ cup molasses: Adds a depth of flavor and a beautiful color.
- ⅔ cup butter: Make sure it’s softened for easy mixing.
- 1 egg: The binder that holds all our yummy ingredients together.
- 2 ⅓ cups whole wheat flour: Adds a nice nutty flavor and a touch of whole grain goodness.
- ½ teaspoon ground cinnamon: For that warm, comforting spice.
- ½ teaspoon ground ginger: A little zing to brighten things up!
- ½ teaspoon ground cloves: Just a hint for that classic cookie spice blend.
- 1 (32 ounce) package wheat and barley nugget cereal: This is the “special ingredient” that gives them their unique texture and look!
- ½ cup crushed ramen noodles: Yes, you read that right! This adds a surprising crunch and a fun element.
How to Make Cat Poop Cookies II
Alright, let’s get our aprons on and dive into making these fun cookies!
- Wet Ingredients First: In a medium-sized bowl, gently microwave your honey until it’s nice and bubbly. Carefully stir in the molasses, butter, and egg. Keep stirring until everything is wonderfully smooth and well combined.
- Dry Ingredients Join the Party: Now, it’s time to add the flour, cinnamon, ginger, and cloves to your wet mixture. Stir it all together until you have a dough that’s nicely combined.
- Get Creative (Optional!): This is where you can really have some fun! If you’re feeling adventurous, feel free to stir in some extra goodies like shredded coconut, chocolate chips, chopped nuts, or even a sprinkle more of crushed ramen noodles for extra crunch.
- Chill Out: Pop the dough into the refrigerator and let it chill until it’s firm enough to handle. This usually takes about an hour, but you can speed it up if you’re eager!
- Preheat for Baking: While your dough is chilling, go ahead and preheat your oven to 350 degrees F (175 degrees C).
- Shape Those Logs: Once the dough is firm, take it out and roll it into logs. Aim for logs that are about ¾ inch in diameter.
- Cut ‘Em Up: Now, cut your logs into pieces that are your desired cookie length.
- Get Cereal-ous: Take your wheat and barley nugget cereal and place it in a shallow bowl or on a plate. Gently roll each cookie piece in the cereal, pressing lightly so it sticks all around.
- Cookie Sheet Ready: Place your cereal-coated cookie pieces onto an ungreased cookie sheet. They don’t need much space, as they don’t spread too much.
- Bake to Perfection: Pop them into your preheated oven and bake for about 10 to 15 minutes. You’ll know they’re ready when they’re lightly golden brown.
Substitutions & Additions
Feel like shaking things up? These cookies are super versatile! If you don’t have whole wheat flour, all-purpose flour will work too. You can also swap out the wheat and barley nugget cereal for other crunchy cereals like puffed rice or corn flakes for a different texture. For an extra flavor boost, a little bit of lemon zest would be lovely, reminiscent of some of the bright flavors you find in recipes like my Meyer Lemon Meltaway Cookies. Or, if you’re a fan of delightful textures, you might enjoy exploring other no-bake treats like my No-Bake Marshmallow Slice.
Tips for Success
- Dough Consistency: If your dough feels too sticky to handle, don’t be afraid to add a tablespoon more of flour at a time until it’s manageable.
- Chilling is Key: Properly chilling the dough will make rolling and cutting much easier.
- Even Baking: Try to make your logs and cut pieces as uniform in size as possible for even baking.
- Don’t Overbake: Keep an eye on them in the oven; they can go from golden to burnt pretty quickly!
How to Store Cat Poop Cookies II
Once your delightful Cat Poop Cookies II have cooled completely, you can store them in an airtight container at room temperature for up to 3-4 days. They’re also pretty sturdy, so they travel well!
FAQs
- Can I make these gluten-free? You could try using a gluten-free all-purpose flour blend, but the texture might be slightly different.
- What can I use instead of wheat and barley nugget cereal? As mentioned, other crunchy cereals like puffed rice or corn flakes would work well!
- Are these cookies very sweet? They have a balanced sweetness from the honey and molasses, but the cereal adds a less sweet crunch.
Happy baking! And if you love finding new and exciting recipes, be sure to follow us on Pinterest!
Whimsical Cat Poop Cookies II
Ingredients
Equipment
Method
- Step 1: In a medium-sized bowl, gently microwave your honey until it’s nice and bubbly. Carefully stir in the molasses, butter, and egg. Keep stirring until everything is wonderfully smooth and well combined.
- Step 2: Now, it’s time to add the flour, cinnamon, ginger, and cloves to your wet mixture. Stir it all together until you have a dough that’s nicely combined.
- Step 3: This is where you can really have some fun! If you’re feeling adventurous, feel free to stir in some extra goodies like shredded coconut, chocolate chips, chopped nuts, or even a sprinkle more of crushed ramen noodles for extra crunch.
- Step 4: Pop the dough into the refrigerator and let it chill until it’s firm enough to handle. This usually takes about an hour, but you can speed it up if you’re eager!
- Step 5: While your dough is chilling, go ahead and preheat your oven to 350 degrees F (175 degrees C).
- Step 6: Once the dough is firm, take it out and roll it into logs. Aim for logs that are about ¾ inch in diameter.
- Step 7: Now, cut your logs into pieces that are your desired cookie length.
- Step 8: Take your wheat and barley nugget cereal and place it in a shallow bowl or on a plate. Gently roll each cookie piece in the cereal, pressing lightly so it sticks all around.
- Step 9: Place your cereal-coated cookie pieces onto an ungreased cookie sheet. They don’t need much space, as they don’t spread too much.
- Step 10: Pop them into your preheated oven and bake for about 10 to 15 minutes. You’ll know they’re ready when they’re lightly golden brown.
Thanks for sharing. I read many of your blog posts, cool, your blog is very good. https://accounts.binance.com/register/person?ref=GGYHGRE