
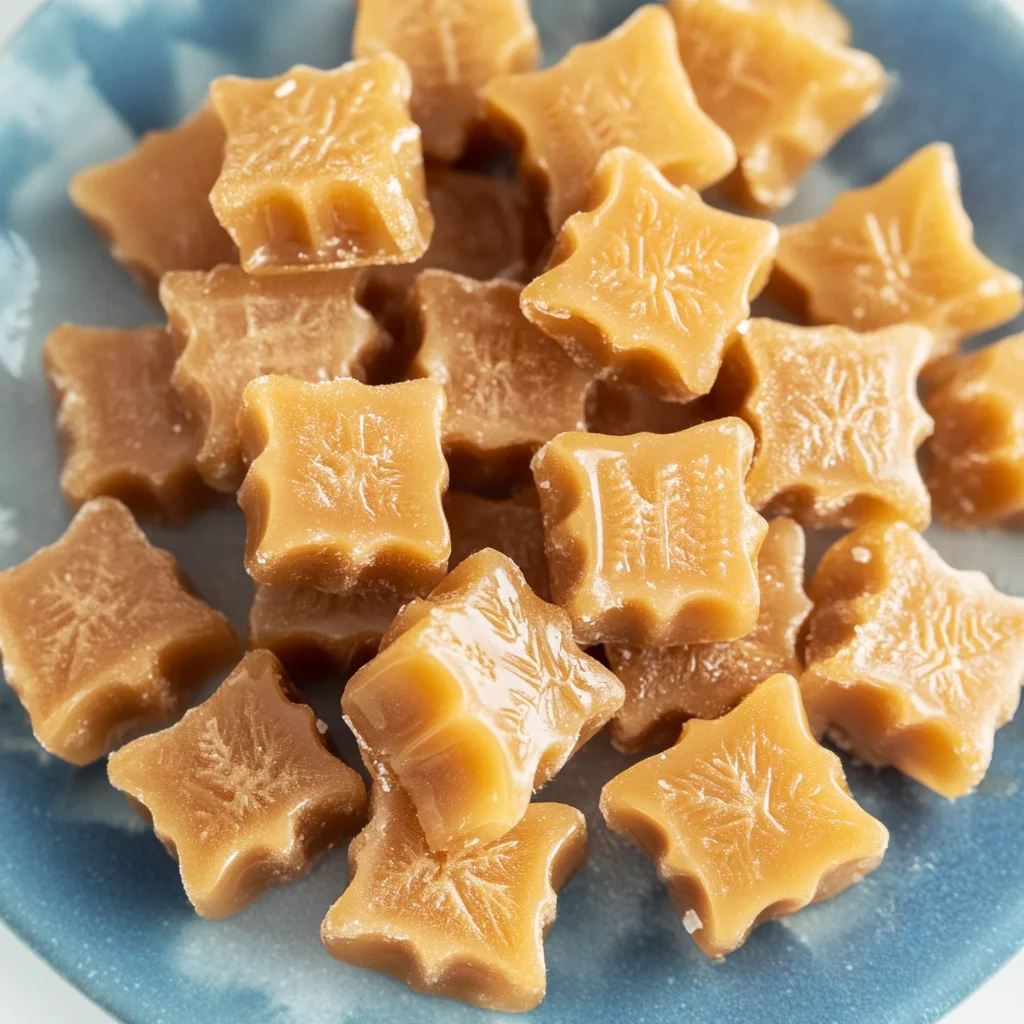
Hey there, friend! Do you ever get a craving for something sweet and simple, something that takes you back to cozy kitchens and maybe even a trip to a sugar shack? Well, I have just the thing for you! This pure maple syrup candy recipe is so incredibly easy, it almost feels like magic. It uses just ONE ingredient (yep, you read that right!), and it turns liquid gold into delightful, melt-in-your-mouth candies that are perfect for a treat, a gift, or just enjoying a little taste of pure, natural sweetness.
Making candy might sound intimidating, but trust me, this recipe is foolproof if you follow the steps. It’s less about fancy techniques and more about patience and letting nature’s candy do its thing. Get ready to fill your kitchen with the most wonderful aroma!
Why You’ll Love This Recipe
- Fast: Okay, “fast” in candy making terms usually means minimal hands-on time. While there’s some heating and cooling, the active time is super quick!
- Easy: Seriously, if you can boil water and stir, you can make these. The hardest part is waiting!
- Giftable: Pack these little gems into cute bags or boxes, and you’ve got a thoughtful, homemade gift everyone will adore.
- Crowd-pleasing: Who doesn’t love pure maple flavor? These disappear fast whenever I make them!
Ingredients
This is where things get almost ridiculously simple, but quality matters here!
- 2 cups pure maple syrup: And I mean PURE! Not pancake syrup, not imitation. Get the good stuff. The flavor of your candy will only be as good as the syrup you use. I usually go for a Grade A Dark (formerly Grade B) for a richer maple flavor, but any pure maple syrup will work beautifully.
How to Make It
Let’s turn that liquid gold into solid gold candy! Here’s how you do it, step by simple step:
- First things first, get your equipment ready. You’ll need a candy thermometer. Attach it securely to the side of a large, heavy-bottomed saucepan. The heavy bottom helps prevent scorching, which is super important when working with sugar (or syrup!). Pour your beautiful pure maple syrup into the pan.
- Now, place the saucepan over medium-high heat. You’re going to bring that syrup to a boil. Give it an occasional stir as it heats up, just to make sure everything is heating evenly. Watch that thermometer! You want the syrup to reach a temperature of exactly 235℉ (that’s about 110℃). This stage is called the “soft ball” stage in candy making. It’s where the magic starts!
- Once it hits 235℉, immediately take the pan off the heat. This is a crucial step! Now, put away your stirring spoon for a bit. You need to let the syrup cool undisturbed. Let it sit there quietly until the temperature drops to 175℉ (around 80℃). This usually takes about 10 minutes, maybe a little more or less depending on your kitchen’s temperature. Patience is key here! Don’t peek, don’t stir during this cooling phase.
- Okay, the temperature is down to 175℉? Great! Now grab a sturdy wooden spoon and get ready for a workout! You are going to stir the mixture rapidly and continuously. This is the part where the crystal structure changes and the syrup turns into candy. Keep stirring and stirring – you’ll see it start to change. It will get thicker, less transparent, turn lighter in color (more opaque and creamy), and lose its glossy shine. This vigorous stirring usually takes about 3 minutes, but keep going until it looks thick, creamy, and has that lovely pale, opaque appearance. It should feel like it’s starting to seize up a bit.
- As soon as it’s thick and creamy, work quickly! Pour the mixture into your molds. You can use specific candy molds designed for maple candy, or even just small silicone molds (like mini muffin molds or even ice cube trays with simple shapes). If you pour it onto a parchment-lined baking sheet with edges, you can score it into squares before it fully sets. Whatever mold you use, fill them up.
- If you have excess candy sitting on top of your molds, you can quickly scrape it off with a knife or spatula to make flat bottoms. Now, just let the candies cool at room temperature. It won’t take long before they firm up and are completely set.
- Once they are totally cool and solid, carefully unmold your beautiful maple candies!
Substitutions & Additions
Since this recipe is all about the purity of maple, there aren’t many traditional “substitutions,” but you can definitely play with the flavor profile a little or change how you present them.
- Maple Syrup Variety: As I mentioned, the type of pure maple syrup matters! A lighter syrup will give you a more delicate, sweet flavor, while a darker syrup will be richer and more intense. Experiment to find your favorite!
- Pinch of Salt: A tiny pinch of sea salt added right before you start the stirring process (step 3) can really enhance the maple flavor and balance the sweetness. We’re talking a tiny pinch, maybe 1/8th teaspoon.
- Extracts (Use Sparingly!): Some folks like to add a drop or two of vanilla extract, but honestly, I think pure maple stands best on its own. If you do add extract, add it right at the start of the stirring phase (step 3). Start with one drop and see if you like it.
- Nuts or Flavorings in Molds: You could place a pecan half or a few chopped walnuts at the bottom of your molds before pouring the candy for a little crunch.
Tips for Success
Making maple candy is simple, but a few key things will ensure you get perfect results every time:
- Use a Candy Thermometer: This isn’t a recipe where you can eyeball the temperature. A reliable candy thermometer is essential for hitting those precise temperatures needed for the candy to set correctly.
- Heavy-Bottomed Pan is Your Friend: It distributes heat evenly and prevents scorching.
- Do NOT Stir While Cooling: This is super important! Stirring during the cooling phase can cause crystallization too early and result in a grainy texture instead of smooth, creamy candy. Wait until it hits 175℉.
- Stir Vigorously & Sufficiently: The stirring phase after cooling is where you develop the right crystal structure for that creamy texture. Don’t stop stirring until it looks thick, lighter, and opaque.
- Humidity Matters: Candy making can be tricky on humid days. If it’s very humid, your candy might take longer to set or might not set as firmly. Try making it on a dry day if possible!
- Use Pure Maple Syrup: Seriously, don’t skimp here. Pancake syrup or imitation syrup won’t work; they have different sugar compositions and won’t crystallize correctly.
How to Store It
Once your candies are set and unmolded, proper storage keeps them fresh and prevents them from getting sticky.
- Store them in an airtight container at room temperature.
- If you stack them, you might want to place a small piece of parchment paper between layers to prevent sticking.
- They should keep well for up to 1 month, but honestly, they never last that long in my house!
FAQs
Q: Why didn’t my candy set?
A: The most common reasons are not heating it to the correct temperature (235℉) or not stirring it long enough after cooling. Make sure your thermometer is accurate and stir until it thickens and becomes opaque.
Q: Can I double the recipe?
A: Yes, but you’ll need a larger saucepan, and the heating and cooling times might be slightly longer. Just make sure your thermometer reaches the correct temps.
Q: My candy turned out grainy. What happened?
A: This usually happens if you stirred the syrup while it was cooling or didn’t stir vigorously enough after it reached 175℉. The cooling-without-stirring step is crucial for setting up the proper crystallization when you do start stirring.
Q: What’s the best kind of mold to use?
A: Silicone molds are easiest for unmolding. Small, simple shapes work best. Traditional maple candy molds are also designed for this and work great.
There you have it! A simple, delicious, one-ingredient wonder. Making these pure maple syrup candies is a little taste of tradition and a whole lot of sweet satisfaction. Give them a try, and let me know how they turn out!
Homemade Pure Maple Syrup Candy
Ingredients
Equipment
Method
- Step 1: Attach a candy thermometer securely to the side of a large, heavy-bottomed saucepan. Pour the pure maple syrup into the pan.
- Step 2: Place the saucepan over medium-high heat. Bring the syrup to a boil, stirring occasionally. Watch the thermometer carefully; you want the syrup to reach exactly 235℉ (110℃). Immediately take the pan off the heat once it reaches this temperature.
- Step 3: Let the syrup cool undisturbed until the temperature drops to 175℉ (80℃). This usually takes about 10 minutes. Do not stir during this cooling phase.
- Step 4: Once the temperature is down to 175℉, grab a sturdy wooden spoon and stir the mixture rapidly and continuously. Keep stirring until it gets thick, less transparent, turns lighter in color (more opaque and creamy), and loses its glossy shine. This vigorous stirring usually takes about 3 minutes.
- Step 5: As soon as it is thick and creamy, work quickly! Pour the mixture into your molds (candy molds, small silicone molds, or a parchment-lined baking sheet with edges).
- Step 6: If using molds, you can quickly scrape off excess candy from the top. Let the candies cool completely at room temperature until they firm up and are totally set.
- Step 7: Once cool and solid, carefully unmold your maple candies.
Can you use a hand mixer instead of hand stirring?
Your point of view caught my eye and was very interesting. Thanks. I have a question for you.
Thanks for sharing. I read many of your blog posts, cool, your blog is very good.