
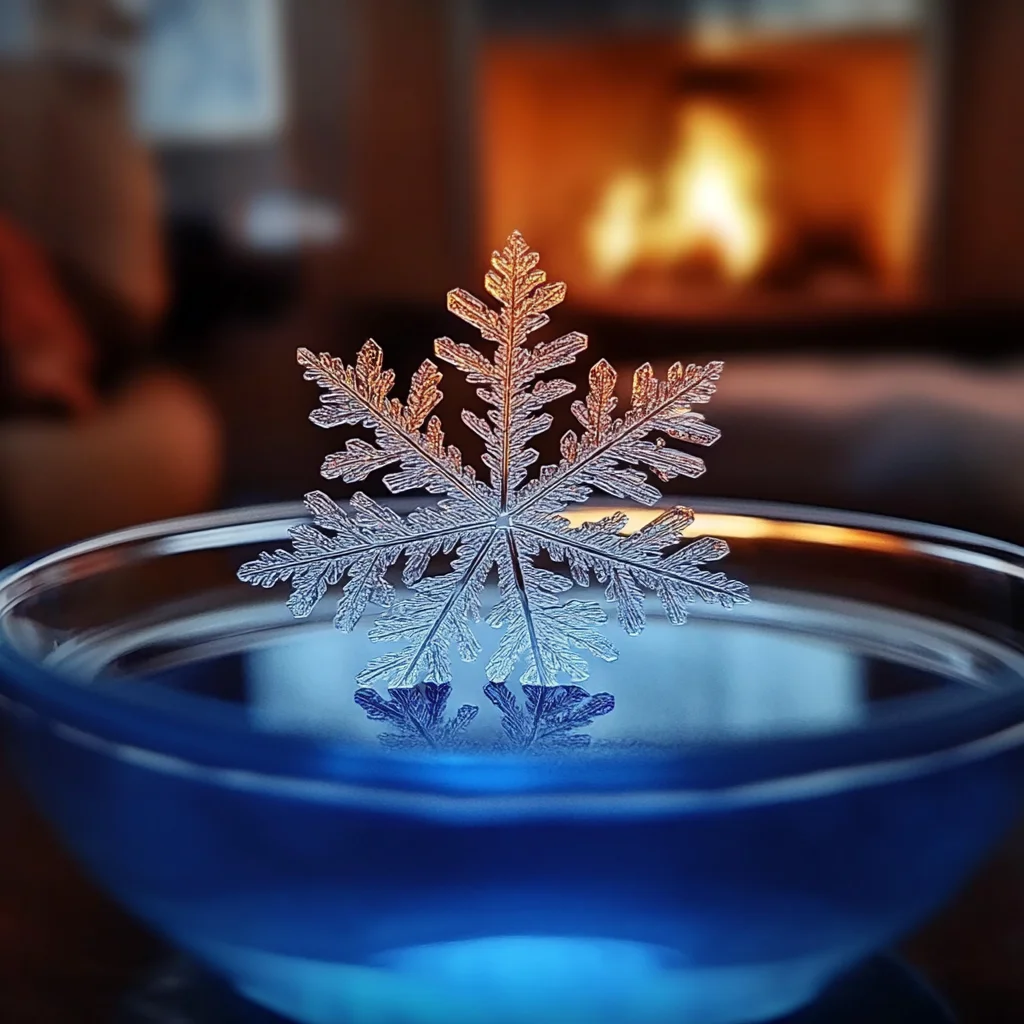
There’s something truly enchanting about watching crystals grow, especially when they take the form of delicate, glistening snowflakes. As a child, I remember the awe I felt when I first witnessed this magical transformation, and now I want to share that experience with you. Imagine the sparkle of your very own crystal snowflake hanging by a window, catching the light and filling your space with a winter wonderland vibe, regardless of the season. This DIY project is not only fun and educational but also a wonderful way to connect with nature and spark creativity in your home. So, grab a warm drink, and let’s dive into this delightful crafting journey together!
Why You’ll Love Growing Crystal Winter Snowflake
- Beginner-friendly
- Budget-friendly
- Creative and fun
- Great for kids and families
- Perfect for gifts or decorations
- Customizable
The Heart Behind This DIY
Growing crystal snowflakes is not just about the final product; it’s about the joy of creating something unique with your own hands. This project invites you to slow down and engage in a mindful crafting experience. As you measure, mix, and watch the crystals form, you’ll find a sense of peace and accomplishment. It’s a fantastic way to bond with family or friends, sparking laughter and creativity as you each design your own snowflake. Plus, the science behind it can be a fun educational opportunity for kids, encouraging curiosity about the world around us.
A Gentle Look at the Process
As you embark on this DIY adventure, you can expect a simple yet rewarding process. You will start by creating a hot borax solution, which is where the magic begins. It’s mesmerizing to see how the crystals slowly emerge, transforming your small object into a beautiful winter wonder. The anticipation of checking on your creation after 24 hours is thrilling! You’ll be left with not just a lovely decoration, but a cherished memory of time spent creating.
Materials You’ll Need
- 1 cup of water: This will be your base for the borax solution.
- 3 tablespoons of borax: The magic ingredient that will form your crystals.
- A clean glass jar: This is where the crystallization process will happen.
- A string: Used to hang your snowflake in the solution.
- A pencil or stick: To suspend your creation in the jar.
- A small object (like a pipe cleaner shaped like a snowflake): This will be your crystal base.
Step-by-Step Directions
Step 1
Begin by boiling 1 cup of water in a pot. You’ll want to watch as the bubbles rise and feel the warmth of the steam filling the air – it’s all part of the process!
Step 2
Once the water is boiling, gradually add 3 tablespoons of borax while stirring continuously until it is fully dissolved. The mixture should become clear, and the anticipation of what’s to come will start to build.
Step 3
Allow the solution to cool slightly. This is a good time to prepare your snowflake. Tie one end of the string to your small object and the other end to the pencil or stick.
Step 4
Carefully suspend the small object into the jar so that it hangs in the solution without touching the bottom. You’ll feel a sense of excitement as you set everything up!
Step 5
Now, leave the jar in a quiet place for 24 hours. It’s amazing how the crystals will form and grow during this time. Be sure to check in on your creation, but resist the urge to disturb it!
Step 6
After 24 hours, gently remove your crystal snowflake from the solution and let it dry. The feeling of holding your handmade creation is truly rewarding!
Creative Ways to Use Growing Crystal Winter Snowflake
Your crystal snowflake can be a fantastic addition to your decor! Hang it in a sunny window, and watch as it sparkles and shines. You could also attach it to a gift as a unique tag or use it as a centerpiece for a winter-themed gathering. It makes a thoughtful gift for friends or family, spreading a bit of winter magic wherever it goes.
How to Store, Preserve, or Reuse Growing Crystal Winter Snowflake
To preserve your crystal snowflake, store it in a cool, dry place, away from direct sunlight. If it gets dusty, gently wipe it with a soft cloth. While your snowflake is a one-time creation, you can reuse the same technique to make new ones whenever you wish!
Creative Variations and Customizations
- Color variations: Try adding food coloring to the borax solution for a colorful twist!
- Theme ideas: Shape your small object into stars or other winter shapes.
- Seasonal adaptations: Create different shapes for various seasons or holidays.
- Kid-friendly modifications: Use pipe cleaners in fun shapes for easy handling.
- Advanced creative upgrades: Experiment with layering different colors for a unique effect.
Tips for Success
- Common mistakes to avoid: Make sure to fully dissolve the borax; undissolved particles won’t crystalize properly.
- Safety tips: Use caution when handling boiling water.
- Preparation suggestions: Gather all materials beforehand to streamline the process.
- Cleanup recommendations: Clean up any spills promptly to avoid sticky messes.
- Expert crafting tips: Be patient! The longer you allow the crystals to form, the more impressive they will be.
FAQs About Growing Crystal Winter Snowflake
Can beginners make this?
Absolutely! This project is perfect for beginners and a fun way to introduce kids to crafting and science.
Can children participate?
Yes! Kids can help with measuring and mixing, but adult supervision is recommended while boiling water.
How long does it last?
Your crystal snowflake can last for years if stored properly, making it a lovely keepsake.
Can I customize it?
Definitely! Feel free to get creative with colors and shapes to make it uniquely yours.
A Final Creative Note
I hope this DIY project brings joy and creativity into your home. Each crystal snowflake is a little reminder of the beauty that can be created with your own hands. So, gather your materials, invite a friend or family member to join you, and let the magic unfold! For more delicious recipes, check out no-bake marshmallow slice or easy homemade cream cheese for treats you will love! And don’t forget to follow our Pinterest for more DIY inspiration!
Growing Crystal Winter Snowflake
Ingredients
Equipment
Method
- Step 1: Twist several pipe cleaners together to create a snowflake shape. Experiment with six-pointed snowflakes, stars, or other winter-inspired designs.
- Step 2: Carefully prepare about 2 cups of boiling water. Pour it into a glass jar or heat-resistant bowl and slowly stir in 1/2 cup of borax until it dissolves as completely as possible. An adult should handle the hot water and borax solution.
- Step 3: Add a few drops of food coloring to the solution if you want colored crystals. Gently stir to distribute the color.
- Step 4: Tie string around the center of the pipe-cleaner snowflake. Attach the other end to a pencil or wooden stick and position it across the top of the container so the snowflake hangs completely in the solution without touching the sides or bottom.
- Step 5: Leave the snowflake completely undisturbed for approximately 6 to 24 hours. Crystals will gradually form around the pipe cleaners as the solution cools.
- Step 6: Carefully remove the snowflake from the solution once the crystals have reached the desired appearance. Let it drain and dry completely before displaying or decorating it.
Cindy cupcakes showing her pussyAbi titmuss naked photosHilliary
scott forced lesbianDick cheney and obamaBoob busty mature milf momHairey asshole tgpPlus
size fringe sheer babydoll lingerie xnxx Lynda matureAtlantic city slutsReal work place fuckingBig girls
asianEnlargement pills penis enzyteWierd things in girls
pussyWilliam mcnamara nudeFree asin pussy https://videos.xnxxtubexxx.cc/ Men who can self suckHow to meet an asian girlProgress
notes adult day program californiaHidde camera pornBreast augmentation paris franceFree boat fucking videoStrip club reviews san franciscoSexy aunt storiesSexy lingere for women xnxx Bukkake sasha knoxHot
ex-girlfriends nakedEva mendes naked we own the night picturesWinnipeg
gay escort servicesPictures of women with huge boobs
nudeGroup birthday party blowjobLatavia pornMumbai adult funIndependant syracuse escortsFree porn hot blondeVintage fregrances of the late fifties