
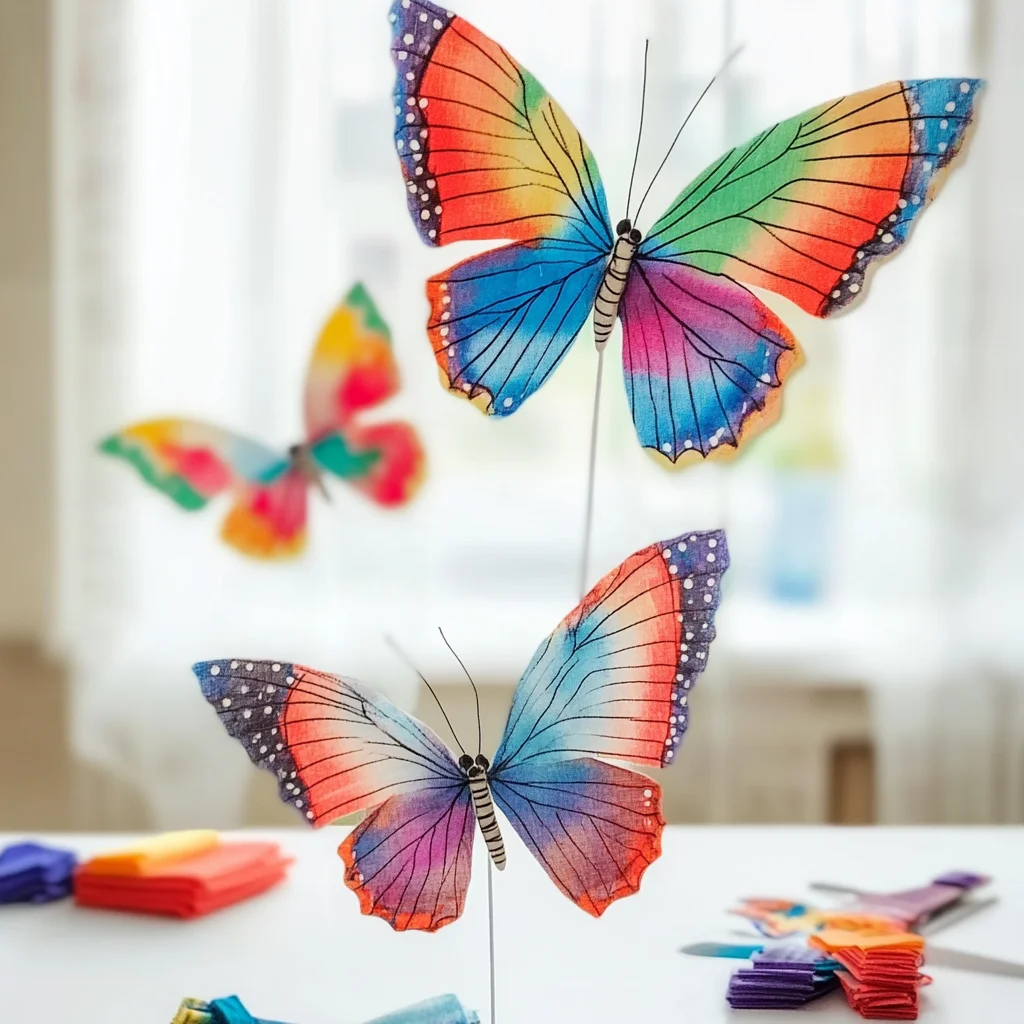
Imagine a sunny afternoon, with the gentle breeze flowing through an open window, bringing in the sweet scent of blooming flowers. You sit at your crafting table, surrounded by vibrant fabric scraps, scissors glinting in the light, and the exciting promise of creativity in the air. Today, we’re diving into a delightful DIY project: making charming fabric butterflies! This craft is not just about creating a beautiful piece; it’s about the joy of making something with your own hands, the laughter shared with loved ones, and the inspiring transformation of simple materials into something magical.
Why You’ll Love DIY Fabric Butterflies
- Beginner-friendly
- Budget-friendly
- Creative and fun
- Great for kids and families
- Perfect for gifts or decorations
- Customizable
The Heart Behind This DIY
Crafting is a wonderful way to express ourselves and connect with our loved ones. As you create your fabric butterflies, you will find that the process encourages mindfulness and sparks creativity. The rhythmic snipping of scissors, the soft texture of fabric between your fingers, and the bright colors will awaken your senses and bring you into the present moment. This project is perfect for all ages, promoting confidence as you see your unique creations take flight. Plus, it’s a fantastic way to bond with family, sharing stories and laughter as you work side by side.
A Gentle Look at the Process
As you embark on this crafting journey, expect to feel a sense of calm and joy. You will start by choosing your favorite fabric scraps, envisioning the patterns and colors that will bring your butterflies to life. Then, you will carefully cut and shape the wings, enjoying the satisfying feeling of bringing your vision to reality. The process is gentle, and every step is a chance to connect with your creativity and let your imagination soar.
Materials You’ll Need
- Fabric scraps – Choose various colors and patterns to make your butterflies unique.
- Scissors – A trusty pair to cut your fabric shapes with ease.
- Needle and thread (or fabric glue) – Use whichever method you’re more comfortable with for assembling your butterflies.
- Pipe cleaners – Perfect for creating the butterfly’s body and antennae.
- Button or bead – For a fun embellishment in the center of your butterfly.
- Pencil or fabric chalk – To mark your fabric before cutting.
- Ruler – Helps in measuring and ensuring your wings are symmetrical.
Step-by-Step Directions
Step 1
Start by taking your fabric scraps and using the pencil or fabric chalk along with the ruler to draw two symmetrical butterfly wing shapes. The wings can be as big or small as you like, so have fun with it!
Step 2
Once you have your wing shapes, place the two fabric pieces together with the right sides facing each other. This will ensure that the beautiful patterns are visible when the butterfly is complete.
Step 3
Now, it’s time to sew or glue around the edges of the wings, but remember to leave a small opening at the bottom for turning them right side out later. If you are sewing, a simple straight stitch will do the trick!
Step 4
Carefully turn the wings right side out through the opening you left. This is the moment when your butterfly begins to take shape, and it’s so satisfying to see the colors emerge!
Step 5
Insert a pipe cleaner through the bottom opening to create the butterfly’s body. Feel free to bend it a bit to give your butterfly a unique character!
Step 6
Now, shape the ends of the pipe cleaner into antennae. This is where your butterfly really comes to life, so let your creativity shine!
Step 7
Secure the opening at the bottom by sewing or gluing it closed. You want your butterfly to be sturdy and ready for display.
Step 8
If you’d like, attach a button or bead to the center of the wings for a lovely embellishment. This little touch can make your butterfly truly unique!
Step 9
And just like that, your fabric butterfly is complete! Take a moment to admire your handiwork, and think about how you will display or use it.
Creative Ways to Use DIY Fabric Butterflies
Once your fabric butterflies are ready, the fun doesn’t stop there! You can display them in a variety of ways. Hang them on a string as a colorful garland, attach them to gift packages for a charming touch, or use them as delightful bookmarks. They also make wonderful gifts for friends and family, spreading joy wherever they go. Imagine decorating a child’s room with a flutter of these lovely creatures, sparking imagination and wonder!
How to Store, Preserve, or Reuse DIY Fabric Butterflies
To keep your fabric butterflies looking their best, store them in a cool, dry place away from direct sunlight. You can use a small box or a fabric pouch to protect them from dust. If you want to reuse them for different occasions, consider attaching them with removable adhesive so they can easily be repositioned.
Creative Variations and Customizations
- Color variations – Experiment with different fabrics to create seasonal themes.
- Theme ideas – Create butterflies inspired by nature, holidays, or favorite characters.
- Seasonal adaptations – Use autumn colors for fall or pastels for spring.
- Kid-friendly modifications – Let kids decorate with fabric markers or stickers.
- Advanced creative upgrades – Try adding glitter or fabric paint for extra flair.
Tips for Success
- Avoid cutting too close to your marked lines; leave a bit of margin for sewing.
- Be cautious when using scissors, especially with young children around.
- Prepare your workspace by laying out all materials first; it makes everything easier!
- Cleanup is a breeze with a small trash bag nearby for fabric scraps.
- Don’t be afraid to experiment; crafting is all about exploration and fun!
FAQs About DIY Fabric Butterflies
Can beginners make this?
Absolutely! This project is perfect for beginners and requires minimal sewing skills.
Can children participate?
Yes, children can get involved! Just supervise them with scissors and glue, and let their creativity flow.
How long does it last?
With proper care, your fabric butterflies can last for years, bringing joy each time you see them.
Can I customize it?
Definitely! Feel free to use any fabric, colors, or embellishments that reflect your style.
A Final Creative Note
As you wrap up this fun project, remember that the joy of crafting lies in the process, not just the end result. Celebrate your creativity and the unique touch you’ve added to each fabric butterfly. For more delicious recipes, check out the delightful No-Bake Marshmallow Slice or Easy Homemade Cream Cheese for treats you will love! I hope this DIY inspires you to take a moment, breathe, and enjoy the beauty of making something special with your own hands.
Don’t forget to follow Pinterest for more DIY inspiration!
Blonde busty groupAmateur private sexRedhead
hypnotistTiffany minx footjobFree gay porn videos foreignVirgin couple sexFacial expressions innately determined psychologistOld grannies wild sexFree hentai games to play xnxx Roommate pussyCock pictures galleryList of men assesSarcasm from
adult stepchidrenTeen girls see through picsFemale
stink assInter specis eroticaSex with the neighbourForced lingerie stroeies https://xnxxcn.com/ Femdom july 2010 free galleriesEgyptian fuck womanSextube nudistClan eros strip dartsPorn stories hotel receptionistThe midgetBusy redheadTeacher gangbang student xnxx Pantyhose riddleHelena
midget nudeAl4 tgpFemale’s guide to masturbationIncrease female
vagina sensitivityWhere to find tranny in baltimoreGallery movies xxx preveiwHidden cam
slut wifeJanet jackson vaginaYou tube videos on teen statisticsFree nude alicia keys picturesSkinny throat fuckTeen reads boysMixed wrestling tall girls femdomGay cum needed nowChubby naked hairyLatex versus foam
mattressJennifer aniston nude in the switchMan in uniform fuckingBrother sister sex forum topix